

.svg)
Best CS2 (CSGO) sirocco Drop Locations in Danger Zone


Well, we have you covered as we have compiled an extensive guide to all the best areas in Sirroco, take a look below.
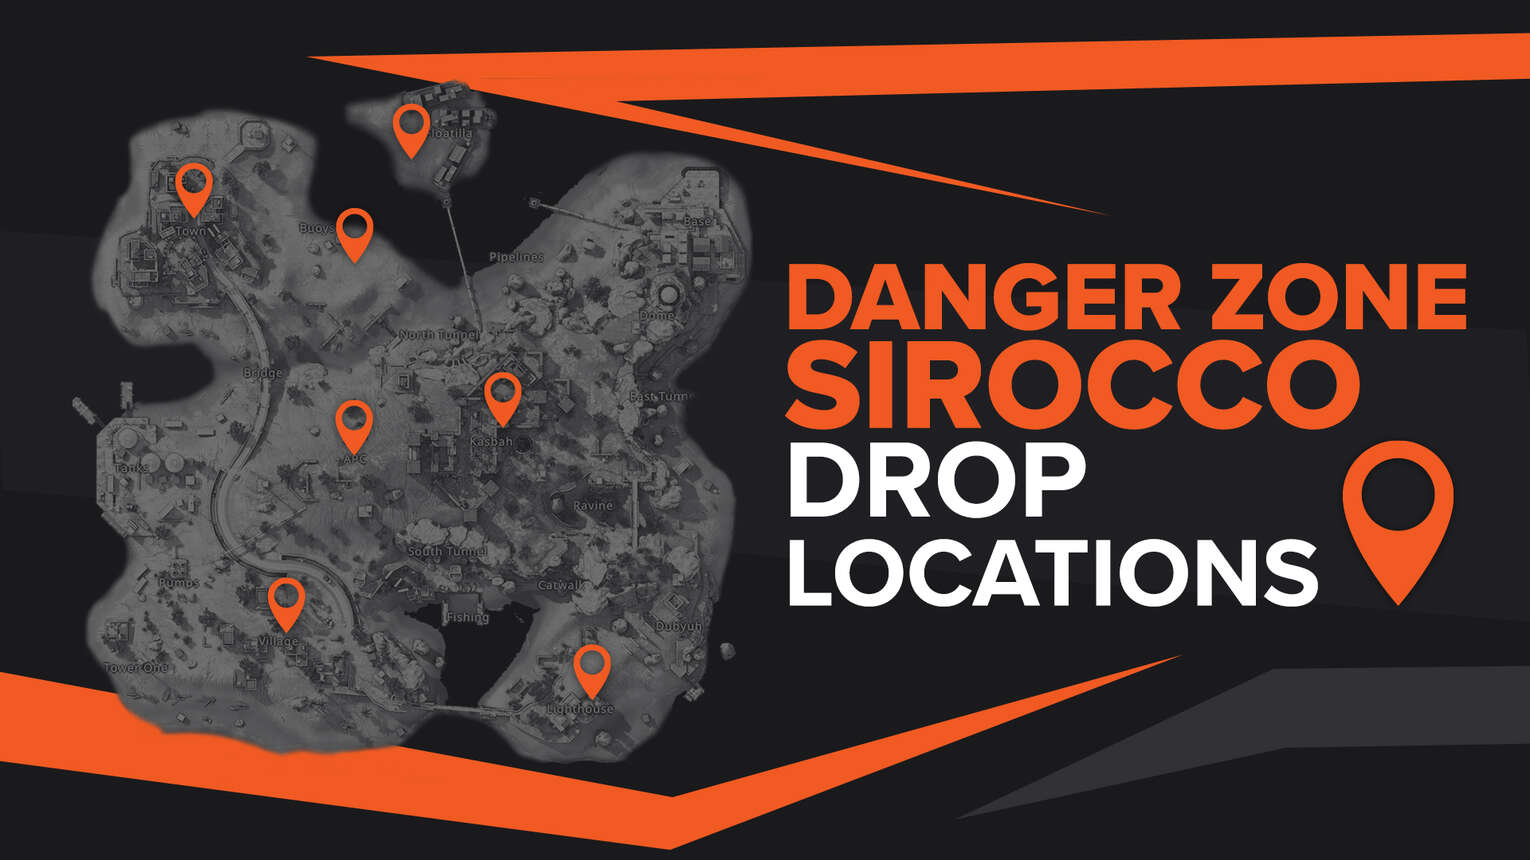
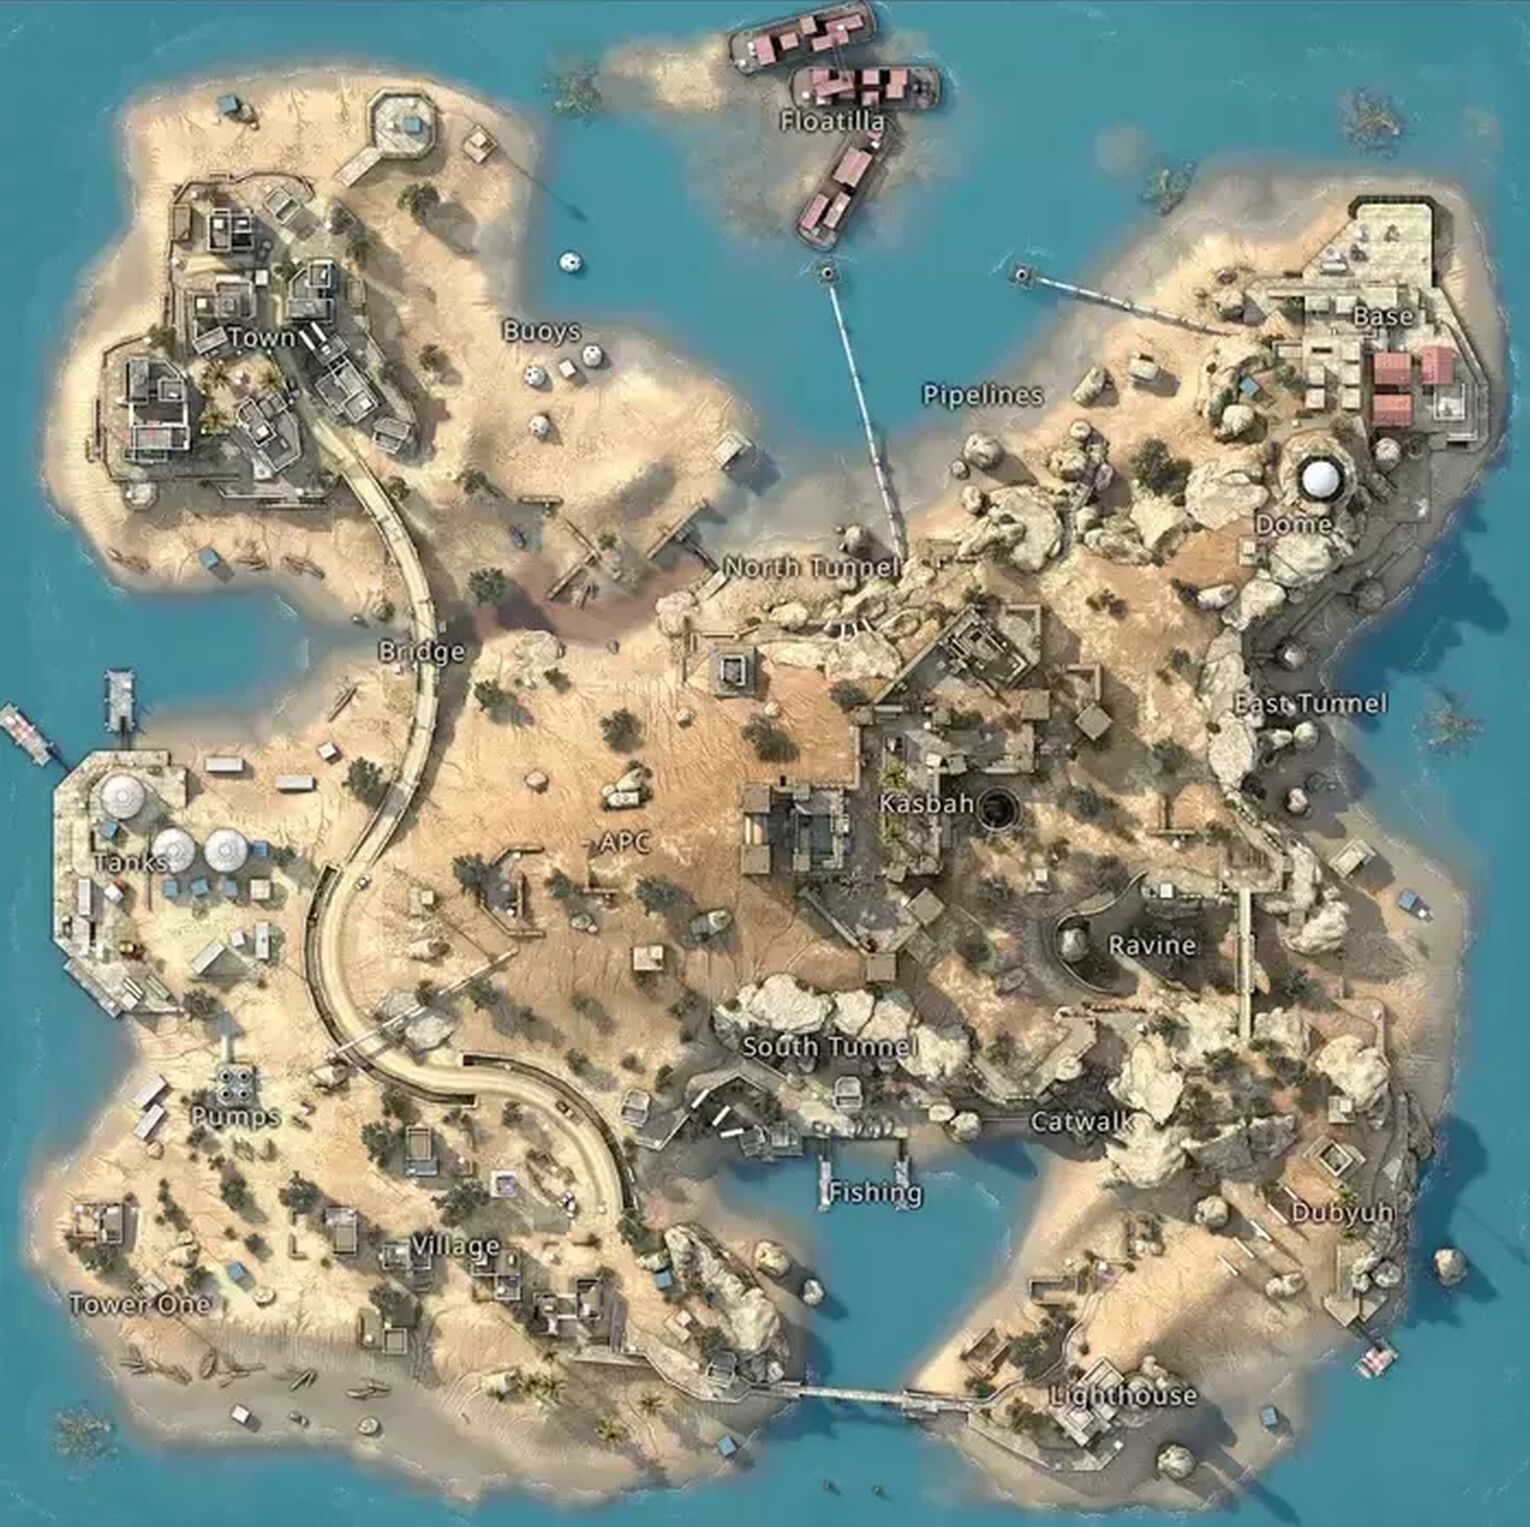
After the arrival of CS: GO Danger Zone’s first map Blacksite, it wouldn’t be long until we were treated to the next stunning compact battle royale arena for the game mode, Sirroco. This map has a variety of unique areas which offer different tactical advantages and disadvantages, consistency of loot and environmental factors to take into account.
It can all be a bit overwhelming at first glance and you could easily find yourself dropping into an area that just doesn’t suit your playstyle at all.
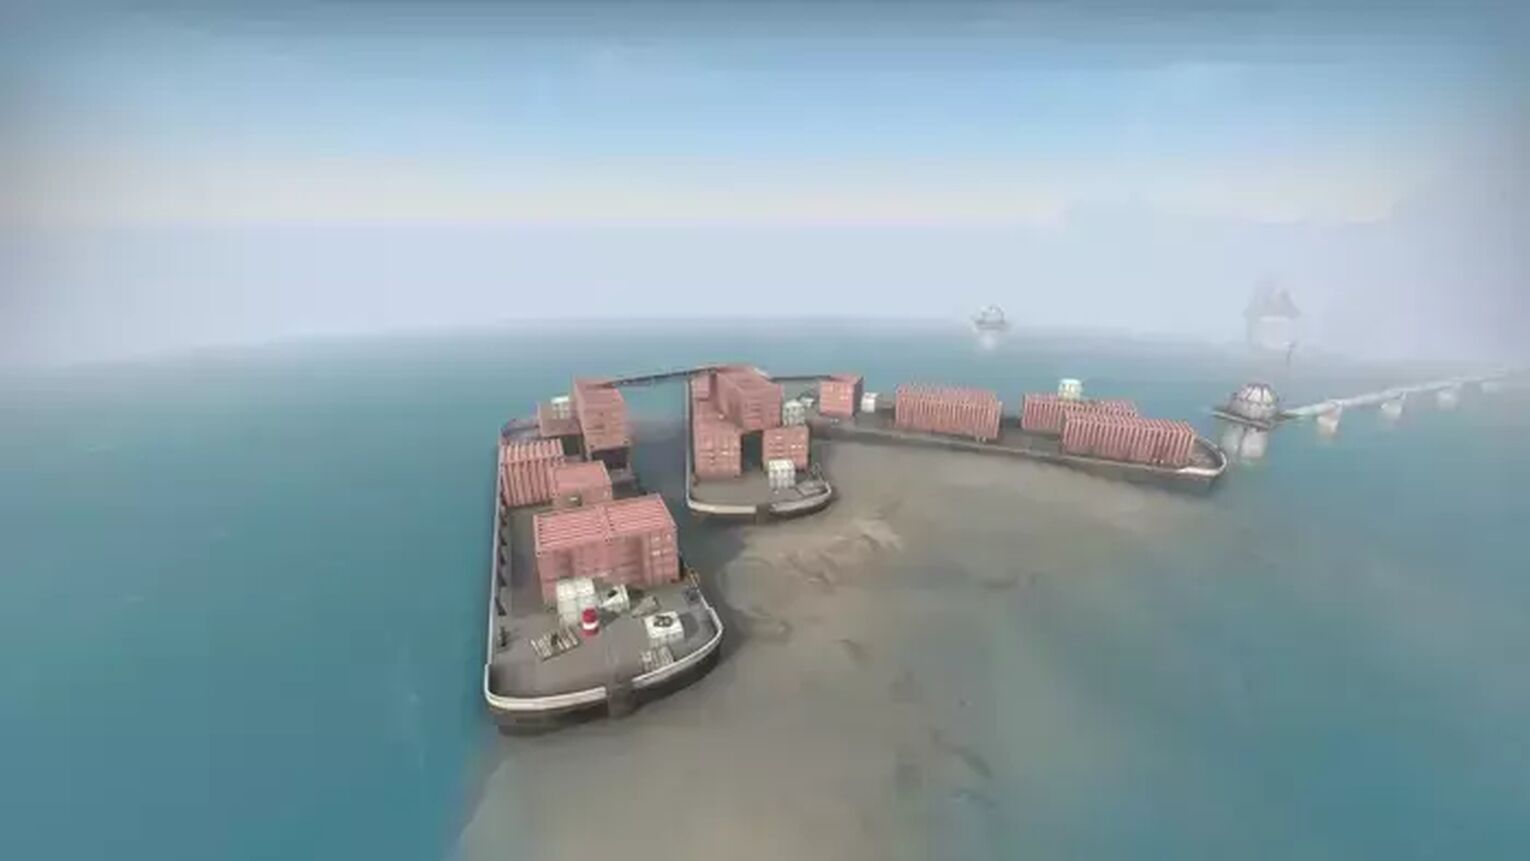
Floathill
This area is a great spot to pick up a great deal of loot in one dense place. You’ll often get everything that you need for the early game fights. Not to mention that it’s pretty difficult for players to get the jump on you considering the isolated nature of the area. However, this isolation will work against you when you want to move elsewhere. Unless you can find a window to get away when no one’s around to take you out. It’s a high risk for a high reward but a worthwhile choice for experienced players.
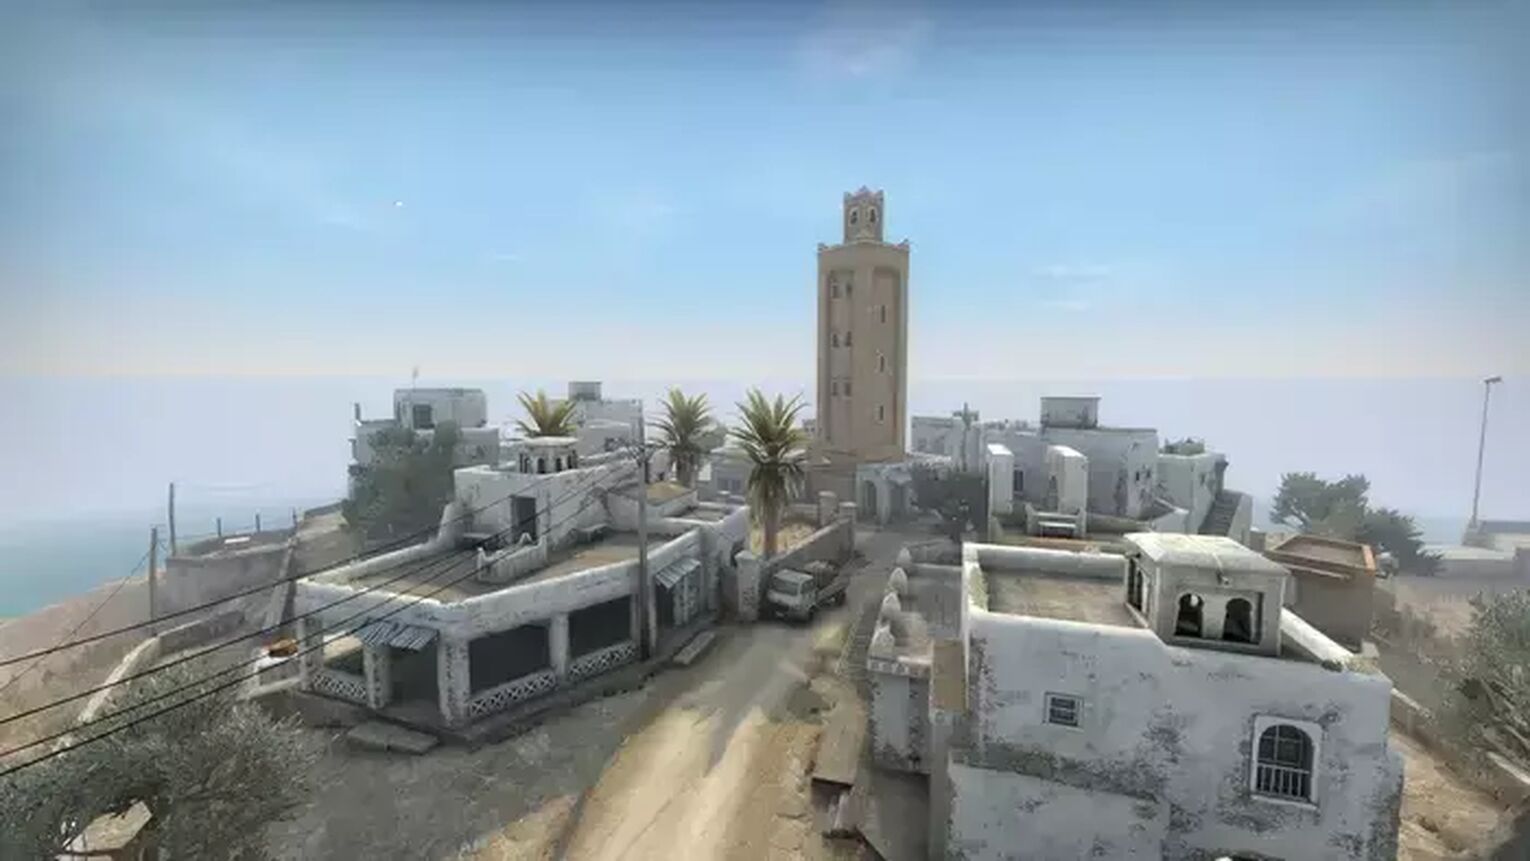
Village
The village is probably the safest area to begin on this map simply due to the distance between it and all the other available drops. However, this security comes at the loss of much less loot. Loot is sporadically placed around the area meaning that the safe choice may be for nothing when players with better gear finally arrive and blow you to kingdom come. It’s also a very open area so don’t expect to be able to hide either. It’s a good drop of beginners just finding their feet in the game but for an experienced player, there simply isn’t enough here to make it worth choosing.

Tanks
Tanks can be a really excellent starting point for a number of reasons. The loot is plentiful and pretty closely packed together, the area locates you far away from the larger areas like Bay and Kasbah which become crowded pretty early in the match. Plus, thanks to most novice and beginner players preferring to start in the village drop zone, if you can gather your gear quickly you can acquire an easy kill or two and rule the entire west side of the map. All in all, a really solid location to start if you can lock it down.

Bay
Bay is an area that has an abundance of great loot and thanks to its position on the coast, there are fewer angles that enemies can attack from, making it an easy area to lock down and get loot early. However, as the game progresses, this is when the pitfalls of this starting zone begin to become apparent. If you choose to stay put, it is likely that you will get caught up in the danger zone and die, plus those in Kasbah will come for you anyway. So to stay alive and keep your loot, your only option is to go through the highly populated Kasbah zone. It’s a risky place to begin but gives you enough firepower and gear to give you a fighting chance.

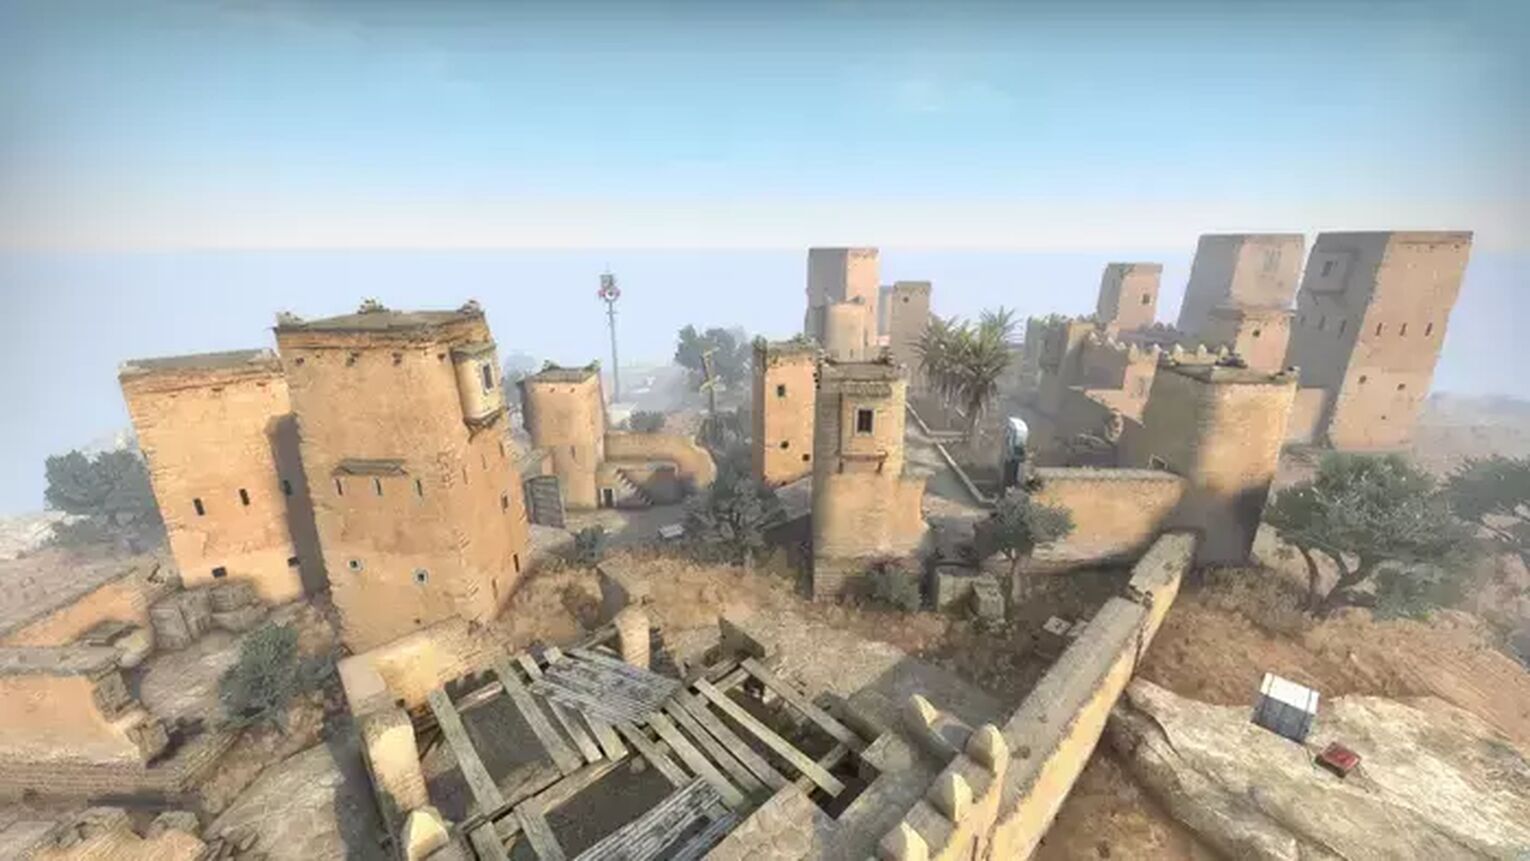
Kasbah
This area is simultaneously one of the best and worst places to begin your match. The positive aspects of this area are the many pockets of high-level loot drops you can acquire, meaning you are very likely to get more than enough money and gear to start your battle. Plus, you’ll be in the centre of the map so you can try and escape the hotly contested area in any direction you choose in search of kills. The downside of the area is that enemies will arrive in every direction and they’ll be on you fast, meaning you have a small window to get your gear and get out before the brawl starts. It’s a wonderful area to start but don’t hang around too long unless you really fancy yourself in a chaotic firefight.
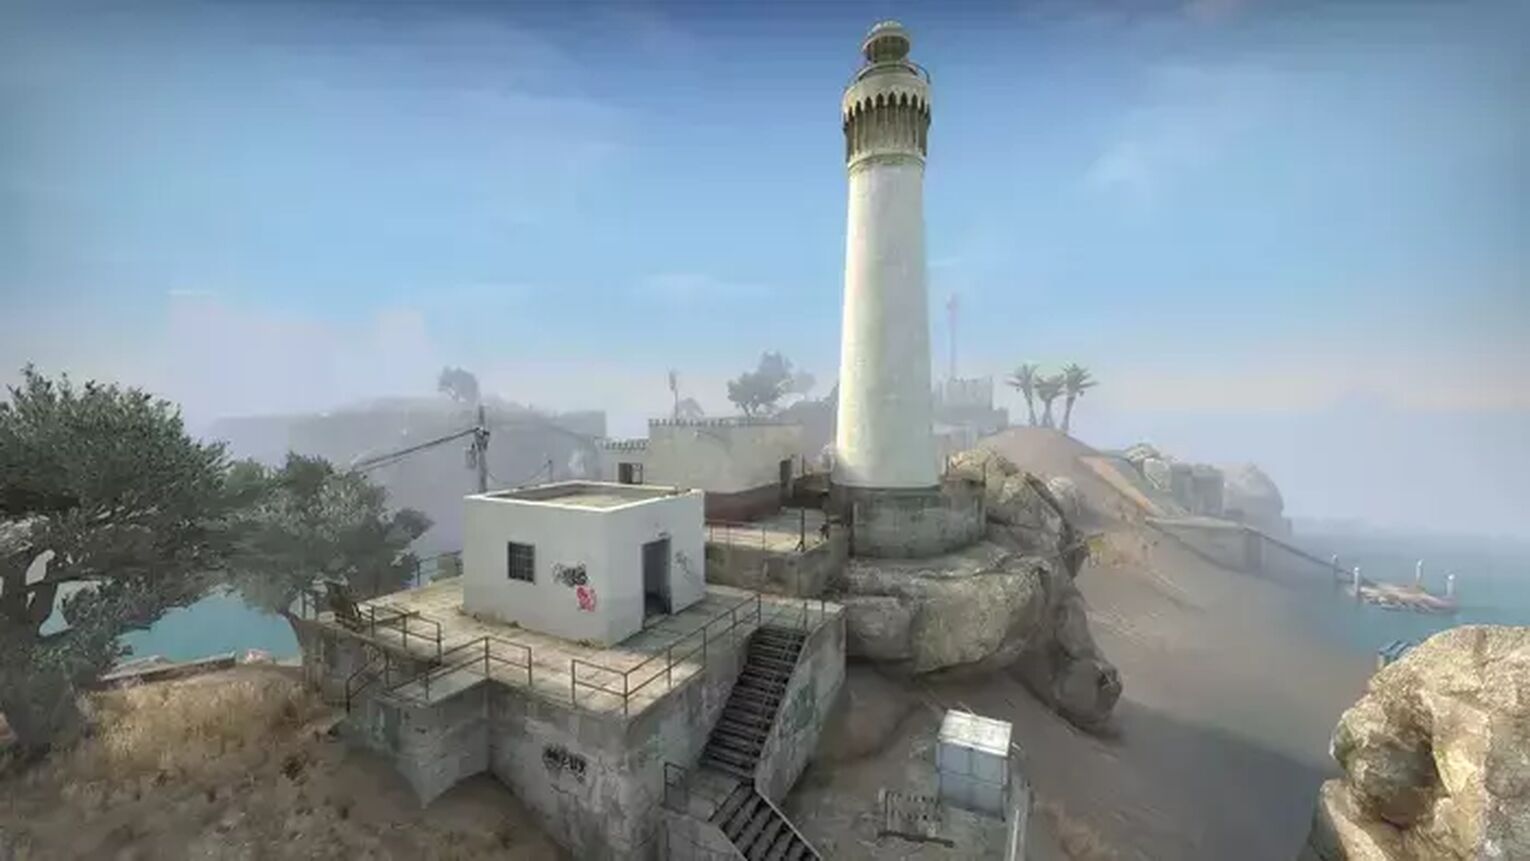
Lighthouse
Lighthouse unlike the one located on Blacksite is a low-risk area to start your match. You can gather a reasonable amount of money and supplies here, although the loot drops are not always consistent in this area, making it a slight risk if there is nothing there to help protect yourself. Players landing in Dubrah will also be quick to make their way to you instead of trying to take on the mass of played in Kasbah, so be sure to gather what you can and prepare for their arrival. If you can lock down this south East area of the map it can be a great foundation to build on but it all comes down to how lucky you are with the loot drops available.
Town
This, in our opinion, is the best starting point on Sirroco if you can lock it in. The area has an outstanding amount of loot and money to get your hands on, it sits on the coast meaning that you can scout any players approaching with ease and pick them off. Plus, thanks to the majority of players starting on the East side of the map, you’ll have a little more time to scavenge the area in peace. You just need to be wary of players approaching from Tank and Village in the early game and will need to traverse an open environment to reach the centre of the map if needed in the late game. Overall though, this is the ideal spot to begin your match.
APC
This is an interesting drop zone that offers a reasonable amount of loot and a central position on the map, allowing you to plot your line of attack in any direction you like. It sounds like a solid spot to begin but the glaring issue about this area is the exposed nature of the drop zone. Aside from the few structures in the area, there is very little cover for you to make use of in this location. If you are able to get what you can fast and make your way to a less open area quickly then this can give the player enough to begin their match strongly but when compared to the other areas on offer, it’s by far the riskiest and least beneficial area to begin.

Sirroco offers a much more open and sparsely populated map as a whole when compared to its predecessor. This means that your first decision of the game can matter even more when playing here. You need to know every nook and cranny of each area and pick a starting zone that suits your playstyle perfectly to give yourself every chance of success. We hope that our guide of each key area gives you an idea of what area suits you best and helps you on your way to racking up win after win.
![Best Sites to Buy Skins in CS [All Tested] + Discounts](https://theglobalgaming.com/assets/images/_generated/thumbnails/4092904/61a89a7d2ad69acdabef3deb_Best-CSGO-Buying-sites_03b5a9d7fb07984fa16e839d57c21b54.jpeg)
![CS2 Weekly Care Package System Explained [With Reset Time]](https://theglobalgaming.com/assets/images/_generated/thumbnails/4084023/cs2-weekly-drop-system_03b5a9d7fb07984fa16e839d57c21b54.jpeg)