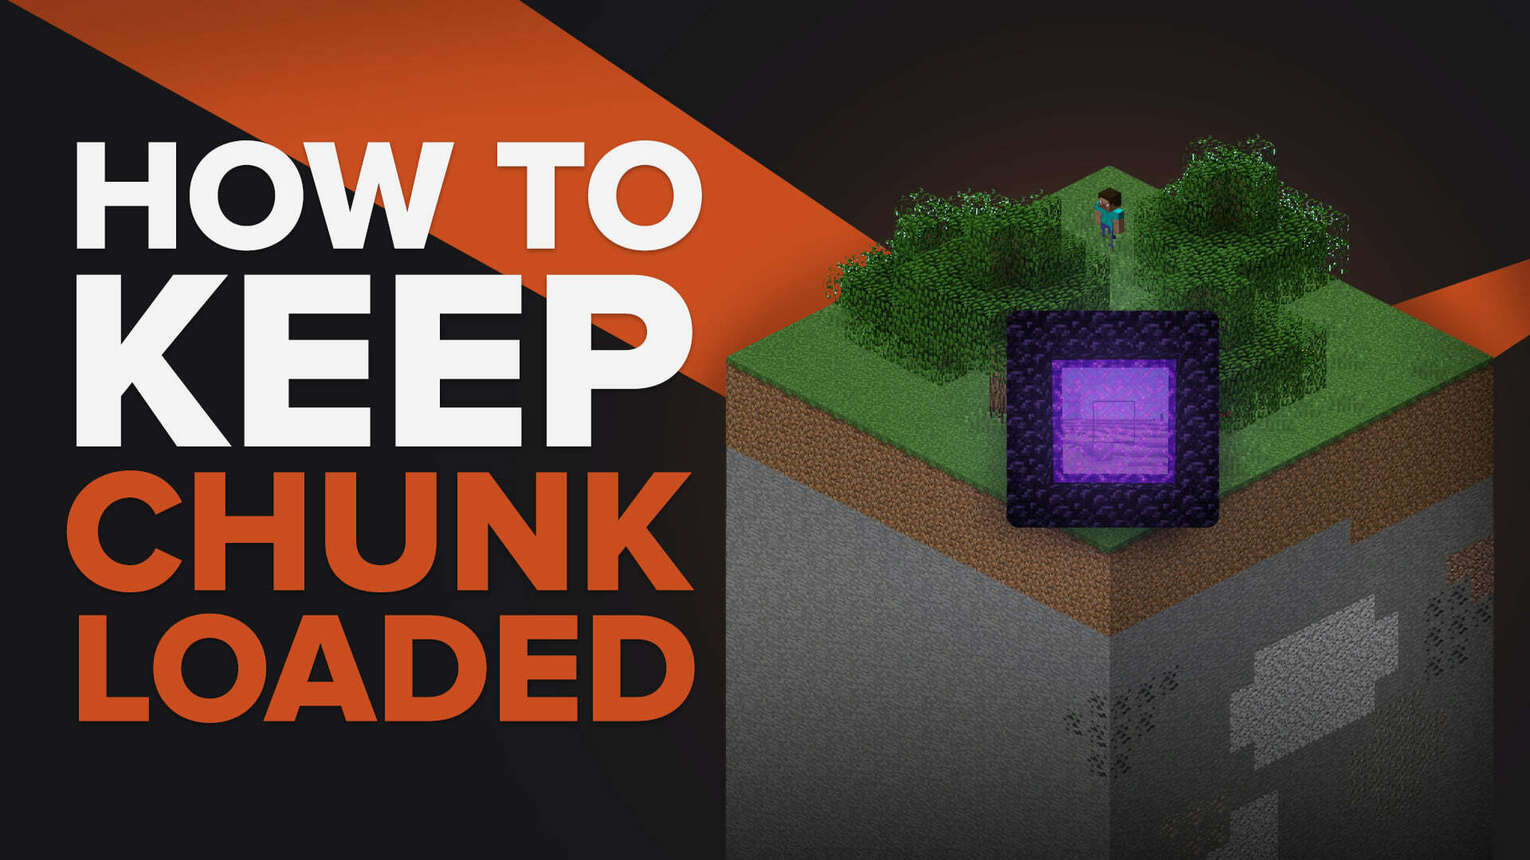
In Minecraft, whenever you travel too far from home everything including the farms may get a freeze, and you won’t be able to get the farm output. This is due to the chunk loading effect. In Minecraft, only players' chunks are active, or you can also use chunk loader mods. Keeping your farm chunk loaded is easy to do with chunk loaders or connecting the spawn point, so let's learn how to do it.
What is a Chunk in Minecraft?
A chunk is a 16 x 16block area in the Minecraft overworld. The area of the chunk is extended from the height of 384 blocks from the bedrock. If you want to see the chunk, you can enable the chunk boundaries by pressing F3+G on the keyboard.
What is a Chunk Loader?
Wherever a player went far from a chunk to a certain distance, all things in that chunk freezer, including your farms and another automatic mechanism. This leads to no production of resources.
A chunk loader is an automatic mechanism that keeps the chunk active even if you are away from it. A chunk can be activated in various ways. Here we will discuss how.
How to Craft Nether Portal Chunk Loader?
Nether portals are self loaders but only when there is a movement between them. This ambient effect may load the whole portal chunk.
This technique is best if you have a high-end rig as it requires tremendous resources to keep a chunk load. Here’s how you can make this marvelous nether chunk loader.
Step 1: Make a Nether Portal
Note that you must craft this portal in the center of the chunk you want to keep loaded. First of all, find the center of the chunk by pressing F3.
To craft a nether portal, you will need 16 blocks of obsidian and a flint & steel. Make a 5x5 rectangle vertically using obsidian blocks.
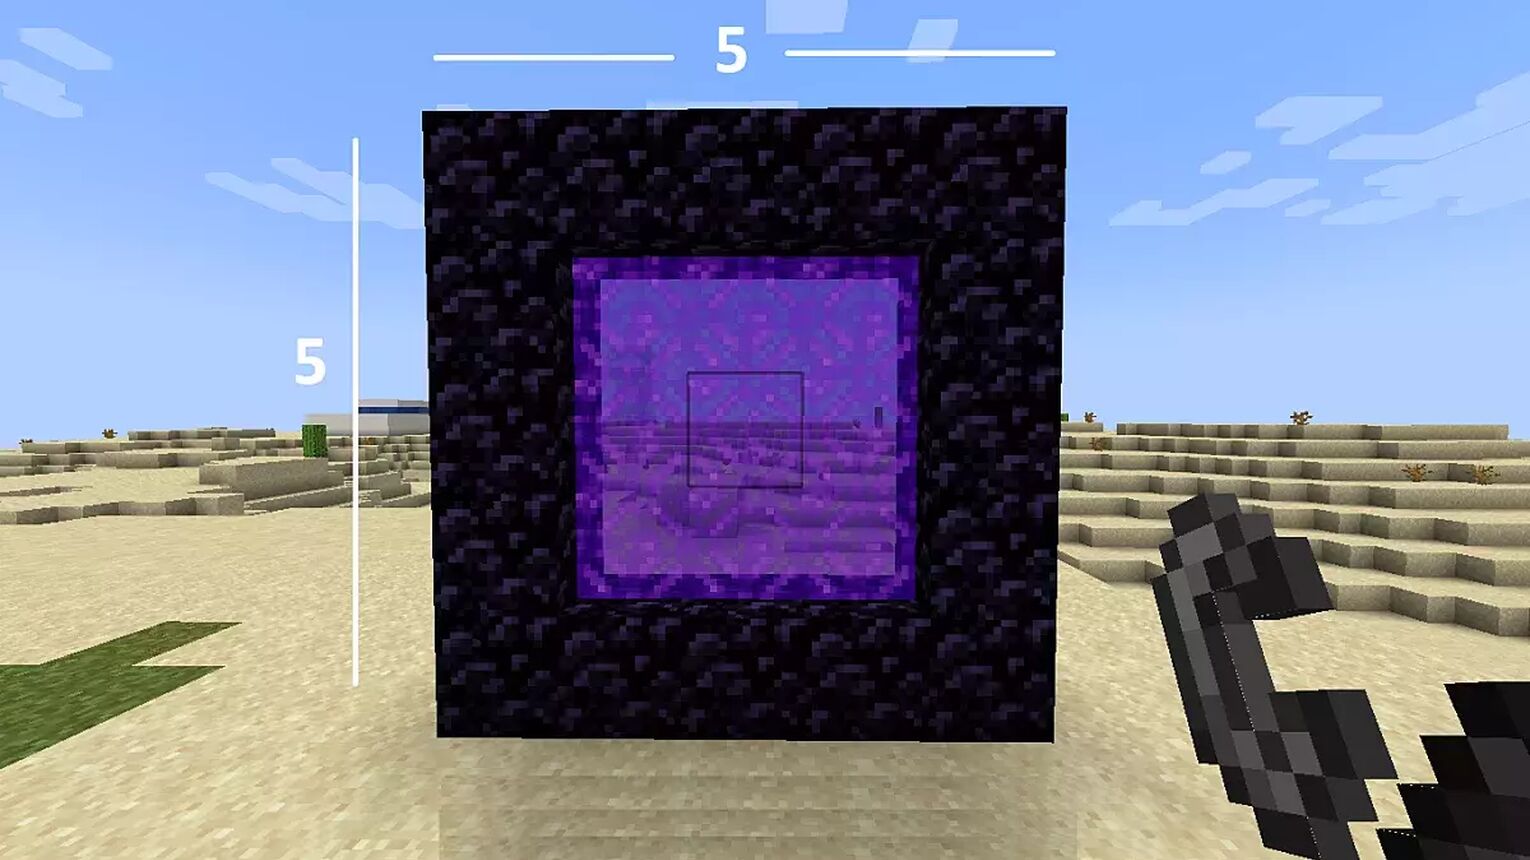
For the portal to fire, you just need to place the flint and steel on the base. Your portal will appear in front of you as soon as you do that.
Step 2: Place a Hopper
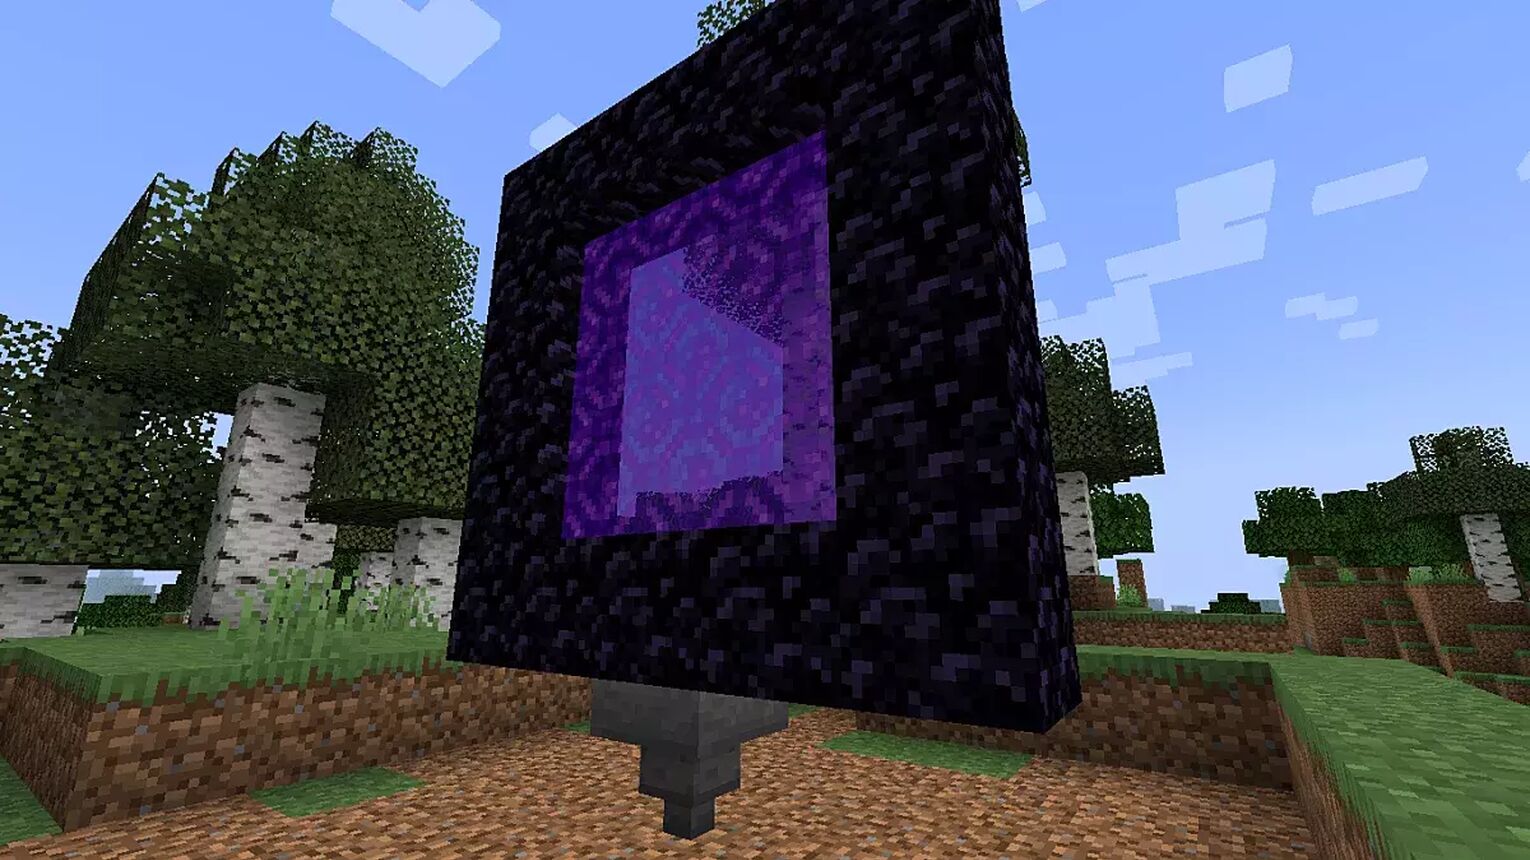
The hopper must be placed under the portal, so dig a hole under the portal all the way from one side to the other, or you can craft the whole portal on the hopper then. The choice is yours.
Step 3: Place a Dispenser
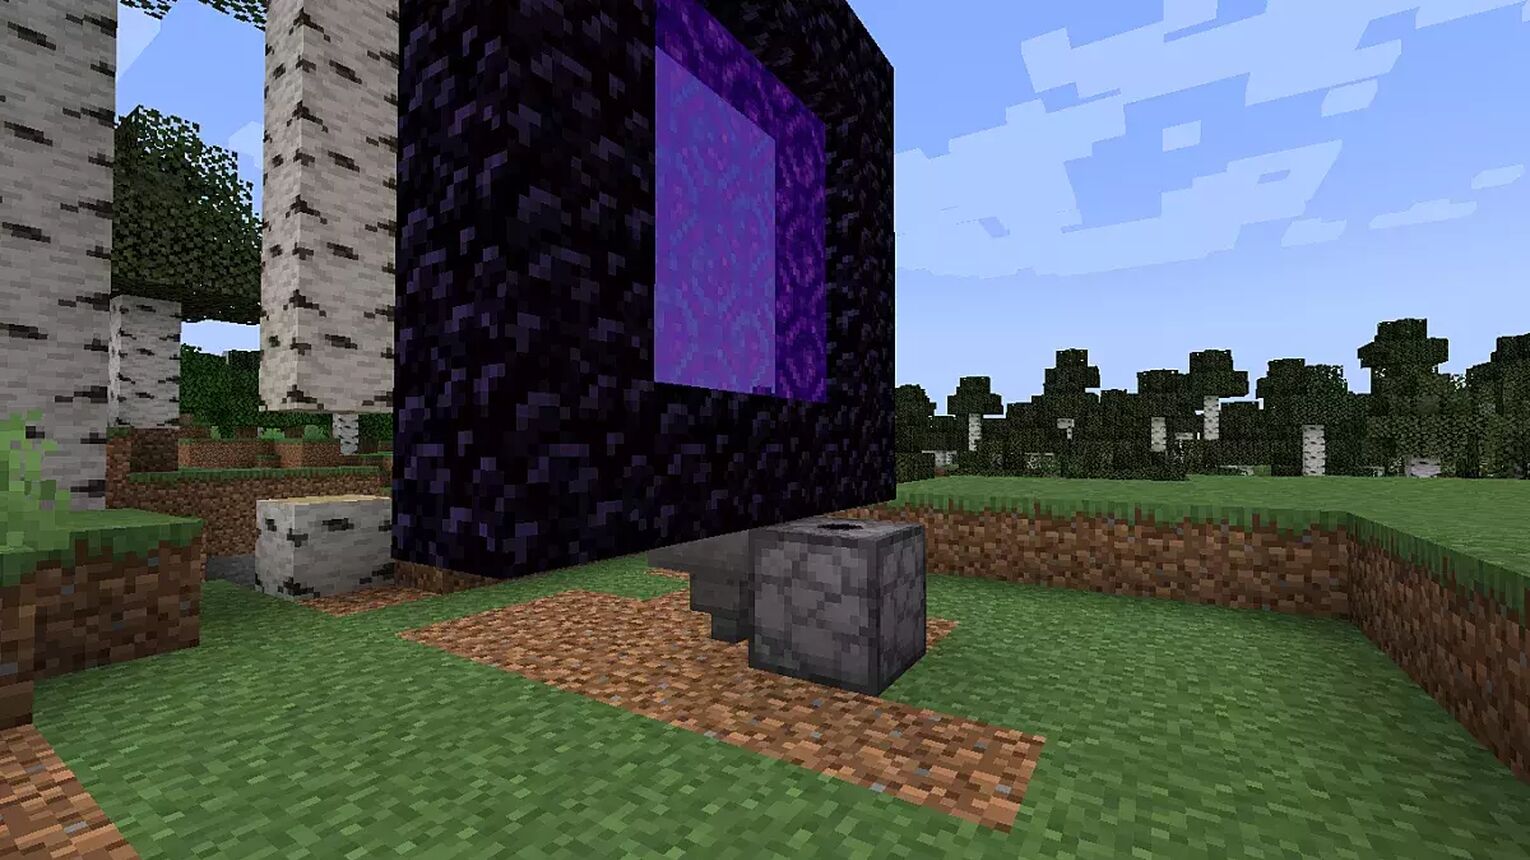
Place a dispenser facing upwards, attached to the hopper on any side. This will connect the hopper to the dispenser.
Step 4: Placing a Slab
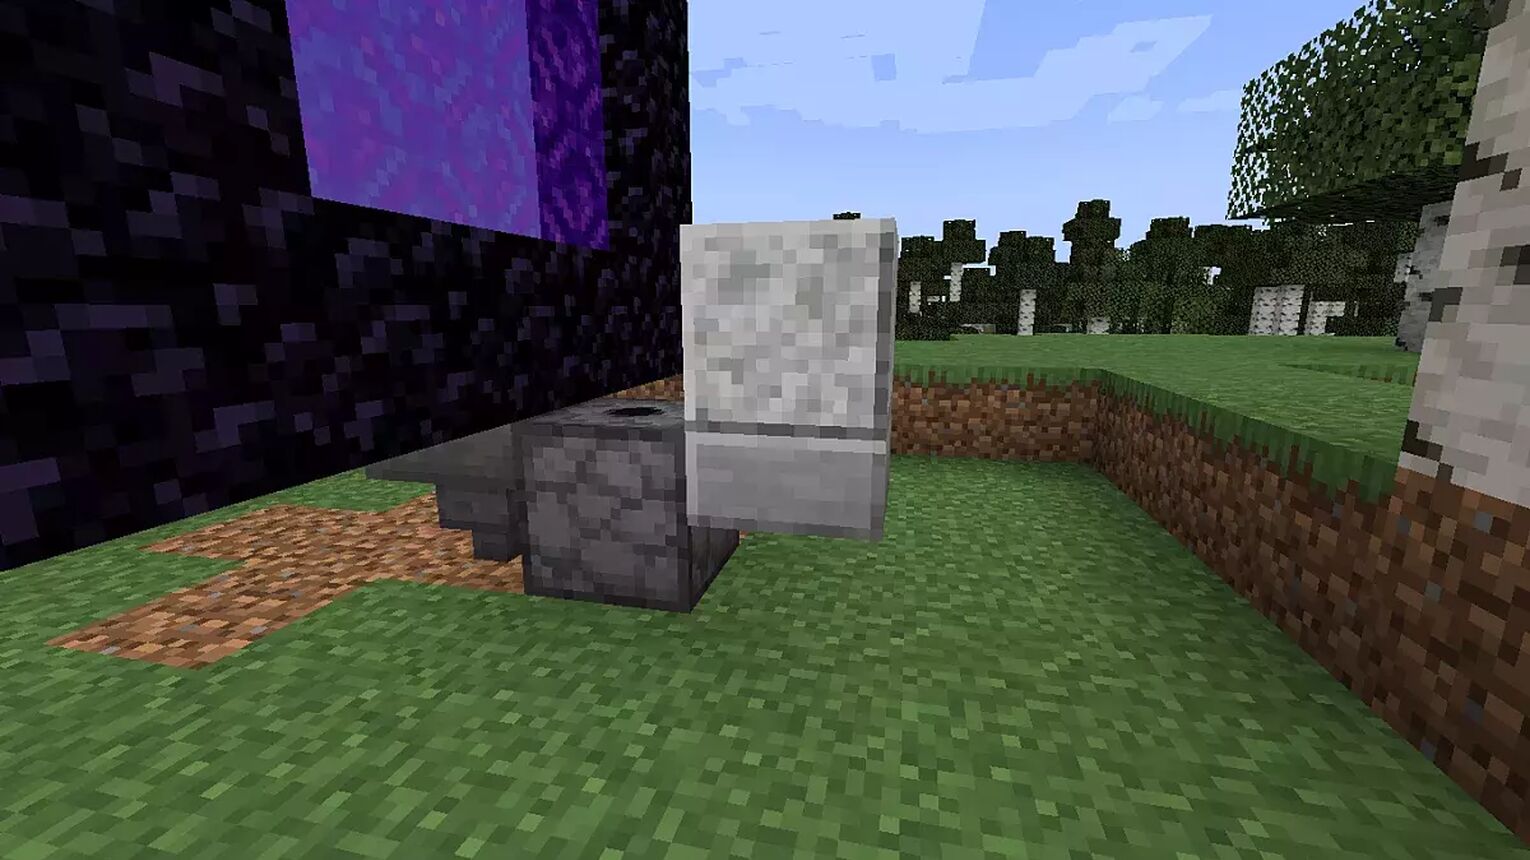
Place a slab on the back of the dispenser diagonally and place a block of polished diorite. You can use any block, but keep in view the color of your structure. Now remove the slab it was to support the block.
Step 5: Placing Detector Rail
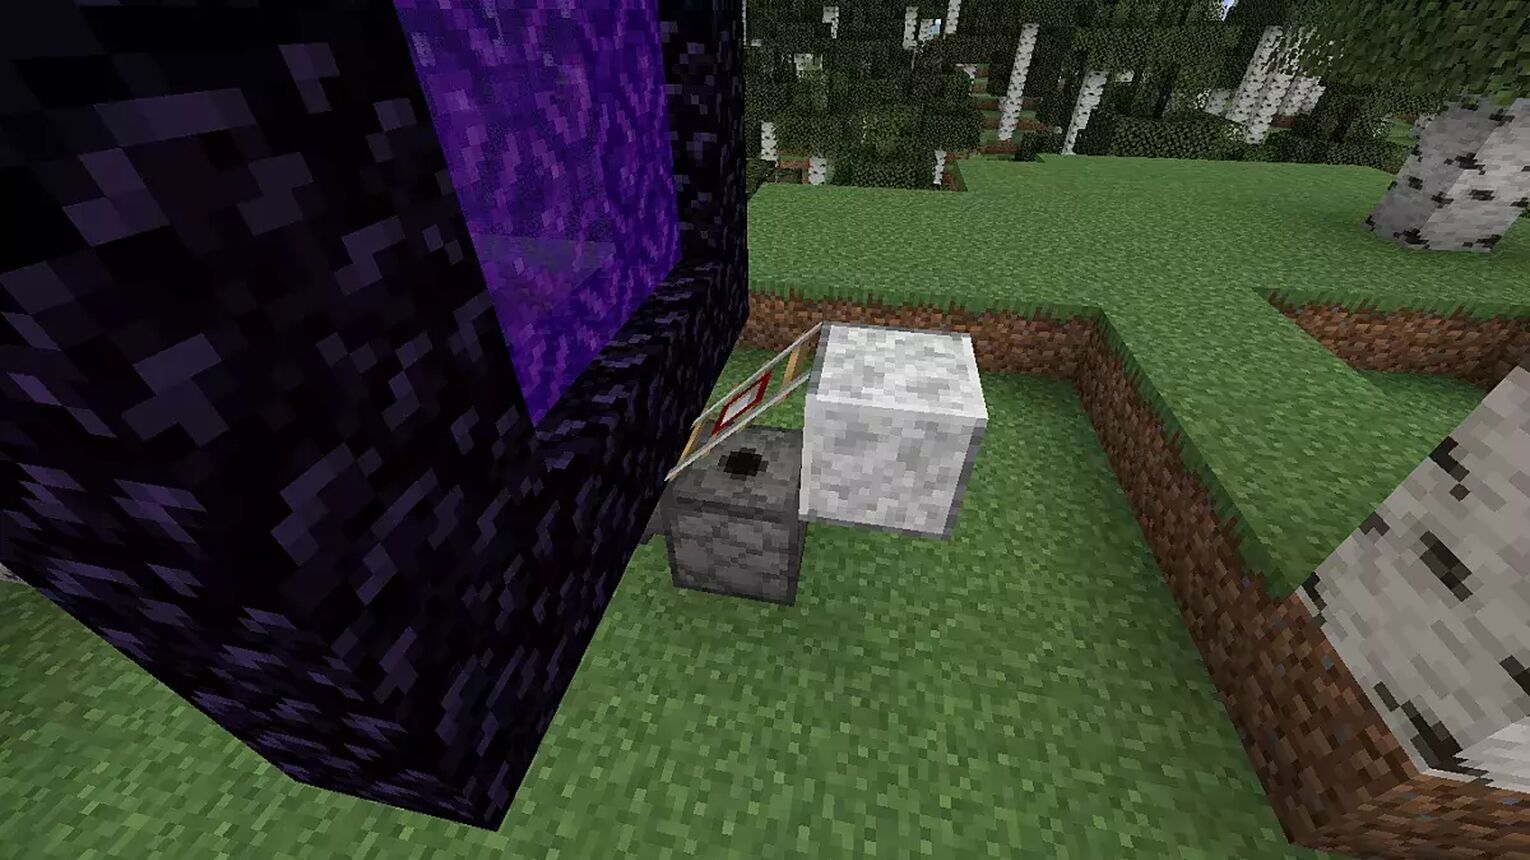
Place two detector rails, one on the hopper and the second on the dispenser. Once the first detector rail changes shape to a sloppy detector rail, break the second detector rail (the hopper one).
Step 6: Redstone Mechanism
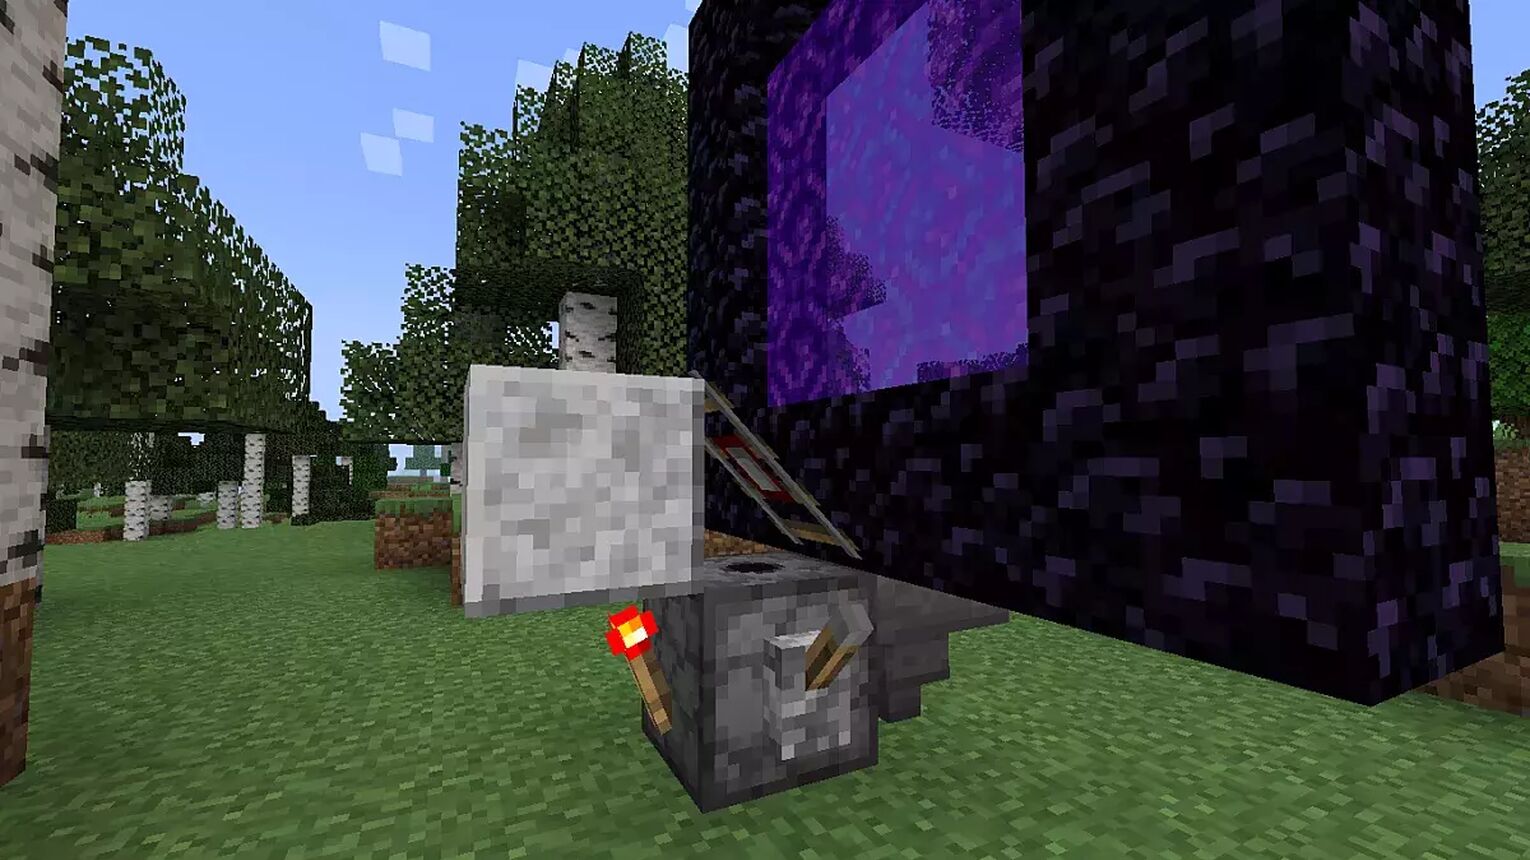
Place a Redstone torch just beneath the block attached to the dispenser and a liver on the other side of the dispenser to activate the mechanism.
Step 7: Place the Minecart
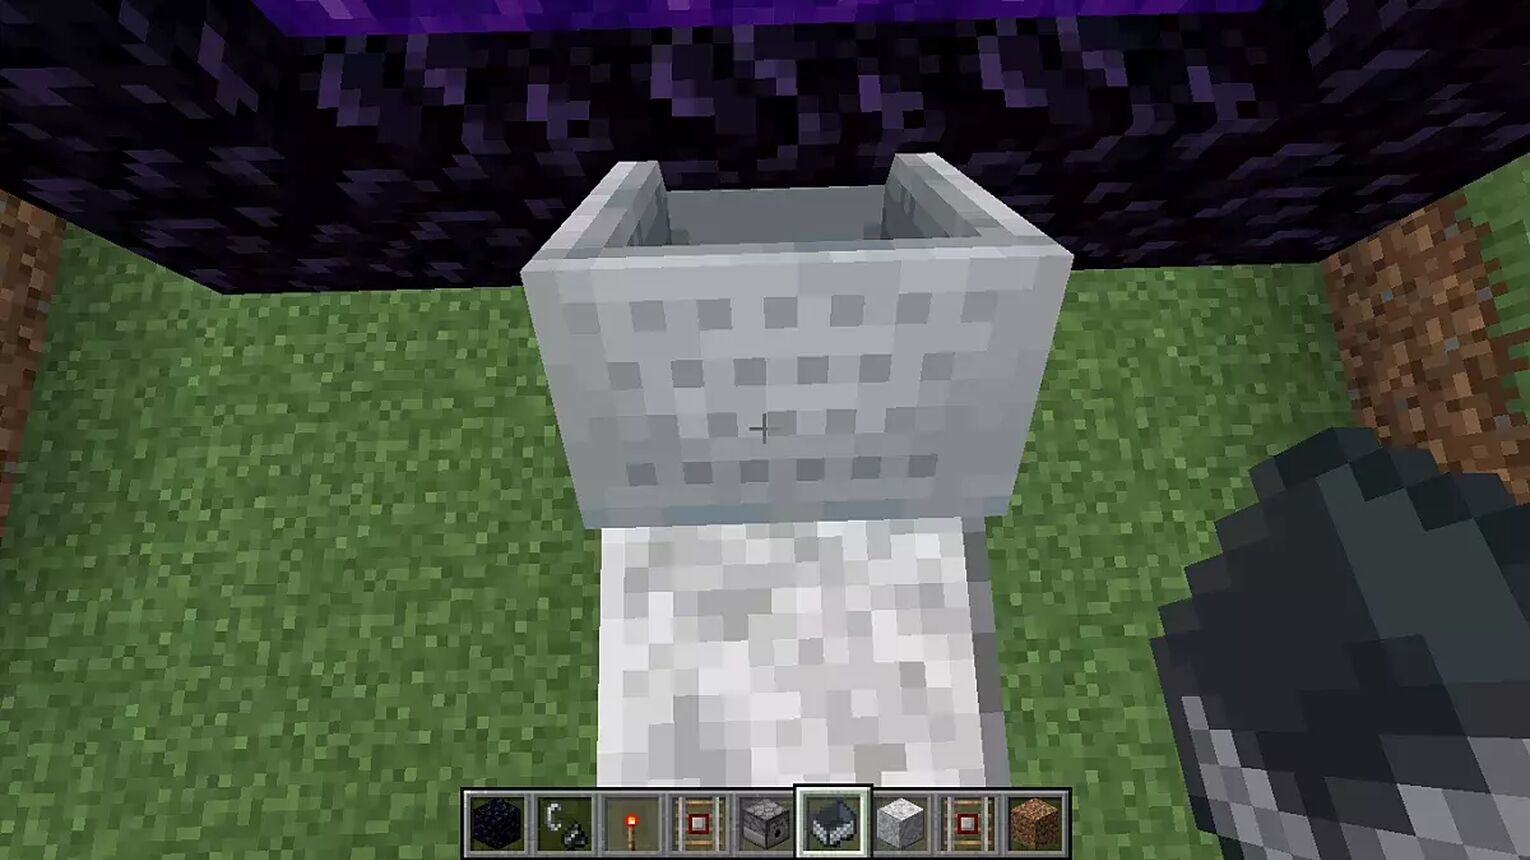
Now, go near the deactivator rail and place a Minecart on it. This minecart will act as the moving object between the portal.
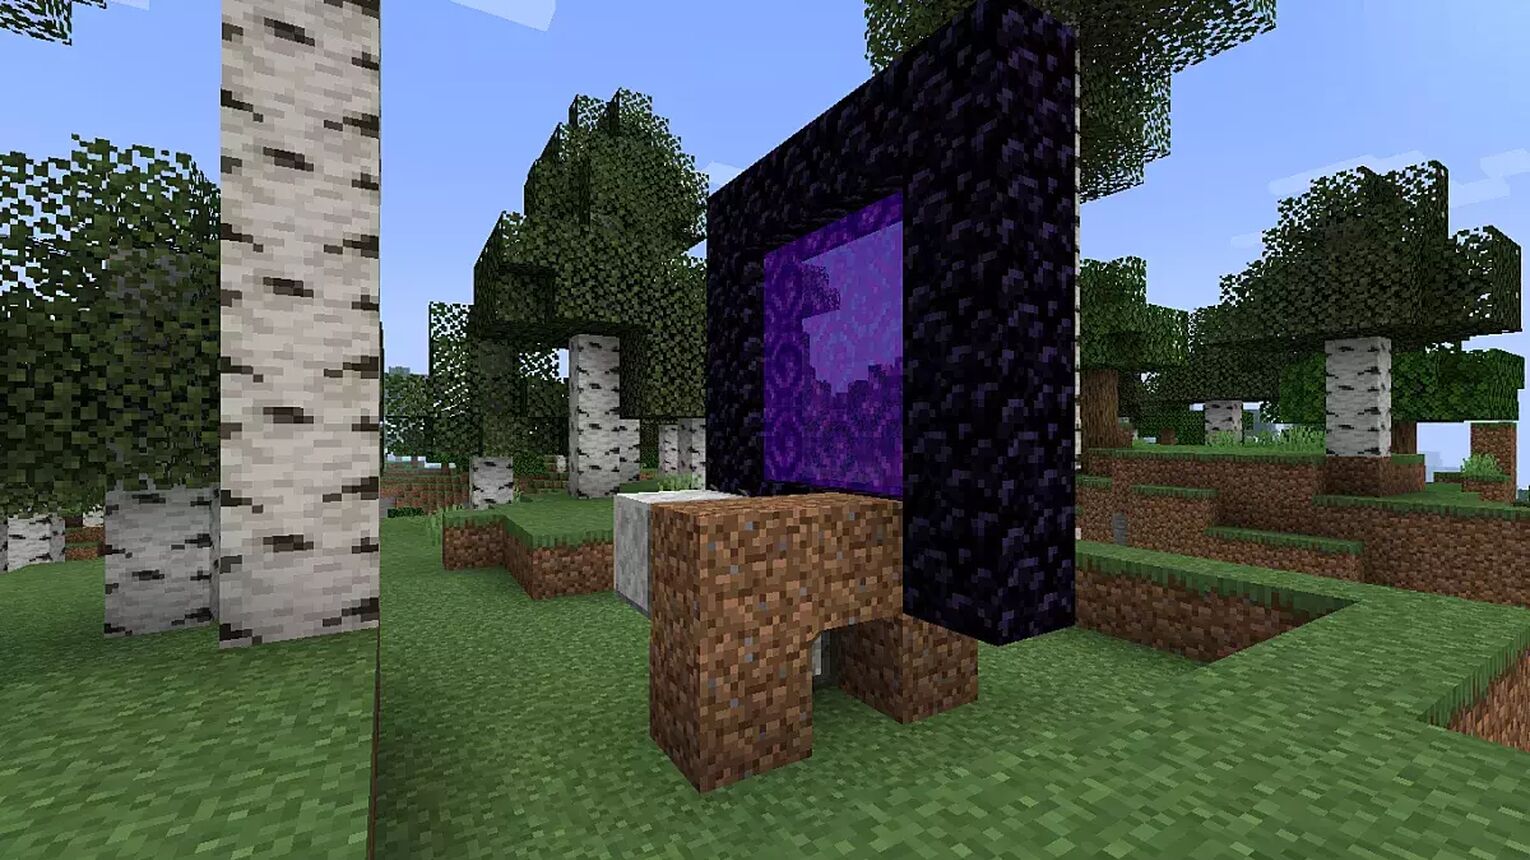
Cover the liver side of the mechanism with dirt blocks. Place another Minecart on the same rail; it will be pushed to the other side of the portal.
Step 8: Cover the Detector Rail
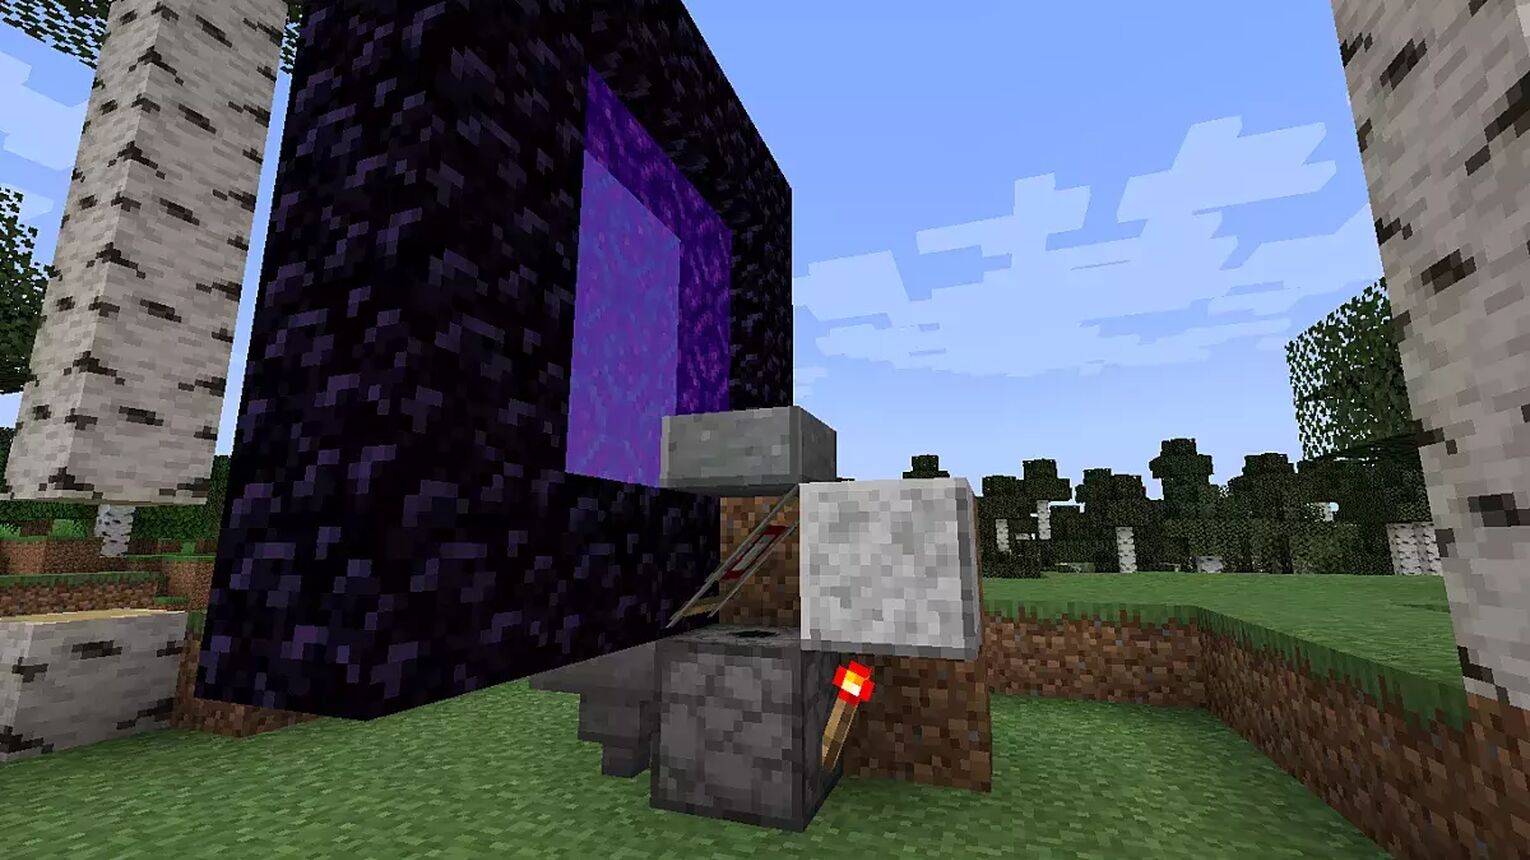
You have to cover the detector rail so your minecart won’t slip here and there. So take a slab and cover it. q
Step 9: Light up the Netherrack
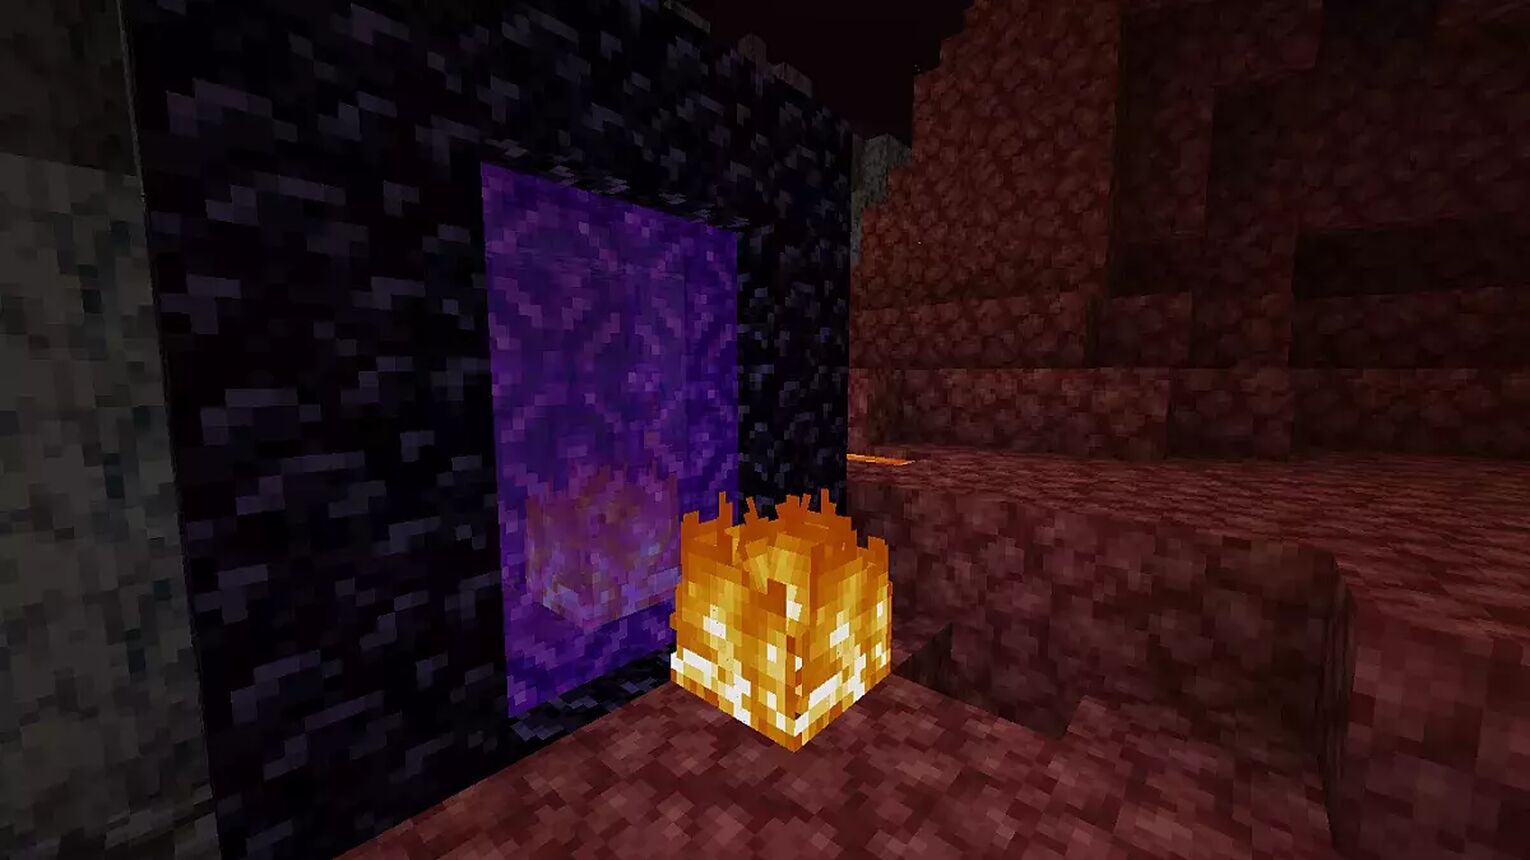
Now jump into the nether portal and go to the nether world. Here you will find your Minecrart. Break and pickup the minecart and light up that netherrack using flint and steel. Your nether chunk loader is ready.
Link The Spawn Point
Linking the world spawn may also keep the spawn chunks loaded as the spawn point is also constantly loading. This method may be daunting for some players as it requires a lot of resources to make hoppers in new spawn chunks.
Step 1: Identify the Spawn Point
There are two ways to identify a spawn point. Either die or mark at the start of the game. It's now just a matter of connecting the spawn point to other chunks that you want to keep loaded.
Step 2: Connecting Spawn Points
First, you have to connect the hoppers with each other in such a way that it returns to the starting point again while keeping it on the chunk border. This method will keep the spawn point, and all connected chunks loaded permanently. These loaded chunks will keep the chunk active.
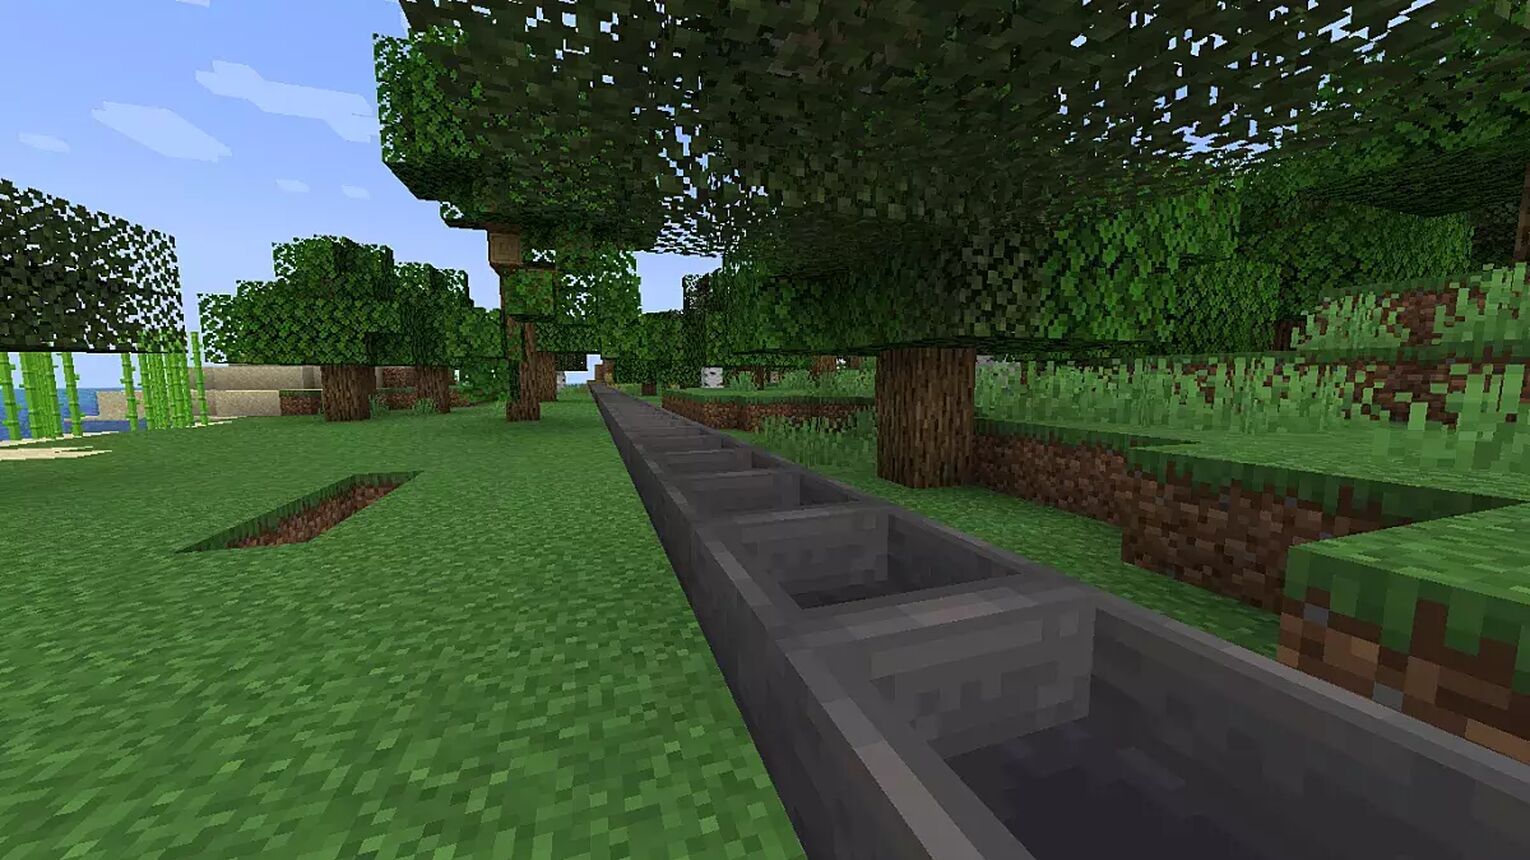
You can also extend these hoppers to your farms, like iron farm and home so you may not worry about your farm products and produce.


.svg)


![Best HUD Mods in Minecraft [Top 10 List]](https://theglobalgaming.com/assets/images/_generated/thumbnails/4077159/best-hud-mods-minecraft_03b5a9d7fb07984fa16e839d57c21b54.jpeg)
![How to Join a LAN World in Minecraft [Java & Bedrock]](https://theglobalgaming.com/assets/images/_generated/thumbnails/4077161/how-to-join-a-lan-world-minecraft_03b5a9d7fb07984fa16e839d57c21b54.jpeg)
