Modifications to primary files such (.exe), dynamically linked libraries (.dll) or simply game files of a game can lead to such a VAC exclusion. Nonetheless, the Valve Anti-Cheat System doesn't detect all cheats and modifications made by players to the game as the exponential cheater player counts shows due to the constant adaptations and caution used by cheat software providers. This is causing the possibility that the VAC system might never meet its expected capabilities.
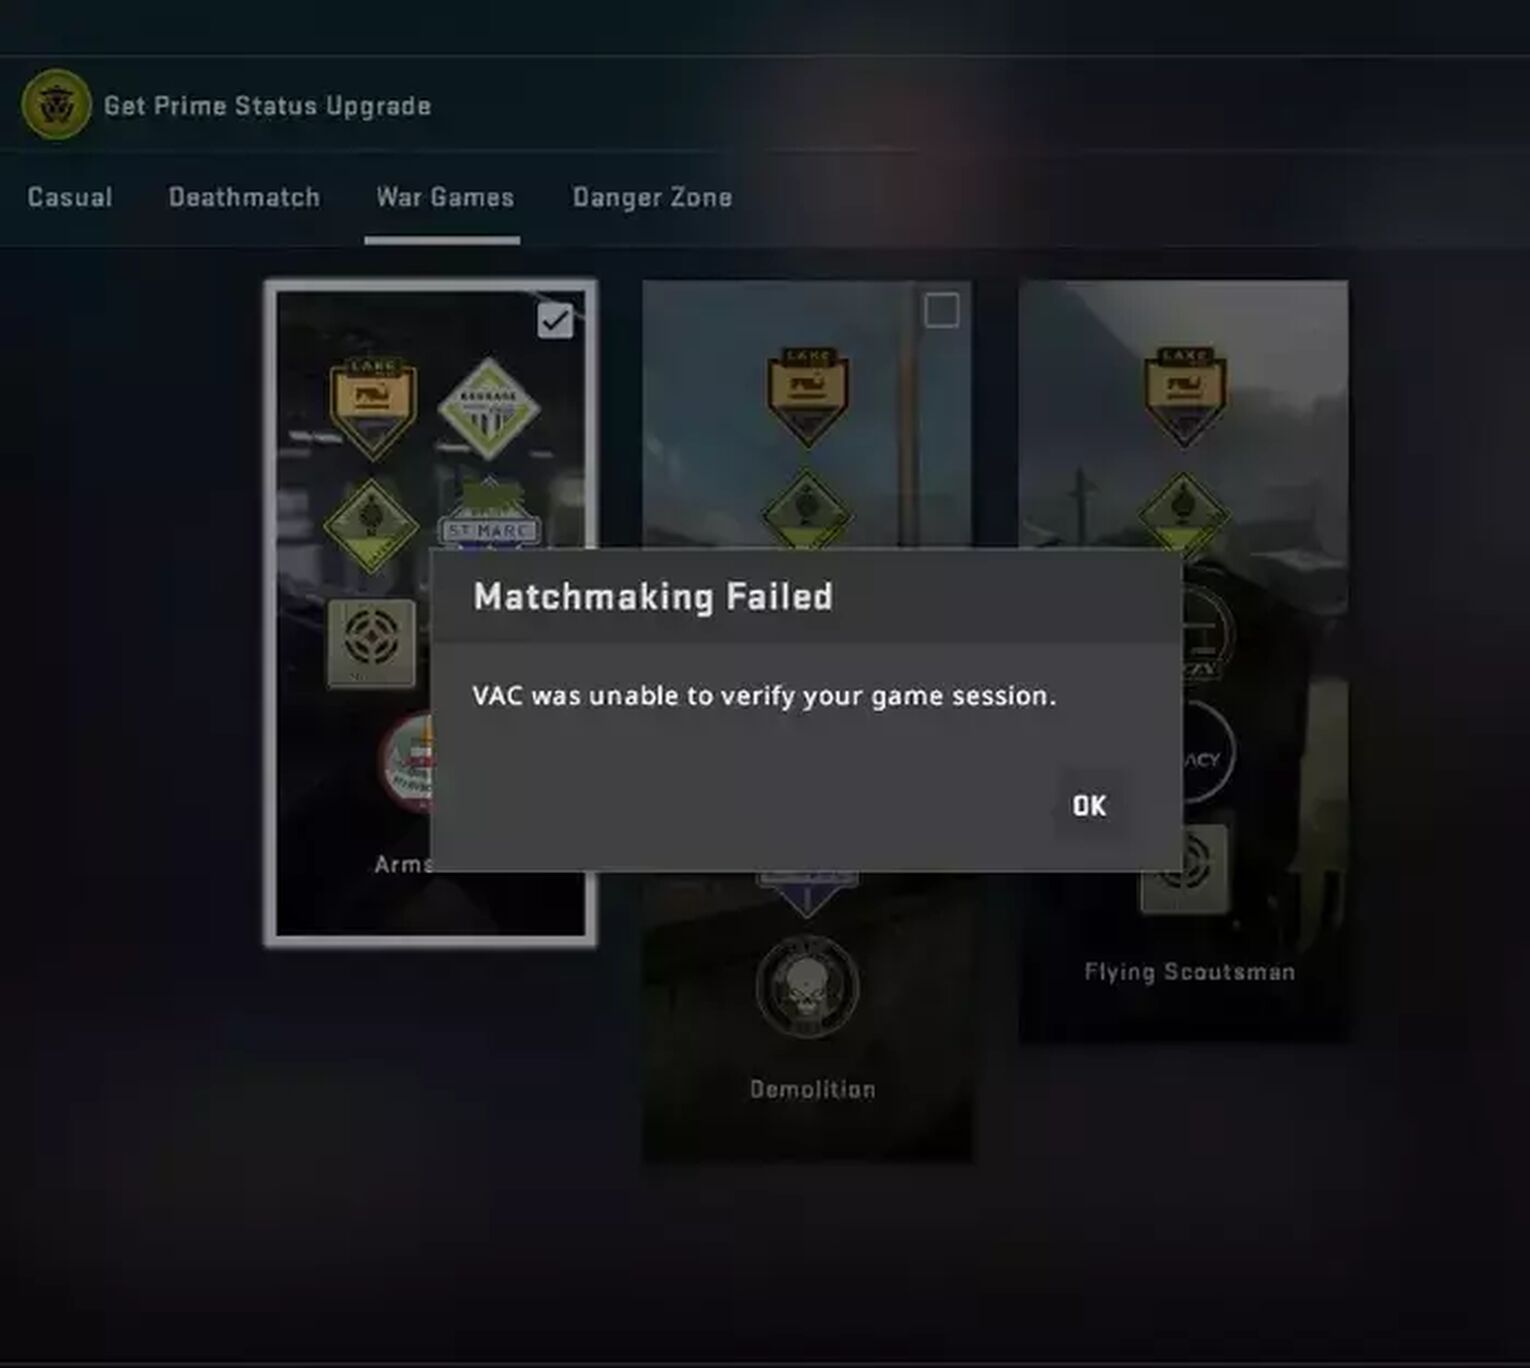
However, the error code “VAC was unable to verify your game session" is contrary to many expectations, not a VAC Ban.
This is the result of the Valve Anti-Cheat System and the integrity of your CS: GO Game files not correlating with each other even if the player hasn't been cheating or made any configurations to the Counter-Strike: Global Offensive files at all.Despite everything and what exactly caused the error, there are several methods to choose from to fix the error code by keeping the integrity of VAC intact:
Method 1: Verify the integrity of your game files
When running into “VAC was unable to verify the game session”, the existence of some missing or corrupted files might be the source of this error. To check whether this is the cause you will need to use your Steam client.
- Open Steam, click Library on the upper left corner.
- Right-click Counter Strike Global: Global Offensive and select Properties.
- Select Local Files and click on Verify Integrity of Game Files.
This process might be time-consuming as the Steam client is checking every single file of the game. Once the validating of the files is complete there could be some missing or corrupted files. If this occurs simply click “Ok” and the Steam client will automatically start downloading those files again for your game to work properly again.After completing the mentioned steps, participating in matchmaking matches should work again, and the "VAC was unable to verify your game session" error should be gone.However, if the error is still occurring there are other methods to fix this complication caused by the Valve Anti-Cheat System.
Method 2: Restarting your steam client
If verifying the integrity of the game's files is not the solution to the error code there is a possibility however that the Steam client itself might be the cause. Due to possible server timeout is it recommended simply restarting the steam client. This method requires no expertise at all and is as some users insisted one of the most practical.
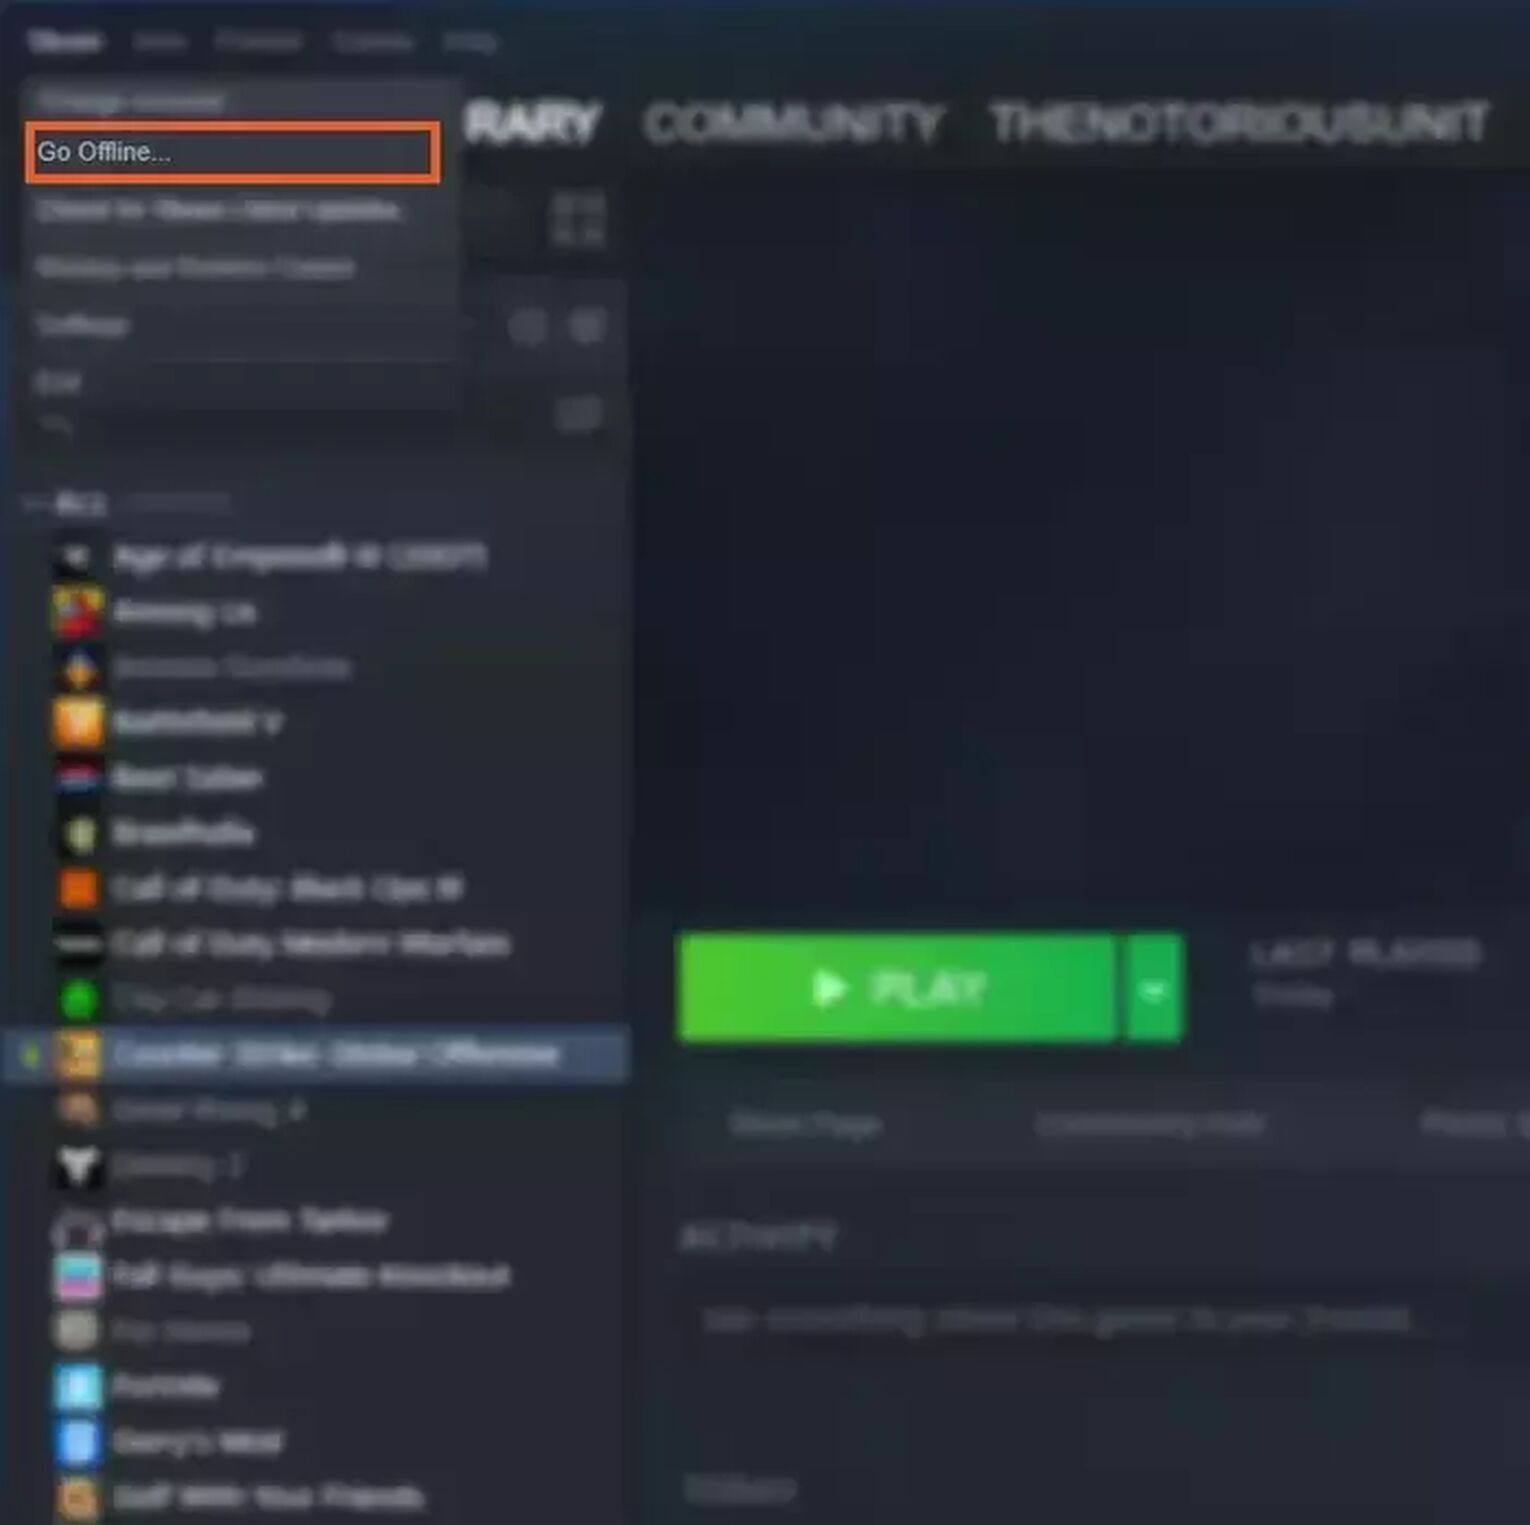
- Open Steam, click on Steam in the upper left corner.
- Select Go Offline, choose Restart in Offline Mode.
- After Steam restarted, repeat the first step by clicking Steam in the upper left corner.
- Select Go Online, choose Restart in Online Mode.
After completing the mentioned steps the "VAC was unable to verify your game session" error shouldn't exist anymore. However, if the error is still occurring there are other methods given in the article to fix this issue.
Method 3: Repair the steam client
If restarting your Steam Client isn't the solution to the error code then perhaps the Steam system files are corrupt and interfere with Valve´s Anti-Cheat System. It is recommended to then repair the Steam Client. The requirements for this method are more complex than the previous ones but should fix “VAC was unable to verify your game session” in a few steps.
- Open Steam, click Steam in the upper left corner.
- Select Exit, Steam will now close itself.
- Use the Windows Search function, type cmd.
- Right-click Command Prompt, finally run it as Administrator.
- Once in the cmd, type C:\Program Files (x86)\Steam\bin\SteamService.exe" /repair
- Press Enter, close the Command Prompt and relaunch Steam.
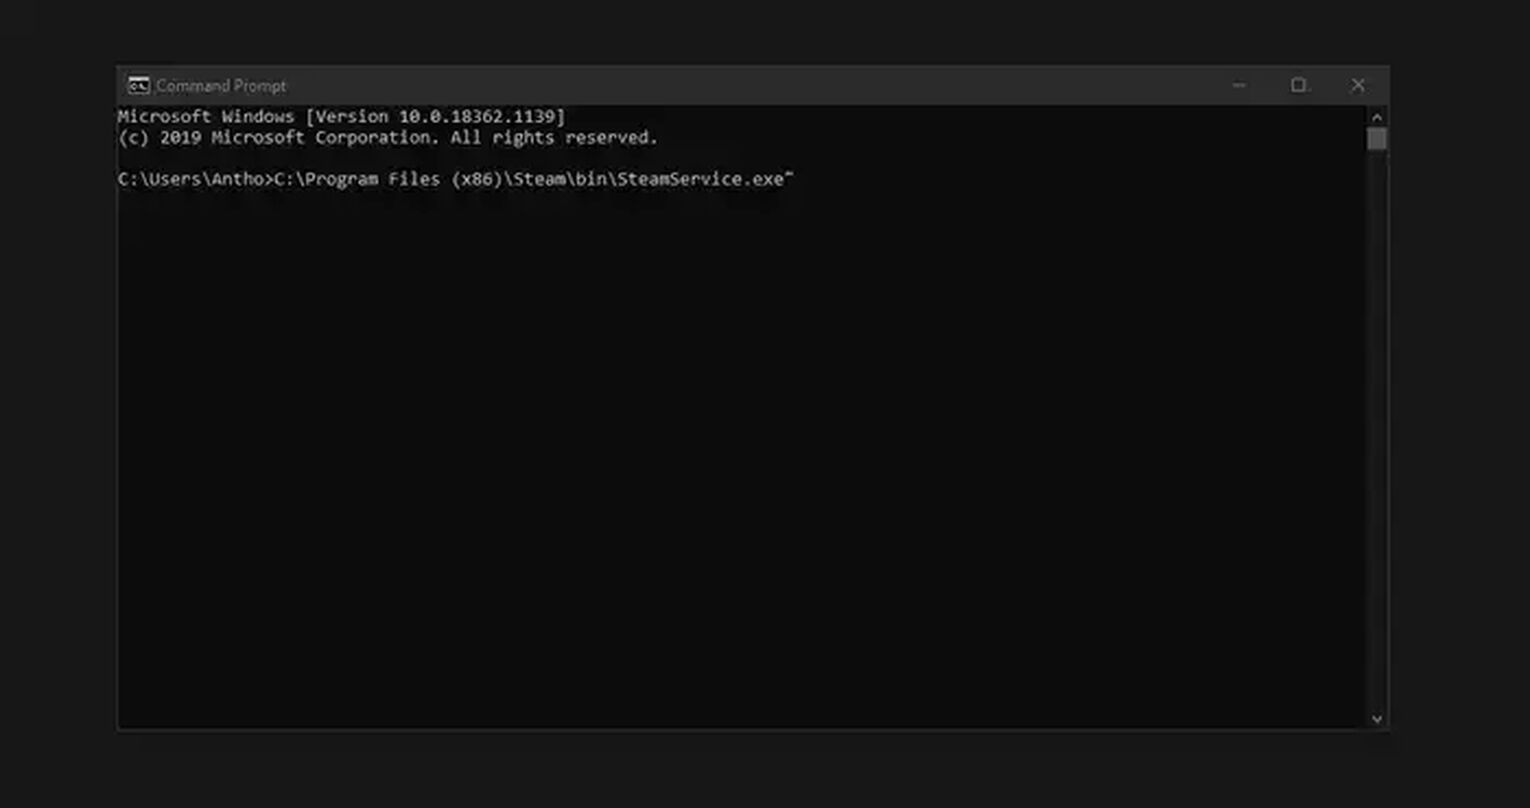
However, the error code "VAC was unable to verify your game session" can be caused by several factors so if this won’t help which is unlikely, we suggest that you trying out other methods.
Method 4: Restart your computer system
If restarting and repairing the Steam Client is not the solution to the error code there is a possibility however that the PC itself might be the cause. Due to possible corrupt cache files, it is recommended to simply reboot the computer system.
- Save any data of the respective Documents, Applications, and Tabs on your Computer System.
- Click on the Windows Logo in the bottom left corner.
- Select the Power Button and click on Restart.
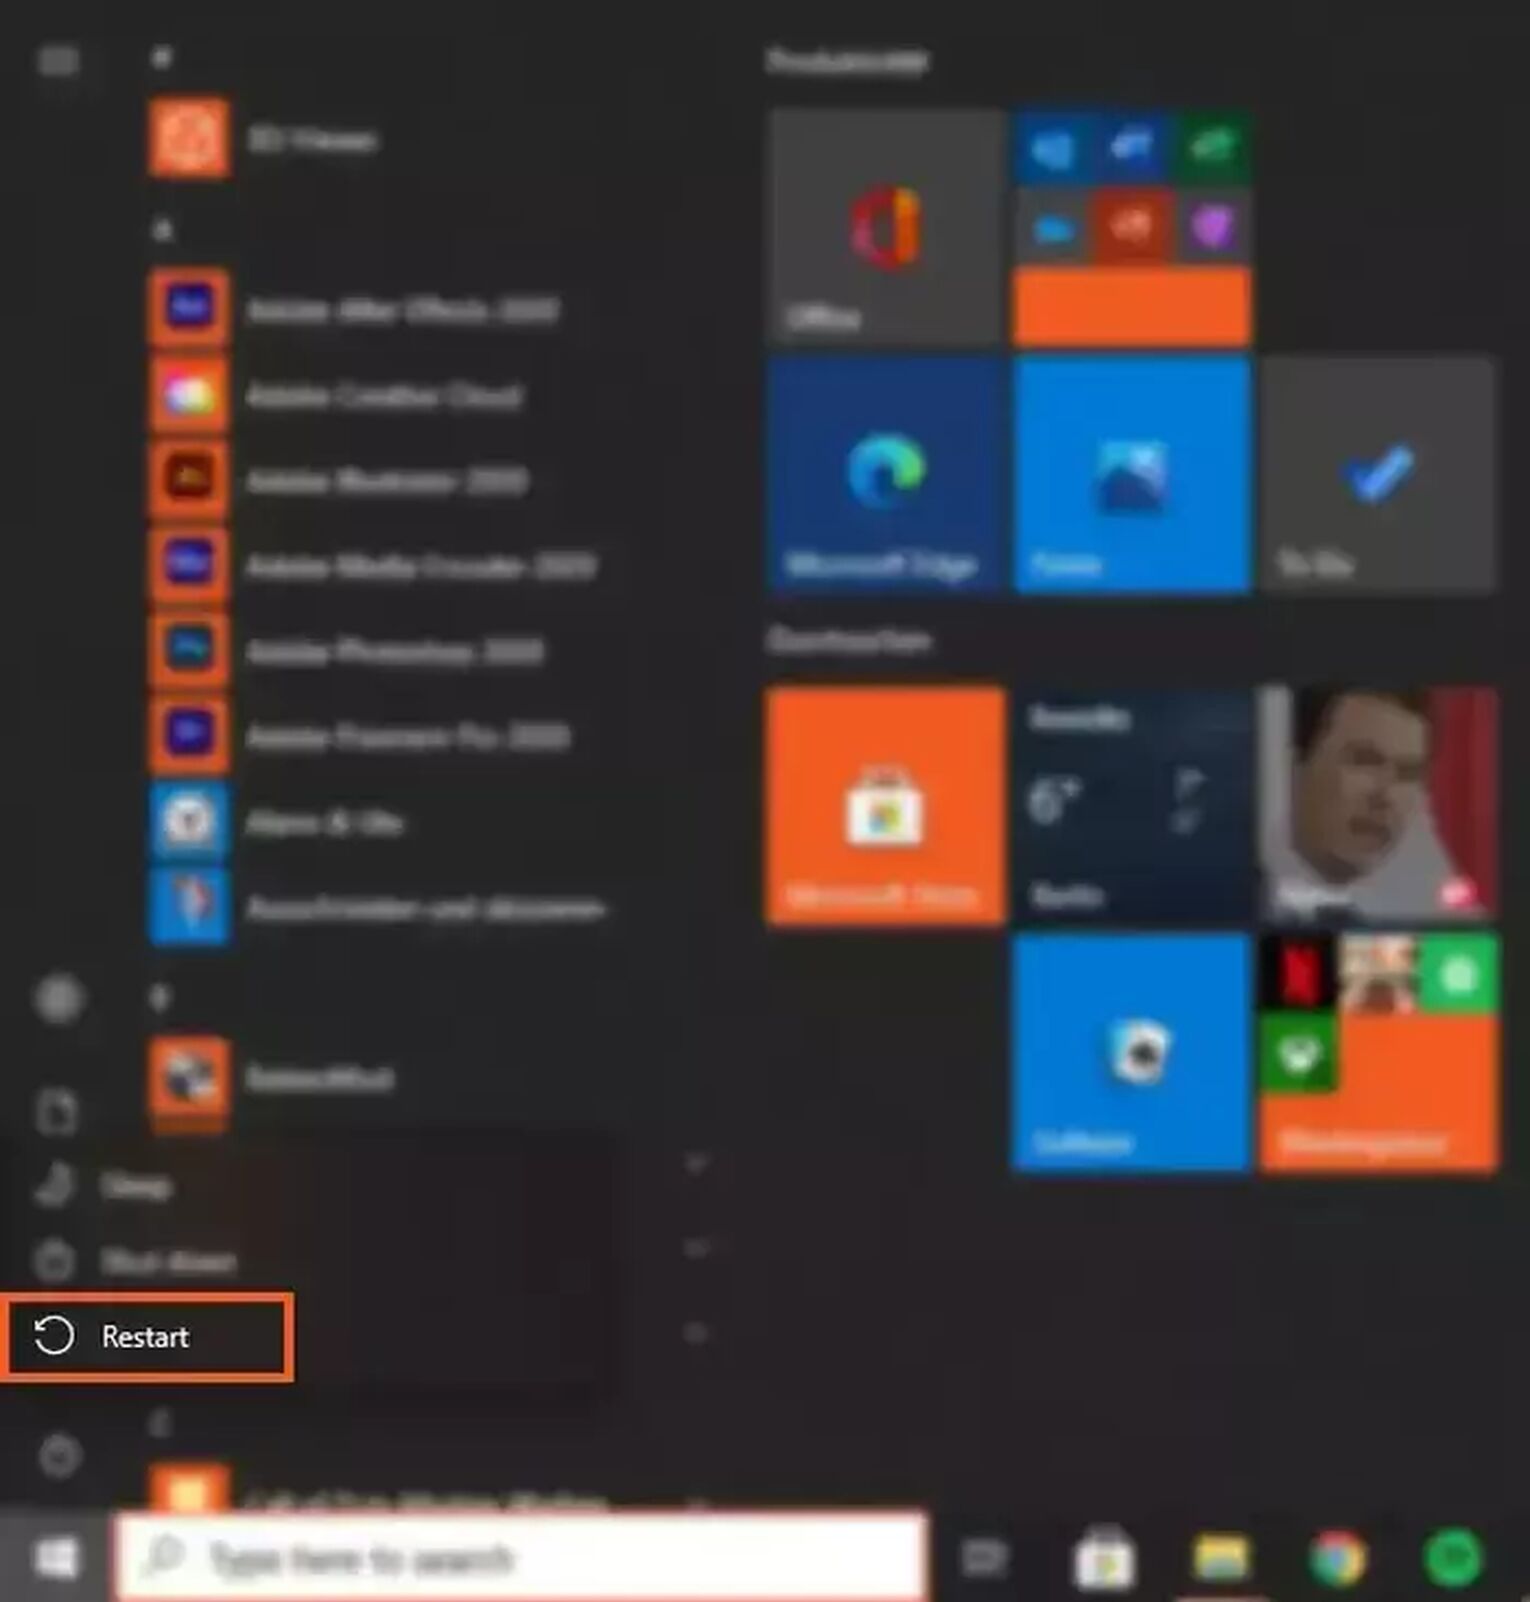
Users stated that this simple method has been proved effective when running into the "VAC was unable to verify your game session" error code.
Method 5: Exclude the game directory from antivirus
Another trigger mechanism for the error code “VAC was unable to verify your game session" could be the antivirus software which is likely to be installed on your Computer System. Antivirus software scans and repairs tabs, applications and Documents including CS2 (CSGO) System or Directory Files. These files are essential to CS2 (CSGO) and shall not be deleted or modified manually neither by any third-party antivirus software due to the possible risk of breaking your CS2 (CSGO) Files and getting the “VAC was unable to verify your game session" error code. Therefore it is recommended to exclude your game and steam directory from the scanning list to prevent the antivirus from the automatic scan. This method varies depending on the antivirus software used in the computer system and can in some cases increase FPS. However, the method consists in excluding the Steam.exe file as well as the Game directory from the scanning process.
Method 6: Update your drivers
If the error code “VAC was unable to verify your game session" is still occurring after trying out all these methods then it might be drivers installed on the Computer System which are causing the issue. Corrupted or outdated drivers could lead to “VAC was unable to verify the game session” as well as other major issues in modern games such as Counter-Strike: Global Offensive. Therefore it is recommended to keep all drivers updated.
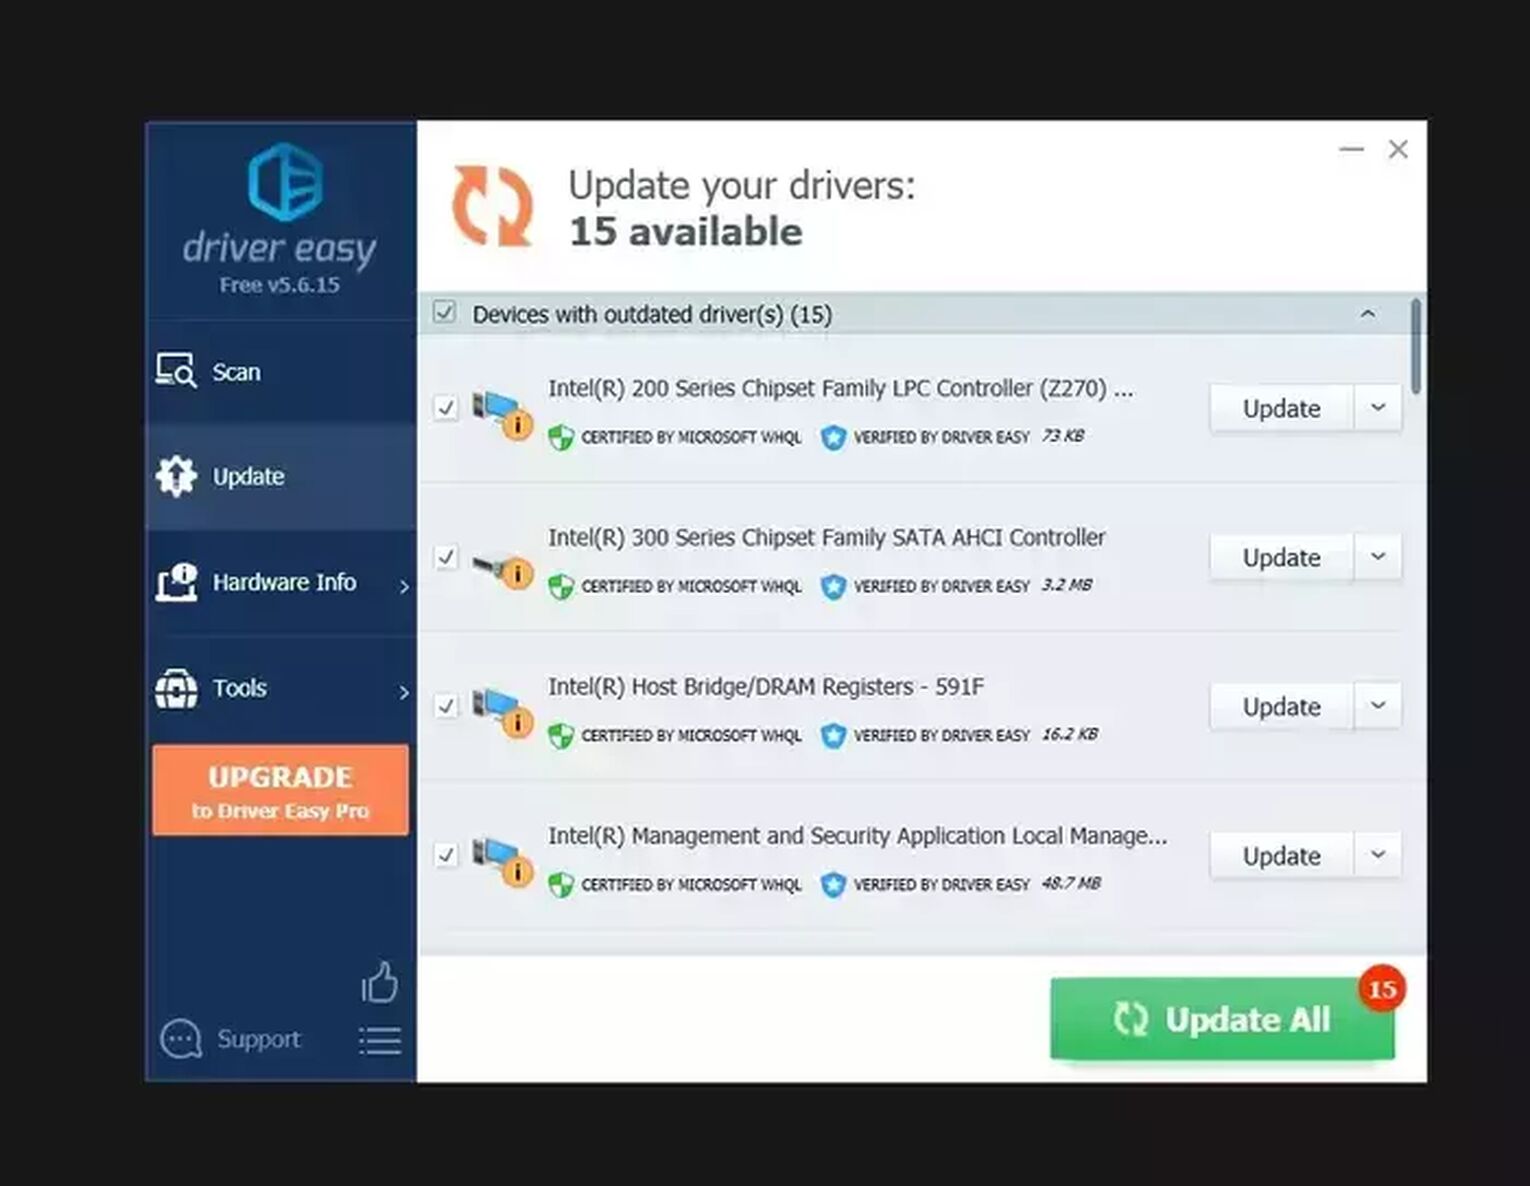
The requirements for this method are simple using the help of Driver Easy. It is an automated tool which scans your computer and lists any hardware with missing, outdated or mismatched drivers. After scanning the Driver Easy will download and install all needed drivers automatically.
- Download and Install Driver Easy.
- Choose your language and then Run Driver Easy.
- Click on Update All and Restart your Computer System.
Method 7: Reinstall Counter-Strike: Global Offensive
While recommending trying out other methods first, it is still possible that the error code “VAC was unable to verify the game session” might be fixed by simply reinstalling Counter-Strike: Global Offensive.
- Open Steam, click Library on the upper left corner.
- Right-click Counter Strike Global: Global Offensive and select Manage.
- Select Uninstall from the 4 options displayed.
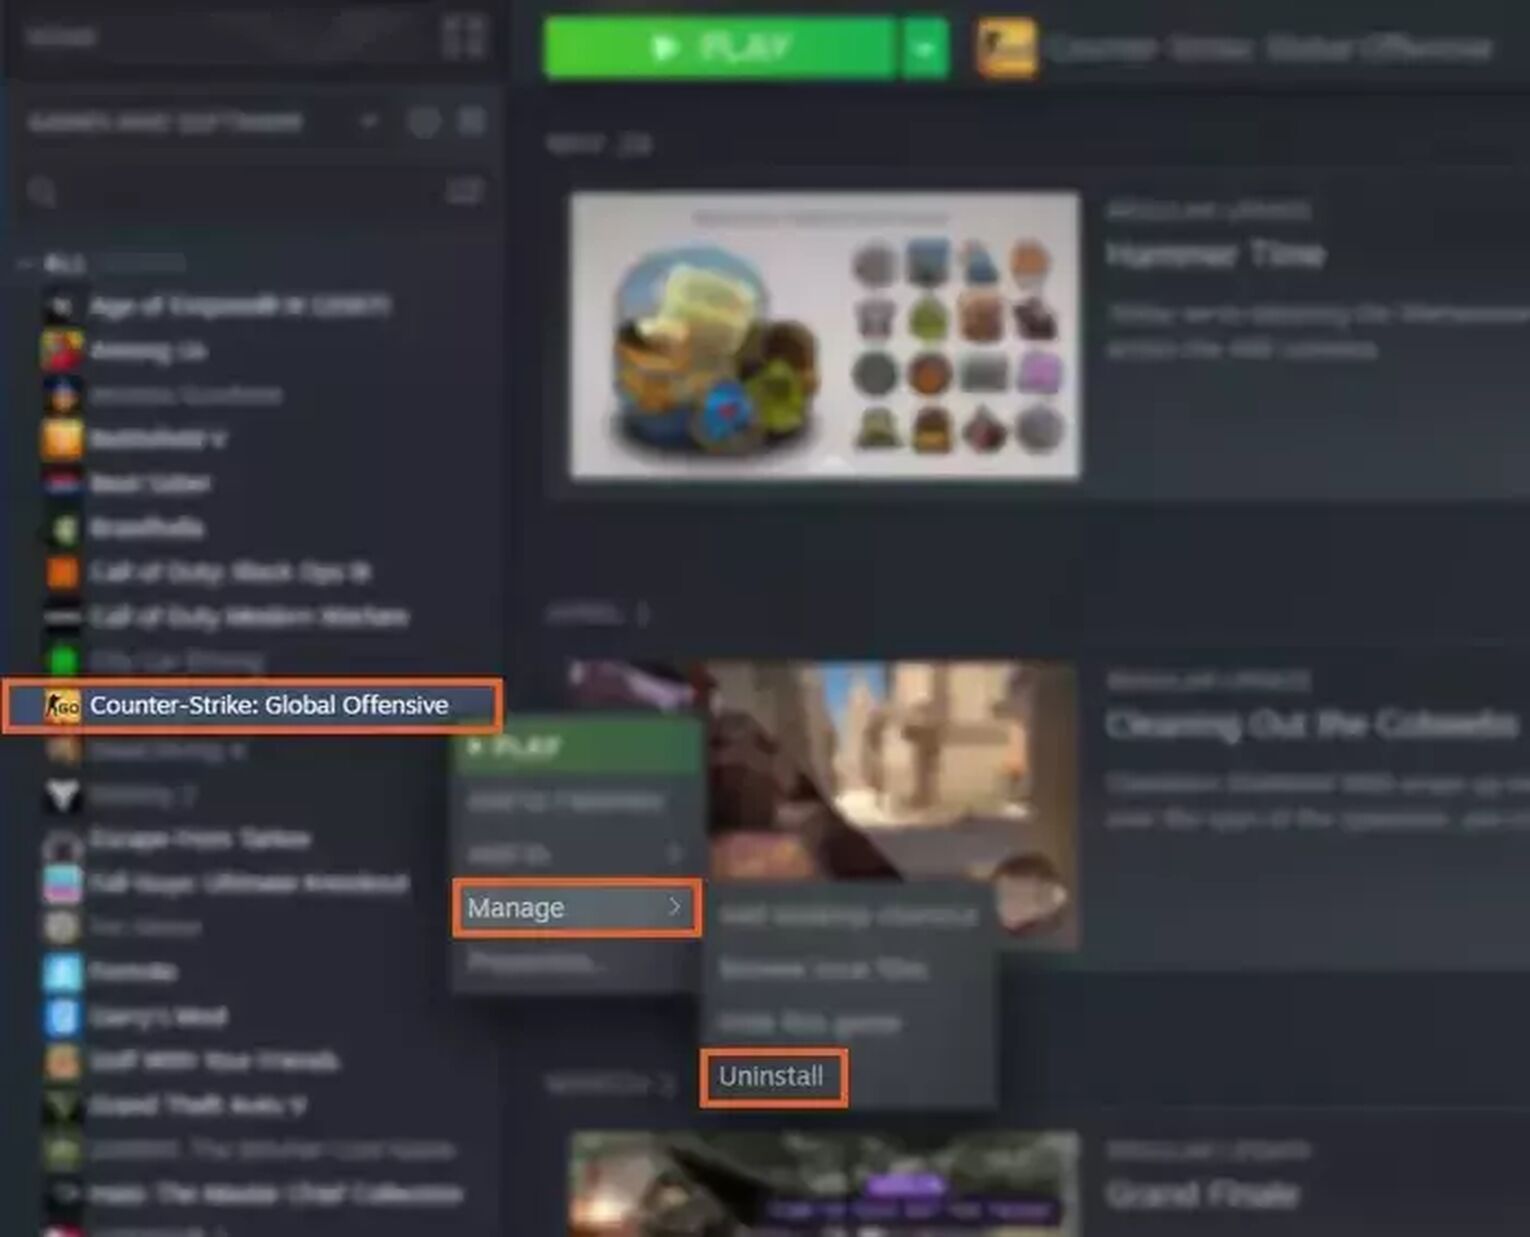
“VAC was unable to verify the game session” is resulting in being an extremely annoying error code for CS2 (CSGO) users for the past few years. While the cause of the issue being unconceivable due to human or technical errors it should be clear that the error code is not a VAC Exclusion as some users may intend when getting the error for the first time. Also note that when reinstalling the game, settings such as your crosshair, viewmodel and launch options are still going to remain. These were all the effective methods that worked for the majority of the users playing Counter-Strike: Global Offensive. Before applying any, first, go through any method and choose the most suitable one depending on your Computer System and the circumstances.


.svg)


![Best Sites to Buy Skins in CS [All Tested] + Discounts](https://theglobalgaming.com/assets/images/_generated/thumbnails/4092904/61a89a7d2ad69acdabef3deb_Best-CSGO-Buying-sites_03b5a9d7fb07984fa16e839d57c21b54.jpeg)
![CS2 Weekly Care Package System Explained [With Reset Time]](https://theglobalgaming.com/assets/images/_generated/thumbnails/4084023/cs2-weekly-drop-system_03b5a9d7fb07984fa16e839d57c21b54.jpeg)