Shaders for Minecraft are easy to download but need some technical work to run correctly. With the high-end graphic cards, it is possible to add 3D effects to this ten-year-old game. Shaders are the coded files that change the view and perspective of your game entirely. But it requires proper installation and settings to run. We are going to talk about the common settings that work with every shader pack.
Best Shader Settings for FPS
These best settings will allow you to enjoy the full capability of that shader. These settings are best if you have a high-end rig . So, install Minecraft shaders like GLSL shaders mod, continuum shaders, or BSL shaders to get the best results of these optifine settings.
Most of the shader packs like lagless shaders, BSL shaders, sonic ether's unbelievable shaders and continuum shader require these ultra settings. So, here is the manual method of doing the ultra settings for your shaders to get maximum textures and fps.
Lightning
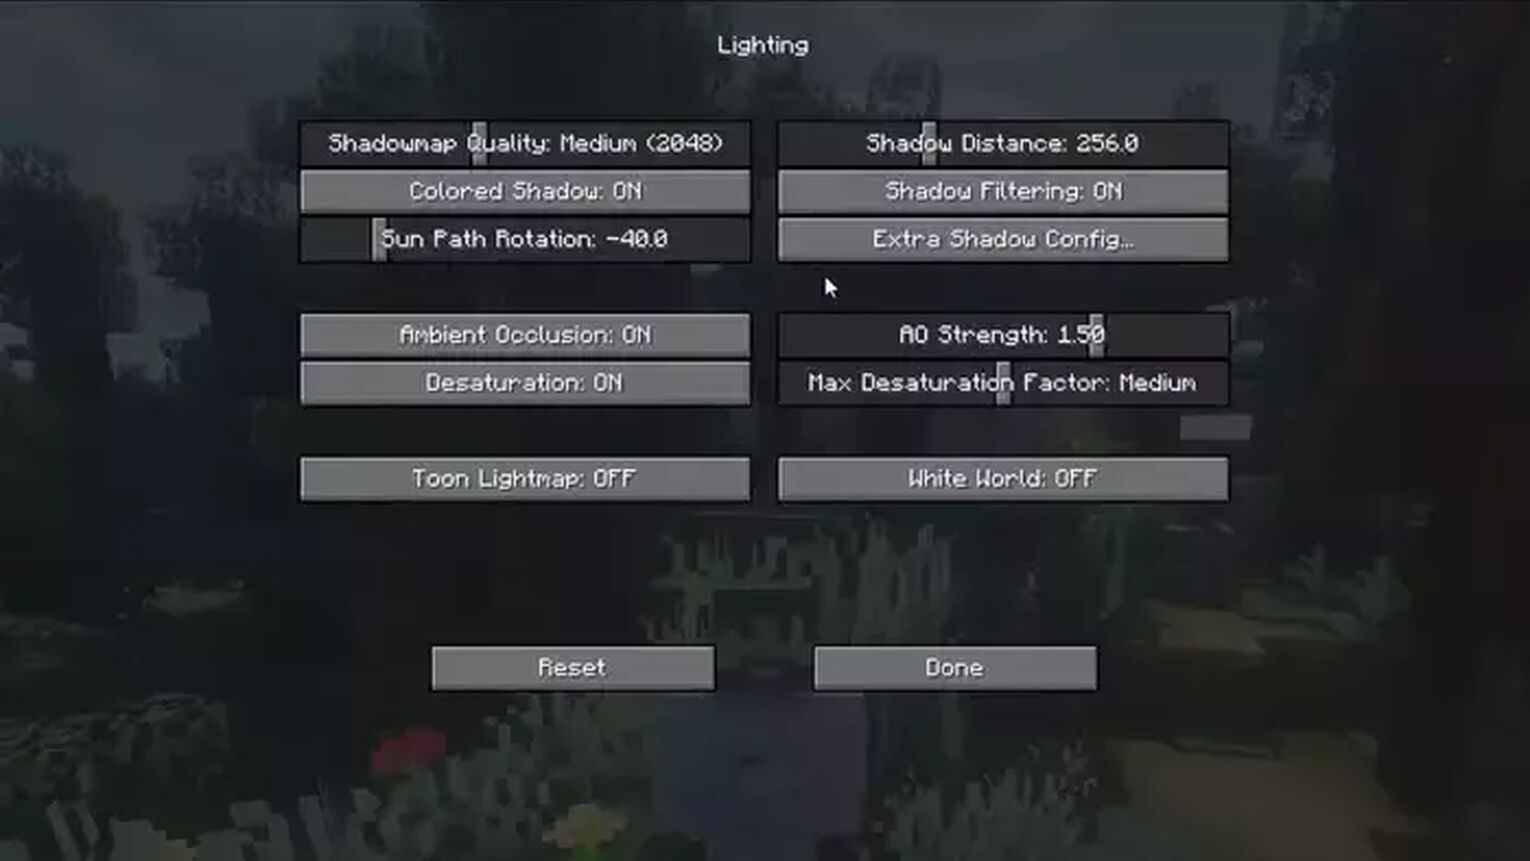
Go to the shader option again and select lightning. Now turn on the Color shadow, shadow filtering, Ambient occlusion, and Desaturation ON. If you want more lightning even in caves, keep the max desaturation option at low.
You can also set the “Shadow Map Quality” to high and “Shadow Distance” to around 512 to get maximum results.
| SETTING | VALUE |
|---|---|
| Shadowmap Quality | Medium (2048) |
| Shadow Distance | 256.0 |
| Colored shadow | On |
| Shadow Filtering | On |
| Sun Path Rotation | -40.0 |
| Ambient Occlusion | On |
| Ad strength | 1.50 |
| Desaturation | On |
| Max Desaturation Factor | Medium |
| Toon Lightmap | Off |
| White World | Off |
Atmospherics
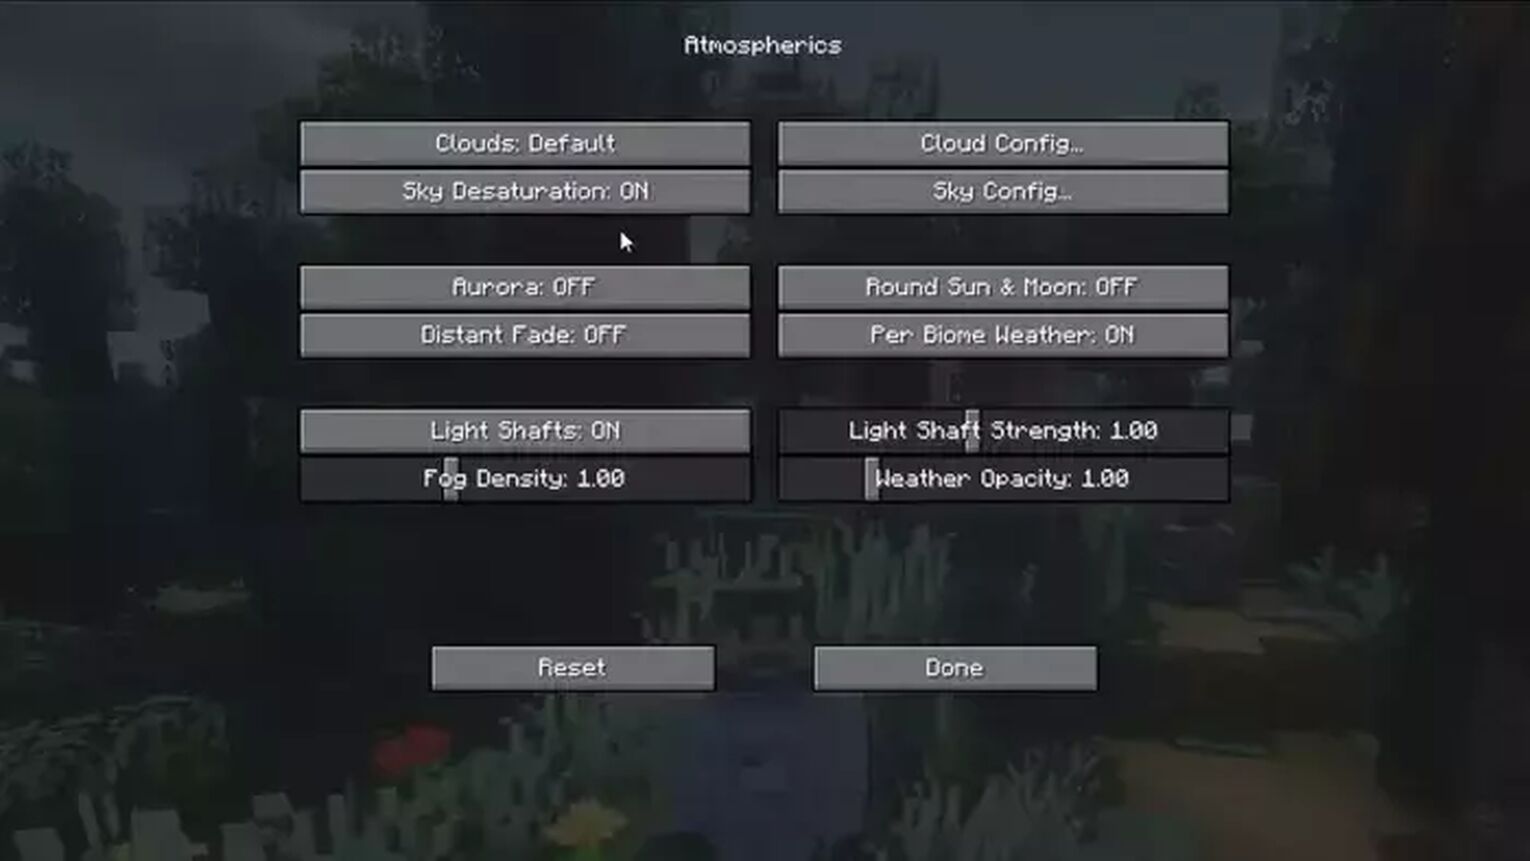
In the atmosphere, you have to be picky. For example, if you want the sky to look real, you have to turn off “Sky desaturation”. Turn on the “Round sun and moon” settings.
| SETTING | VALUE |
|---|---|
| Clouds | Default |
| Sky Desaturation | On |
| Aurora | Off |
| Round Sun & Moon | Off |
| Distant Fade | Off |
| Per Biome Weather | On |
| Light Shaft | On |
| Light Shaft Strength | 1.00 |
| Fog Density | 1.00 to 2.5 |
| Weather Opacity | 1.00 |
Change the “Distant Fade” to Spherical to remove the patches of the unrendered area. Now it’s time to set up the clouds. Select the “Cloud Config” Turn the thickness to low and distance to very high. Increase the brightness to 2 so the stars and sun can shine through the clouds.
| SETTING | VALUE |
|---|---|
| Sky Ground | Full |
| Horizon Distance | Very Far |
| Skybox Brightness | 0.75 |
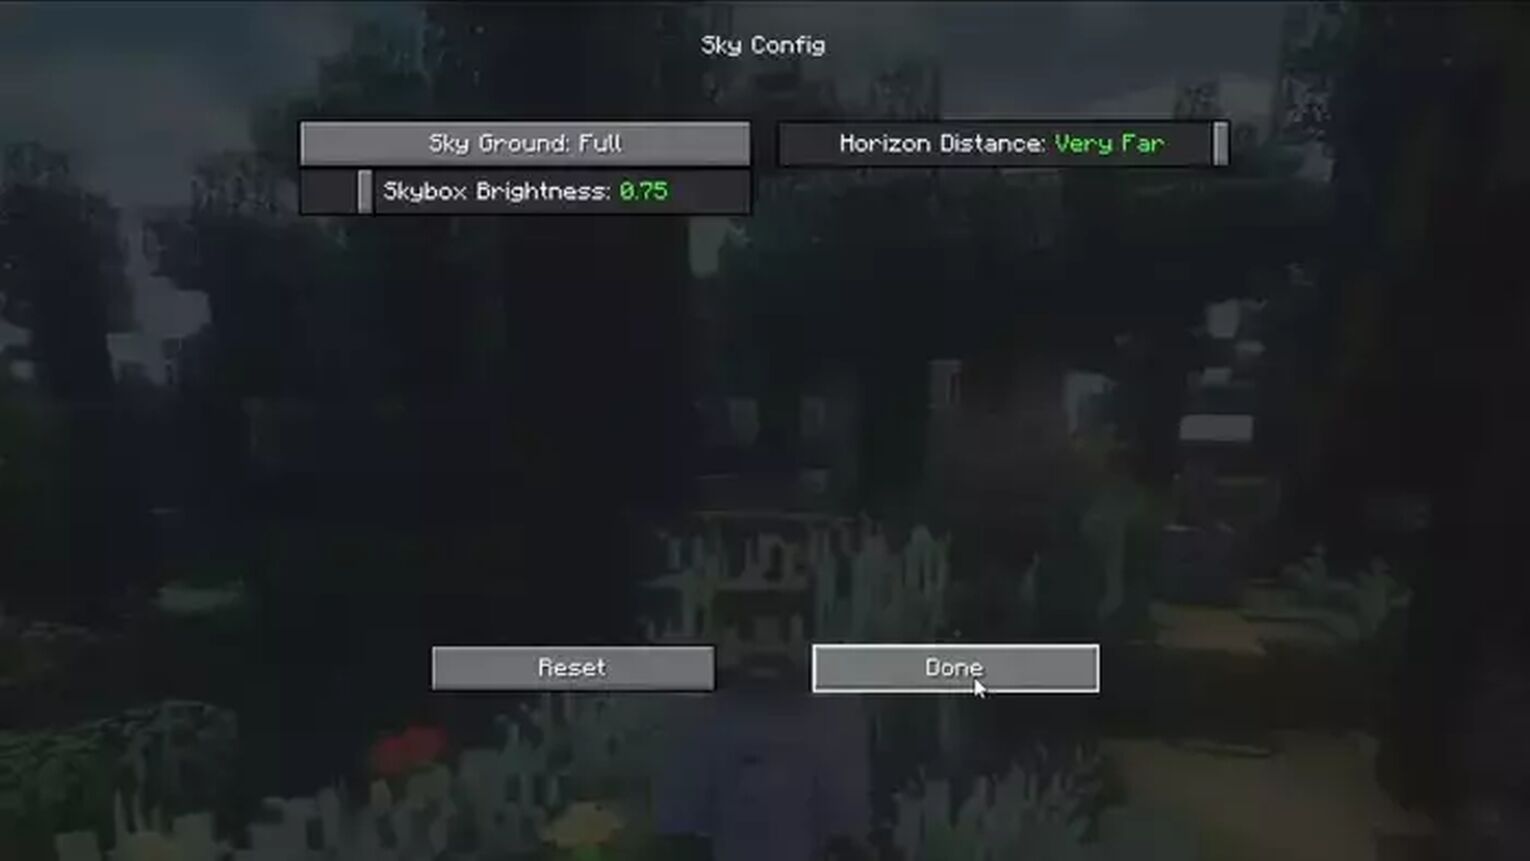
Now click “Done” and get back to the atmospheric menu. Select the “Sky config” and increase the “Horizon distance” to Very far and “Skybox Brightness” to 1.0.
World
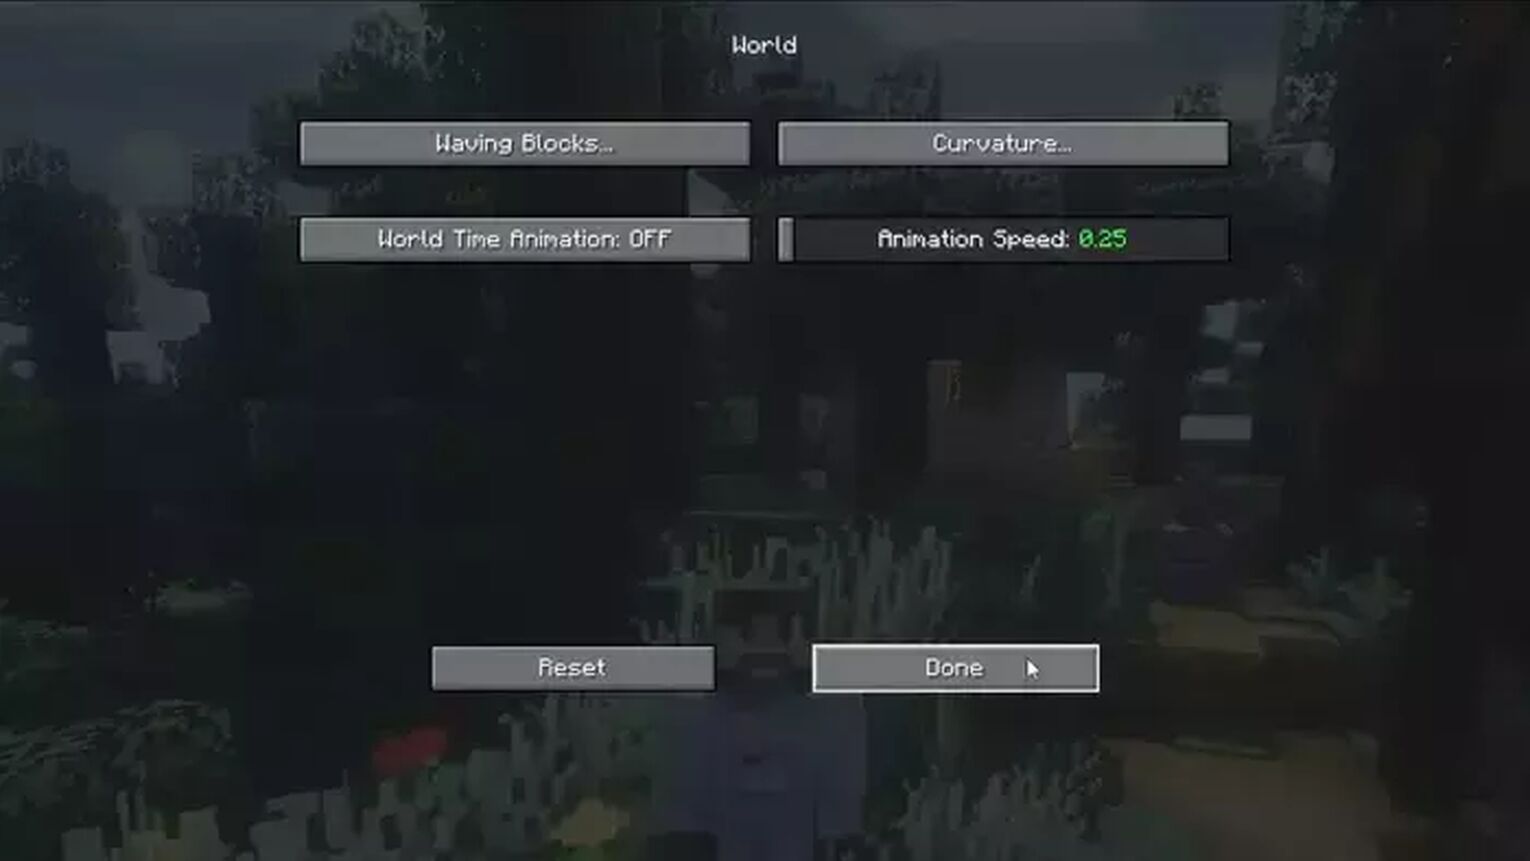
In the world settings, you only have to slow down the “Animation Speed” to 0.25. It will give you a pleasant slow movement of plants and water which is pleasing to the eye. It is used in the continuum shaders, which is base shader pack for most packs and Minecraft mod.
| SETTING | VALUE |
|---|---|
| World Time Animation | Off |
| Animation Speed | 0.25 |
Water
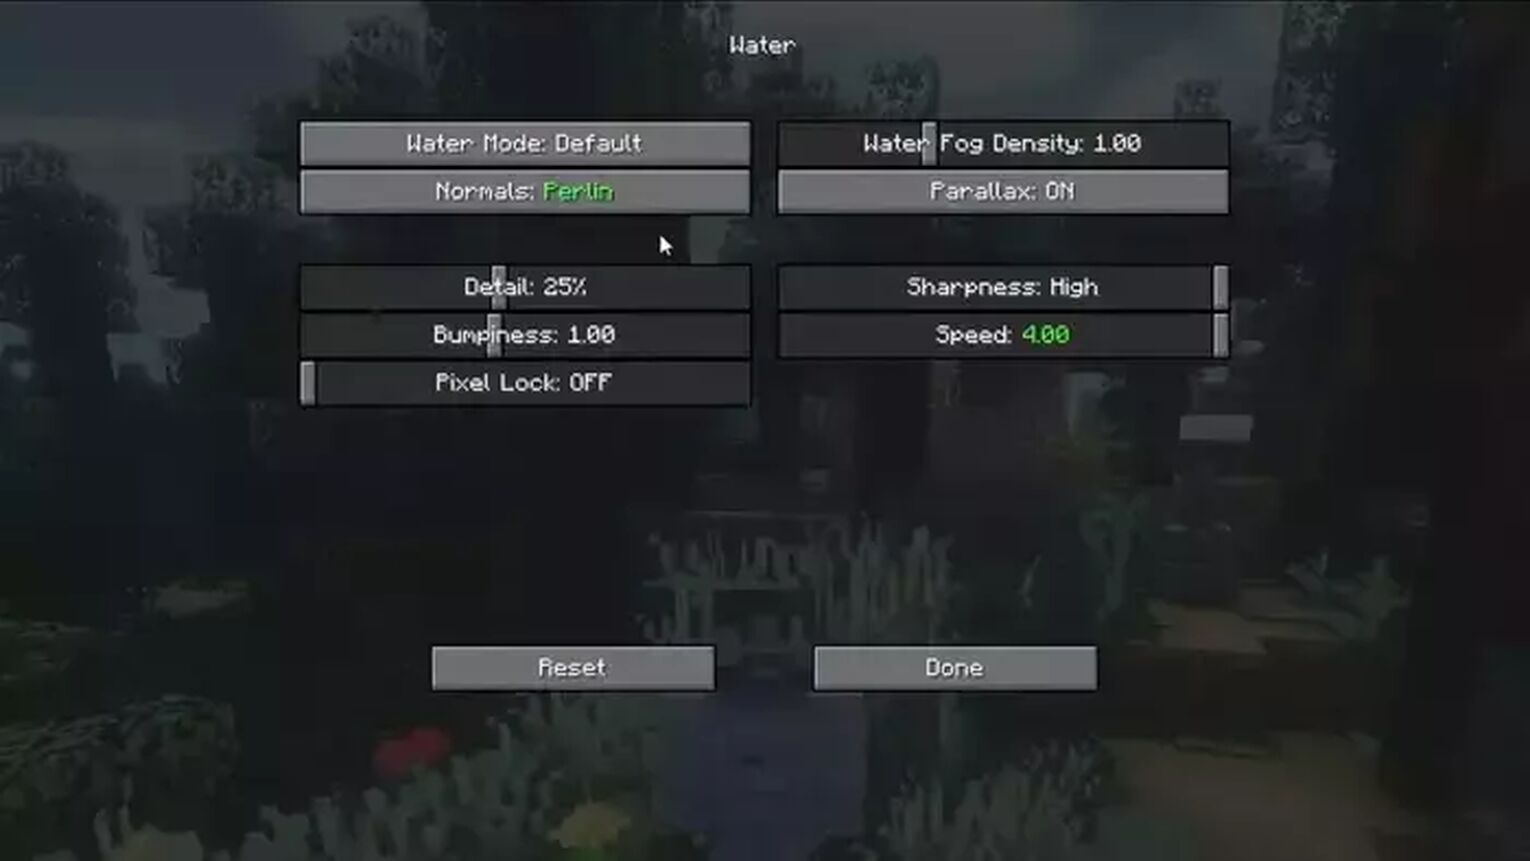
Here adjust the “Speed” to 4.00 to give a wavy moment to the water. If you want to add the wrinkles on the surface, select “Perlin” from the “Normal” option. You can also add bumpiness and details from this menu.
| SETTING | VALUE |
|---|---|
| Water Mod | Default |
| Water Fog Density | 1.00 |
| Normals | Perlin |
| Parallax | On |
| Detail | 25% |
| Sharpness | High |
| Bumpiness | 1.00 |
| Speed | 4.00 |
| Pixel Lock | Off |
Post Effects
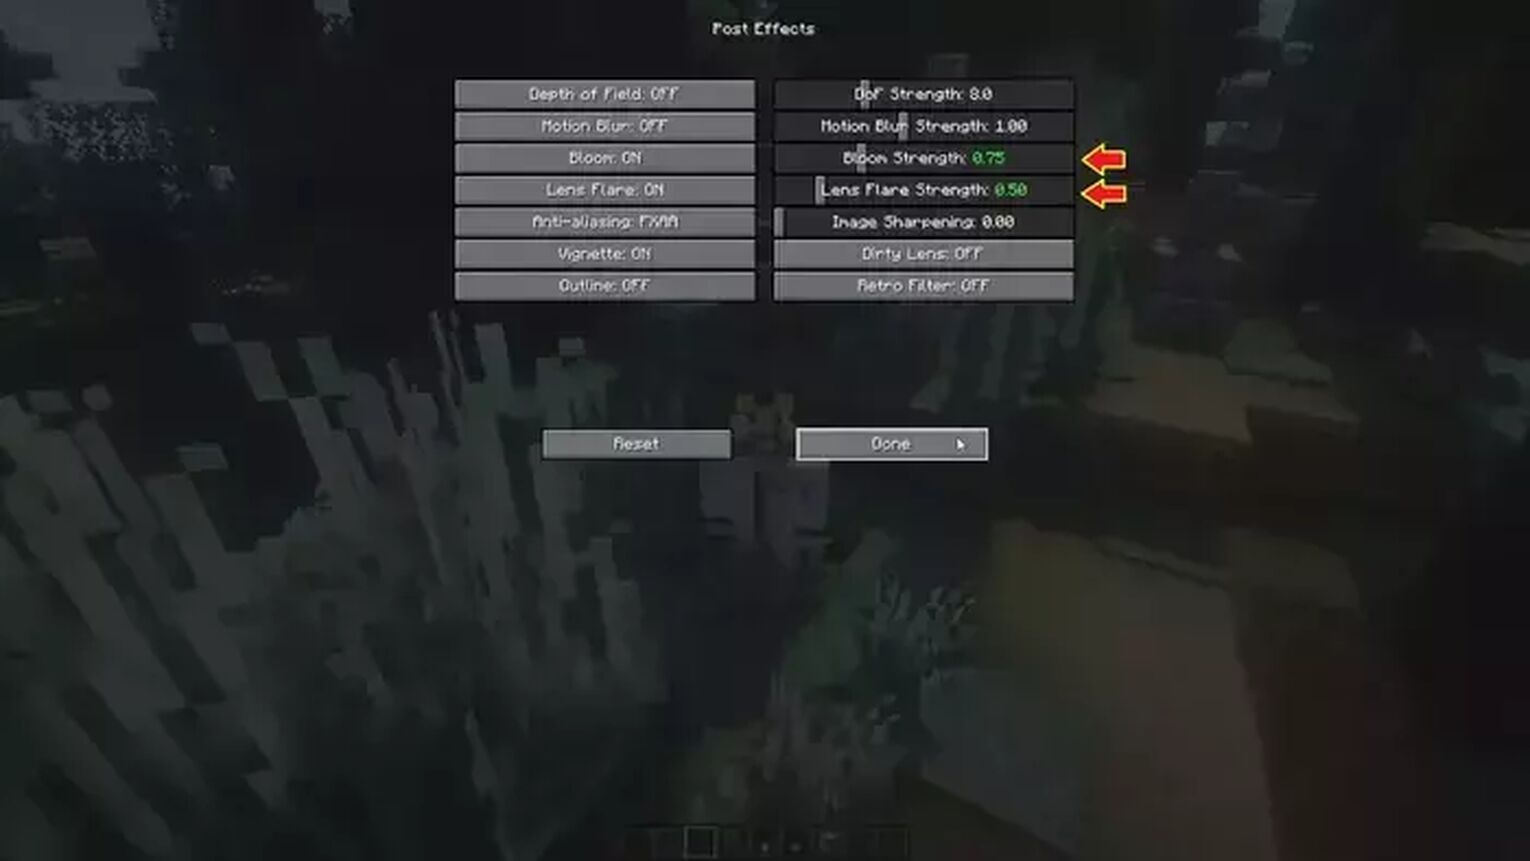
Post effects are the overall effects like motion blur, bloom effect, depth of field, etc. First, reduce the “Bloom Effect” that will increase the brightness and will add a glow to the overworld in any Minecraft mod. Also, reduce the “Lense Effect” to 0.50 to minimize the sunlight lens flare effect.
| SETTING | VALUE |
|---|---|
| Depth of field | Off |
| DoF Strength | 8.0 |
| Motion Blur | Off |
| Motion Blur Strength | 1.00 |
| Bloom | On |
| Bloom Strength | 0.75 |
| Lens Flare | On |
| Lense Flare Strength | 0.50 |
| Anti-aliasing | FXAA |
| Image Sharpening | 0.00 |
| Vignette | On |
| Dirty Lense | Off |
| Outline | Off |
| Retro Filter | Off |
Color Gradient & ToneMap
It is the most important setting of a shader. As color gradients and tones decide the overall color appearance in the realistic shader like in lagless shaders. So, scroll the “Exposure” bar to 0.25 to make dark cave areas a bit bright.
| SETTING | VALUE |
|---|---|
| Exposure | 0.25 |
| Auto Exposure | Off |
| Color Griding | Off |
| Tonemap Lower Curve | 1.3 |
| Tonemap Upper Curve | 1.5 |
| Tonemap White Curve | 1.5 |
| Saturation | 0.95 |
| Vibrance | 1.20 |
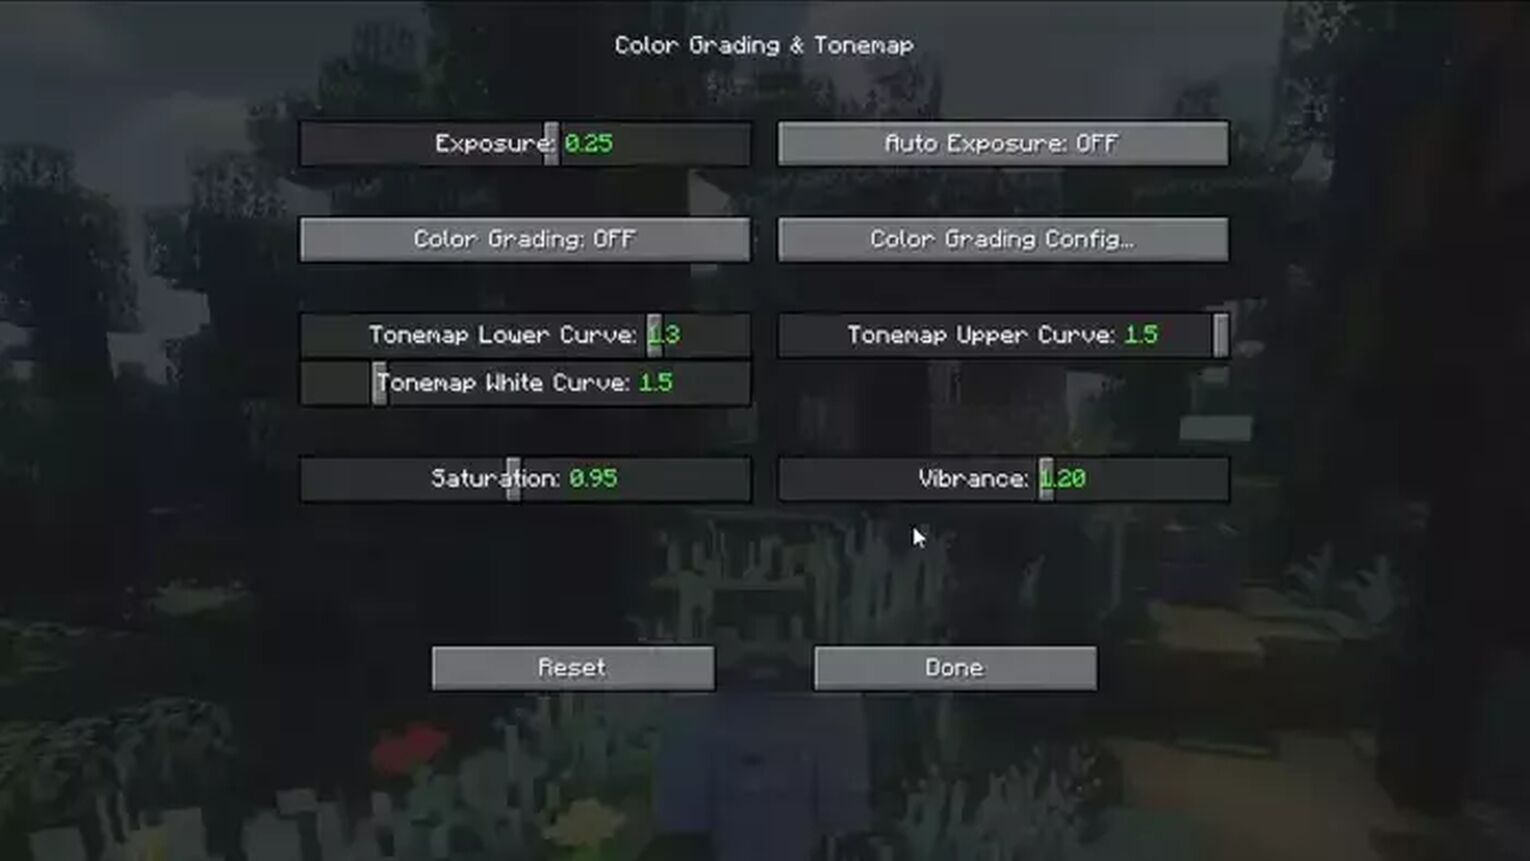
Increase the “Tonemap lower and upper” options (Lower:1.3, Upper:1.5). Reduce the “Saturation” to 0.95 and “Vibrance” to 1.20.
Colors
It’s another important and time taking setting to get the best Minecraft shaders effects. First, go to lightning colors and select the “Light Morning” option. Increase the blue and green shades as they will give you refreshing vibes in the game during the sunrise.
| SETTING | VALUE |
|---|---|
| Red | 255 |
| Green | 172 |
| Blue | 100 |
| Intensity | 1.20 |
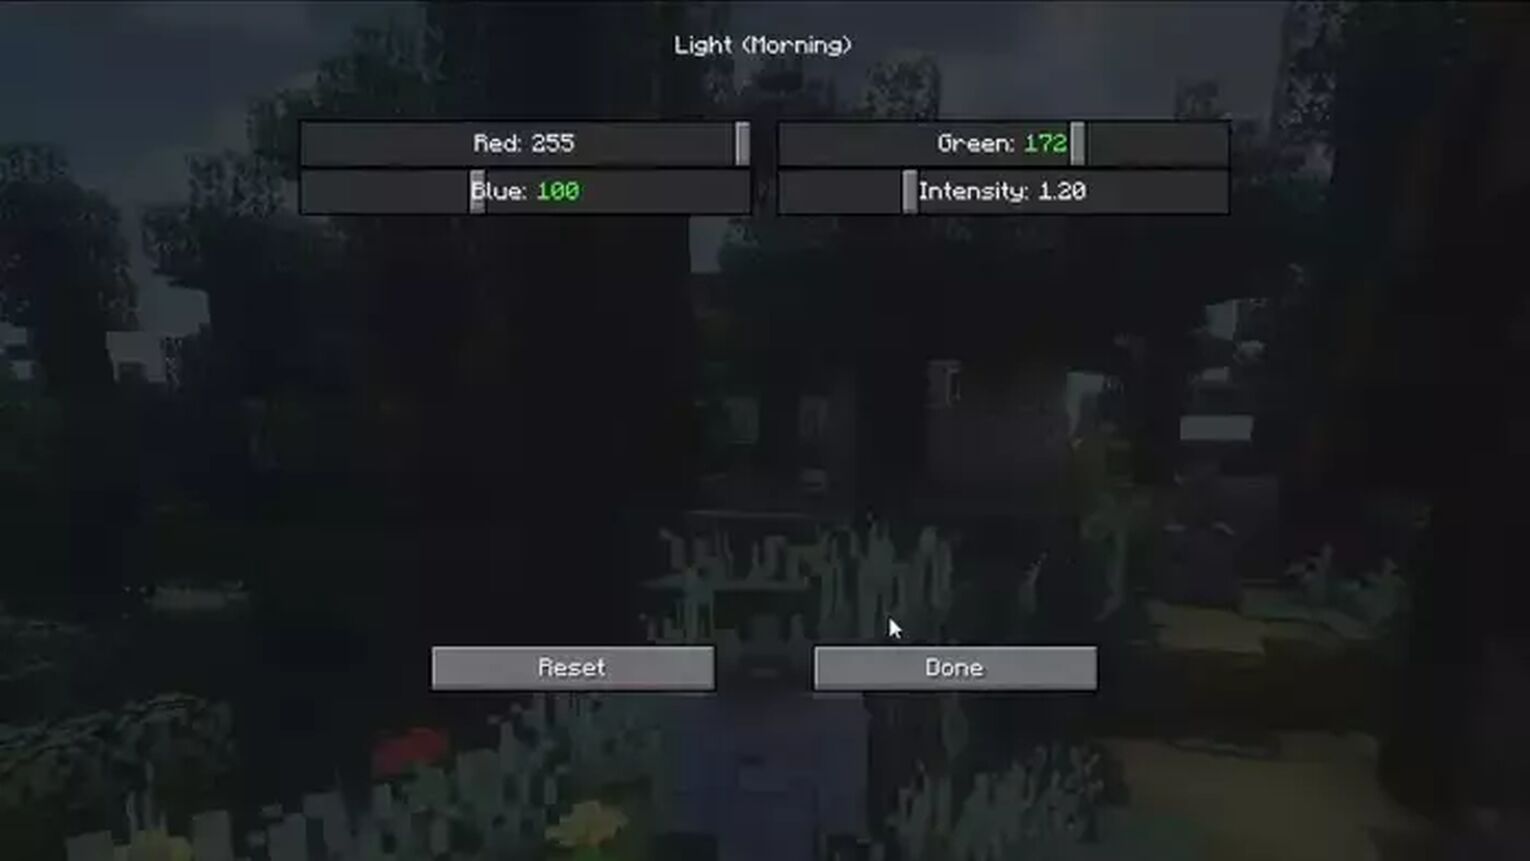
After pressing done, go to the “Light <Day>” option. Decrease the red, blue, and green colors to make your daytime look beautiful. You can also change the settings for evening and night time.
Once you are done with the lighting colors, select the “Block light” from the color menu. Decrease the red and green colors and increase the intensity. It will give a smooth look to your blocks.
| SETTING | VALUE |
|---|---|
| Red | 192 |
| Green | 168 |
| Blue | 160 |
| Intensity | 1.05 |
| Emissive Recolor | Off |
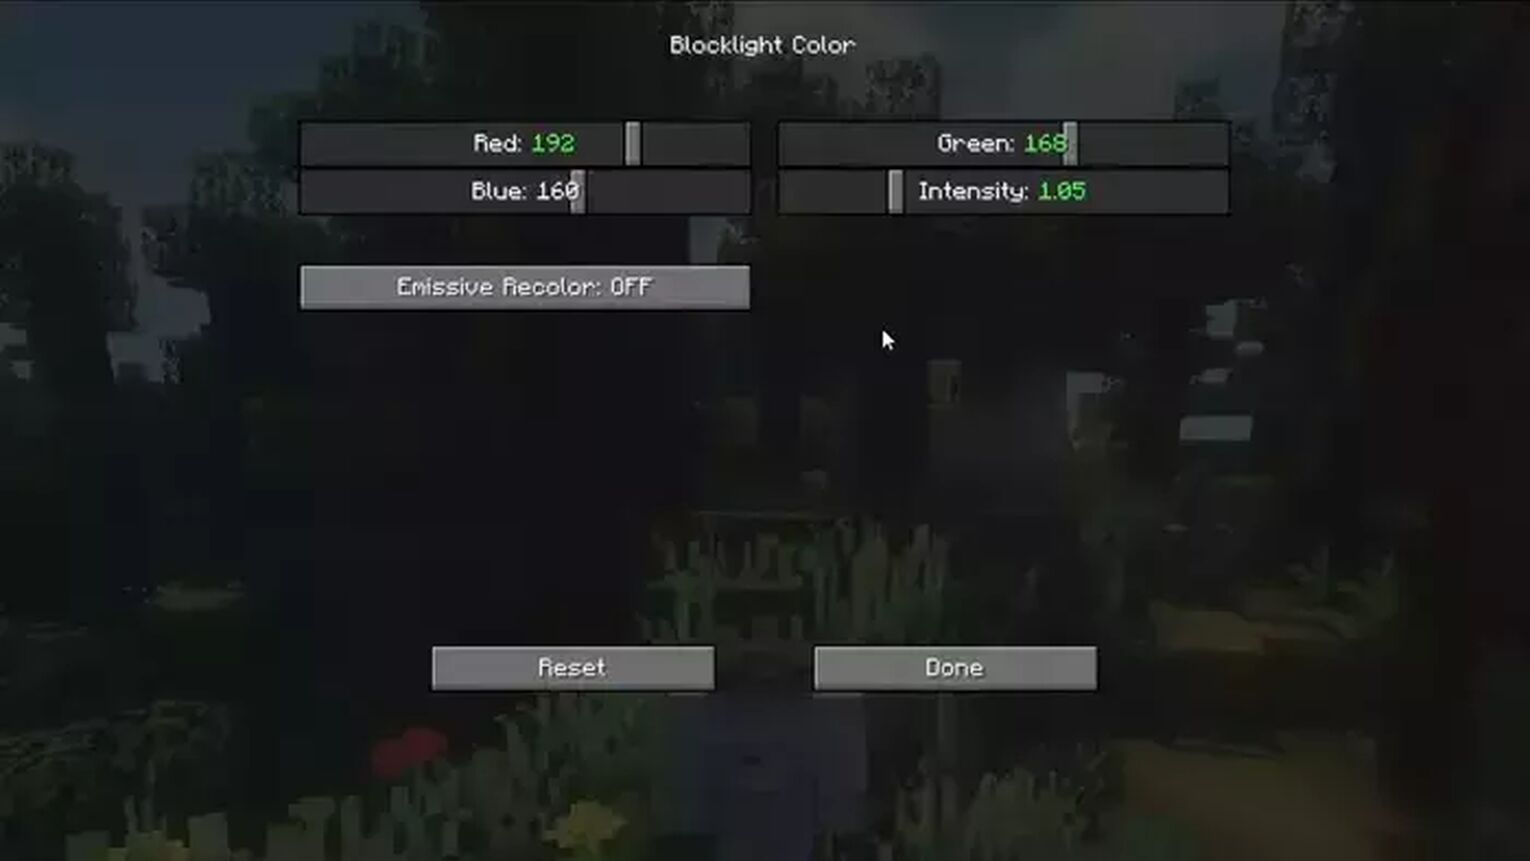
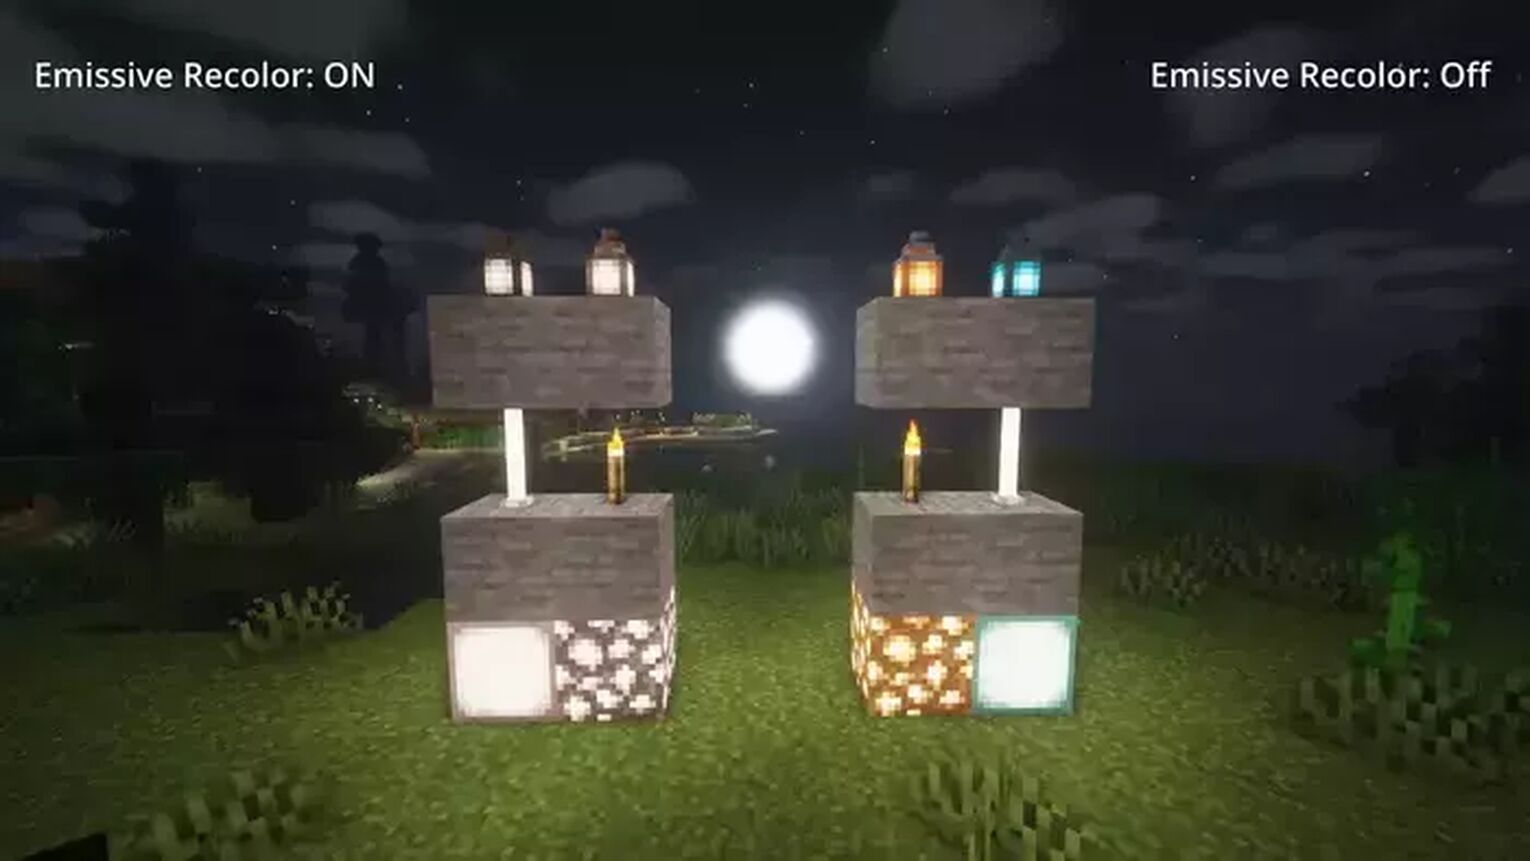
Keep the “Emissive color” off. If you turn it on, you will see the same white light in light sources like a torch, or lantern. Lamps etc.
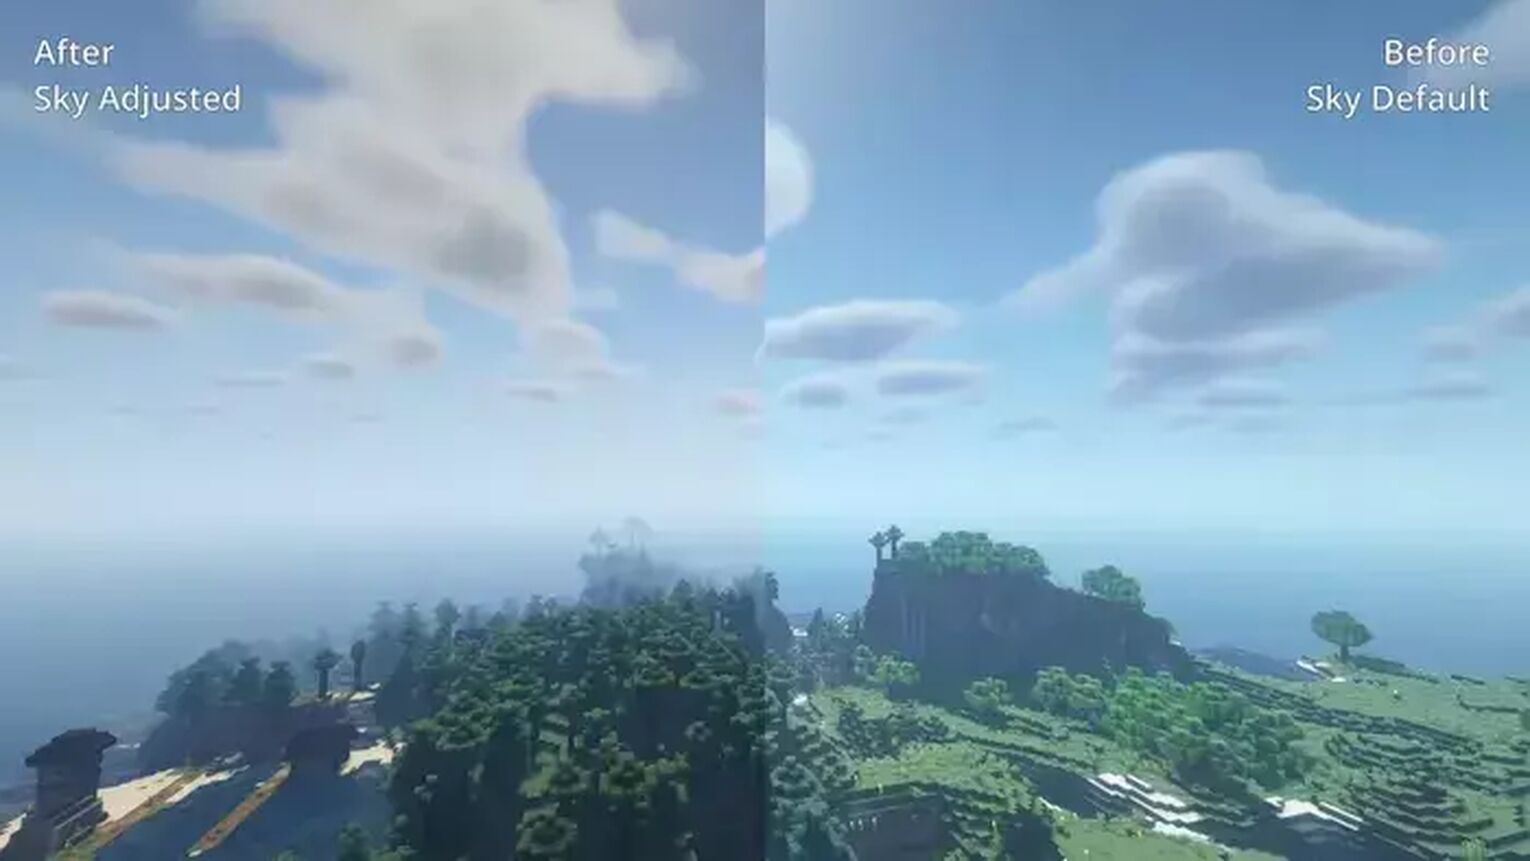
Now jump to the “Sky color” from the color menu. It is the most exciting part. Decrease the red color to 115 and intensity to 1.20. Keep the vanilla effect off.
| SETTING | VALUE |
|---|---|
| Red | 112 |
| Green | 160 |
| Blue | 255 |
| Intensity | 1.20 |
| Vanilla Sky | Off |
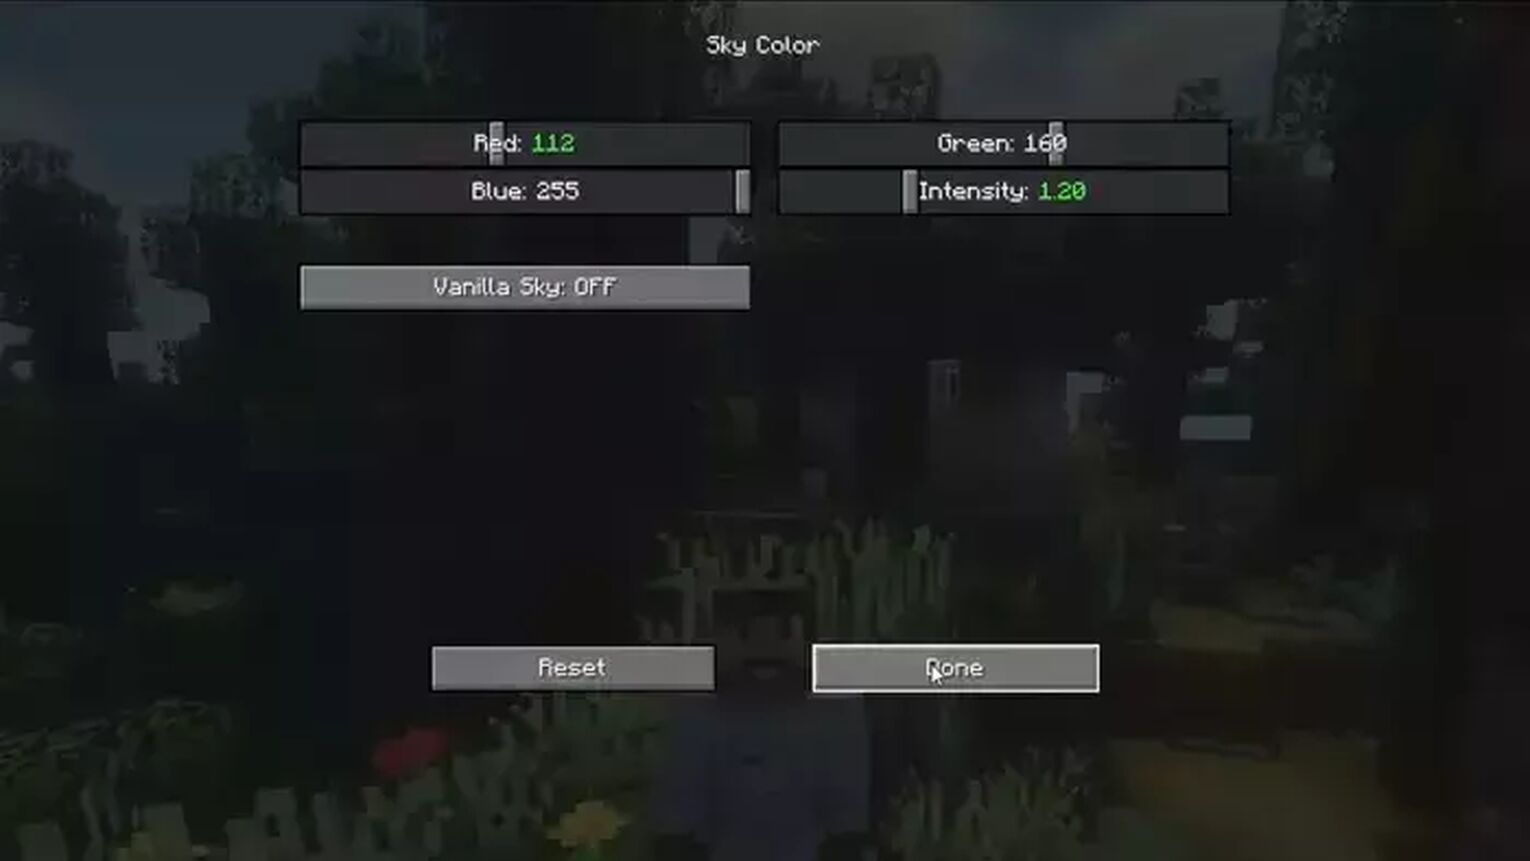
This setting will change the sky color to natural true colors by increasing the color intensity.
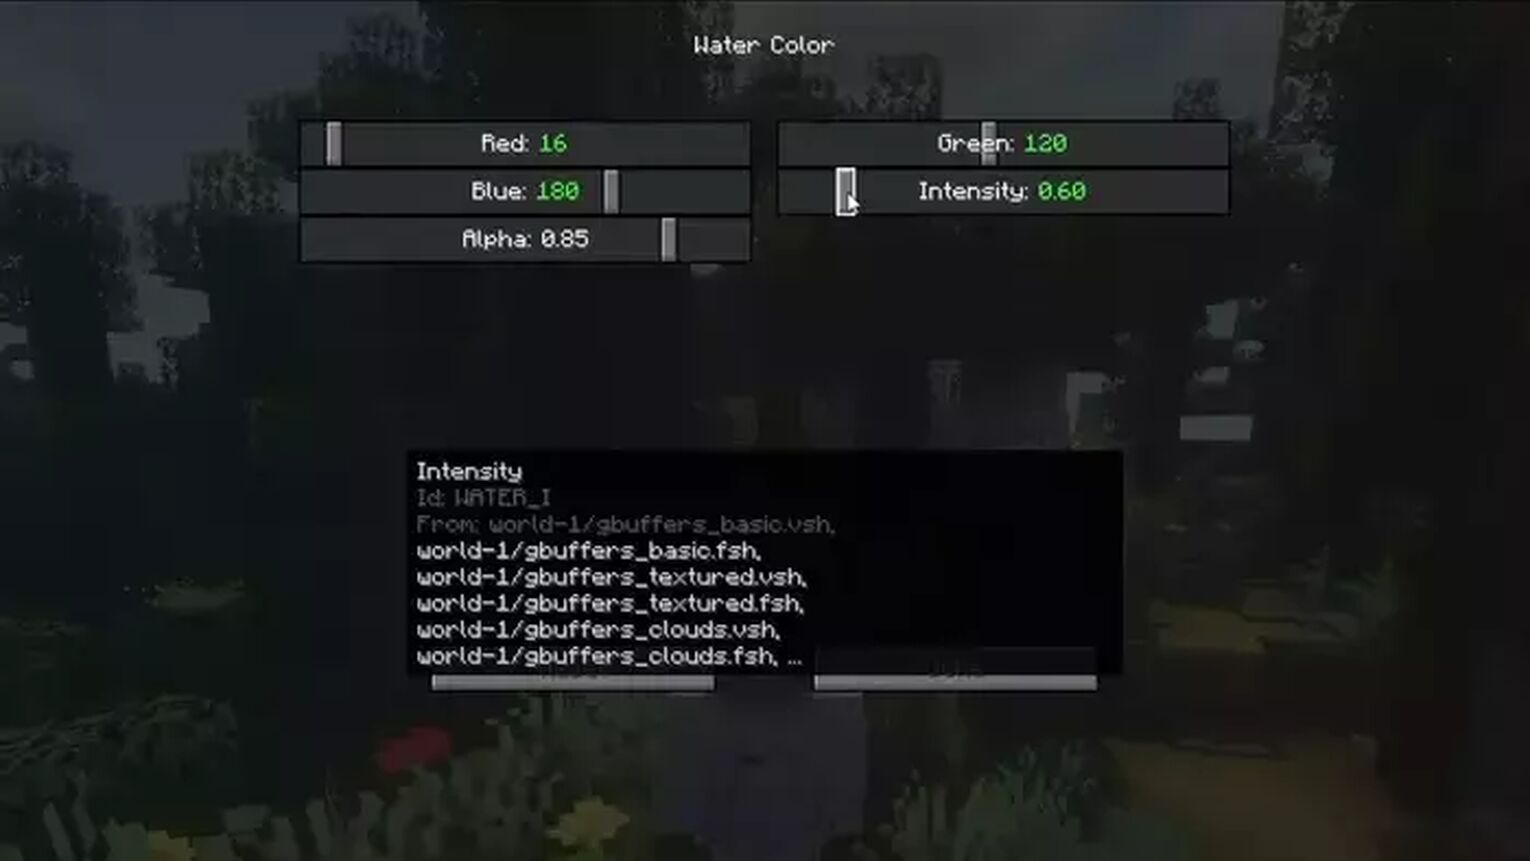
Watercolors are also really important to adjust. Because water has a blue color, increase the blue to 190 out of 200 and decrease the red to 16. Reduce the green to 120 and the intensity to 0.60. It will give you the perfect realistic watercolors.
| SETTING | VALUE |
|---|---|
| Red | 16 |
| Green | 120 |
| Blue | 180 |
| Intensity | 0.60 |
| Alpha | 0.85 |
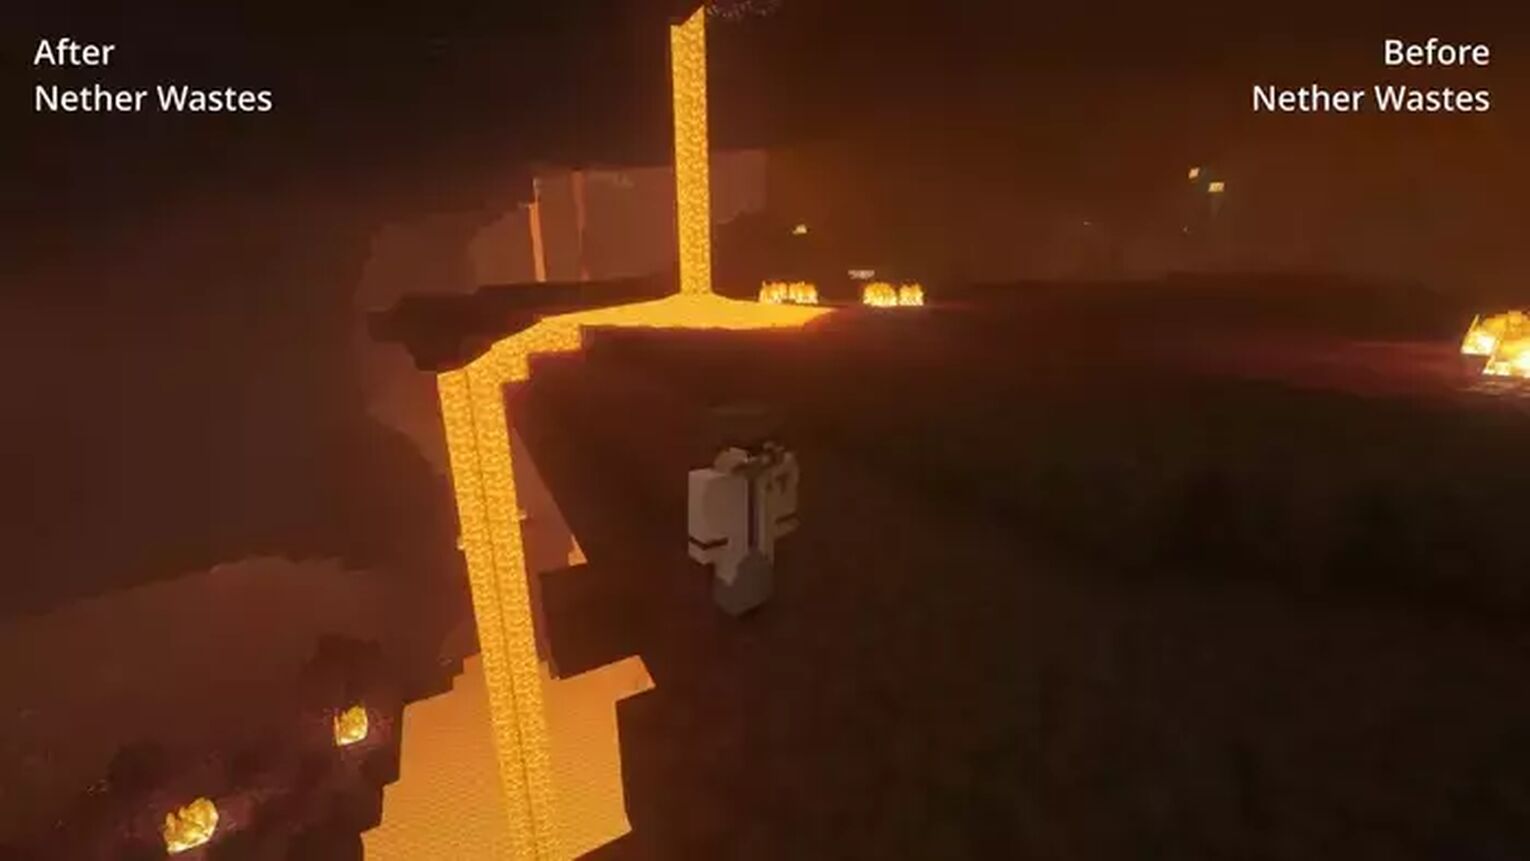
The last part of color settings involves the Nether and End World color settings. First, select the “Nether” from the color menu and then go to “Nether waste”. Here decrease the red:196 and green color:80 and increase the blue color:56 and overall intensity: 1.70
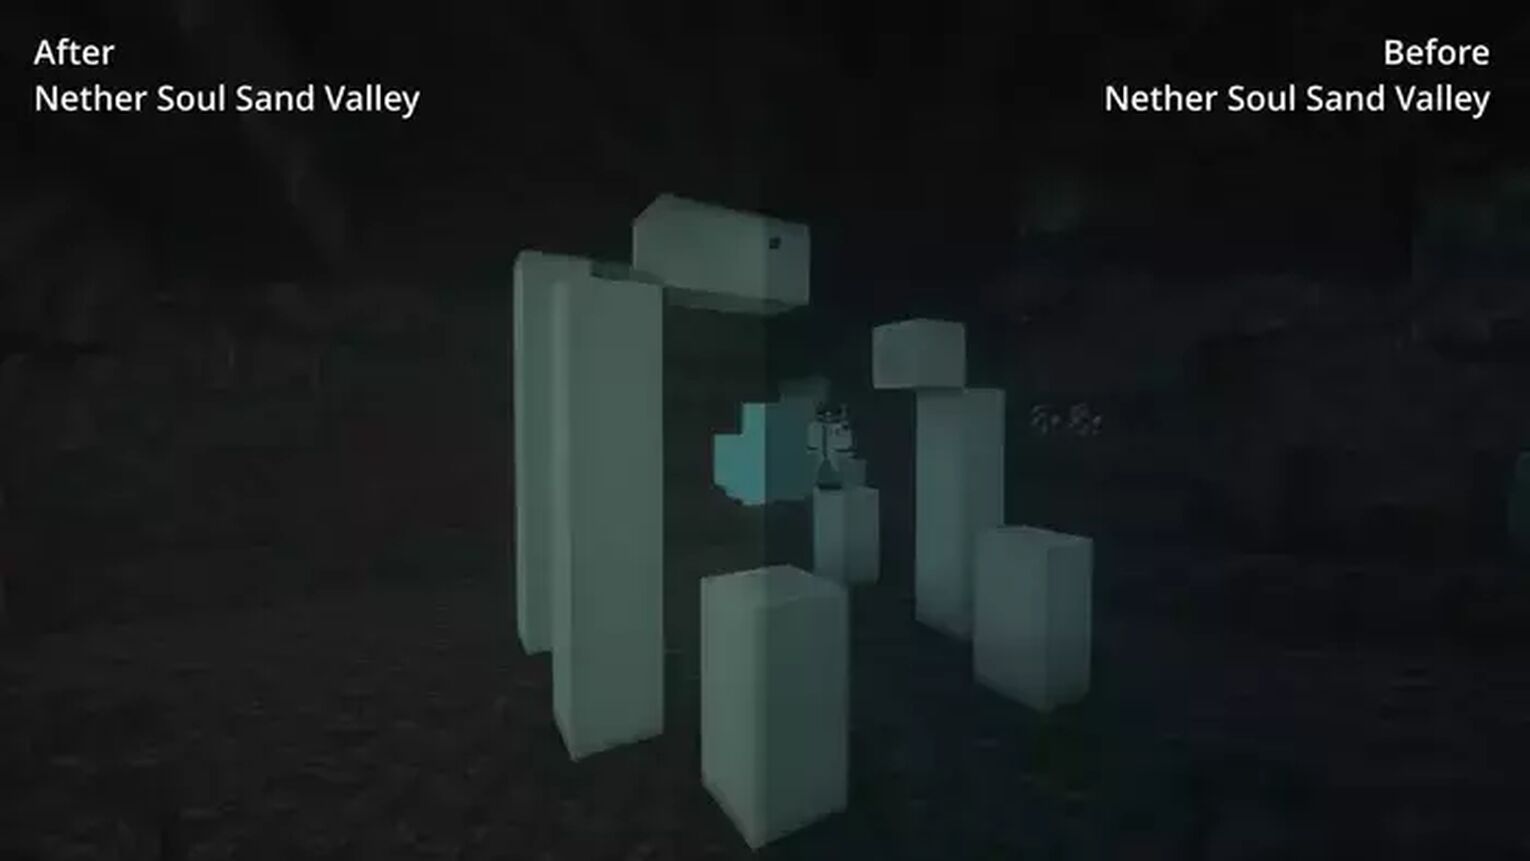
It's time to set the soul and valley's colors. Get back to the nether color menu and select soul sand valley. Increase the red color as soul sand has more red and also increases the intensity.
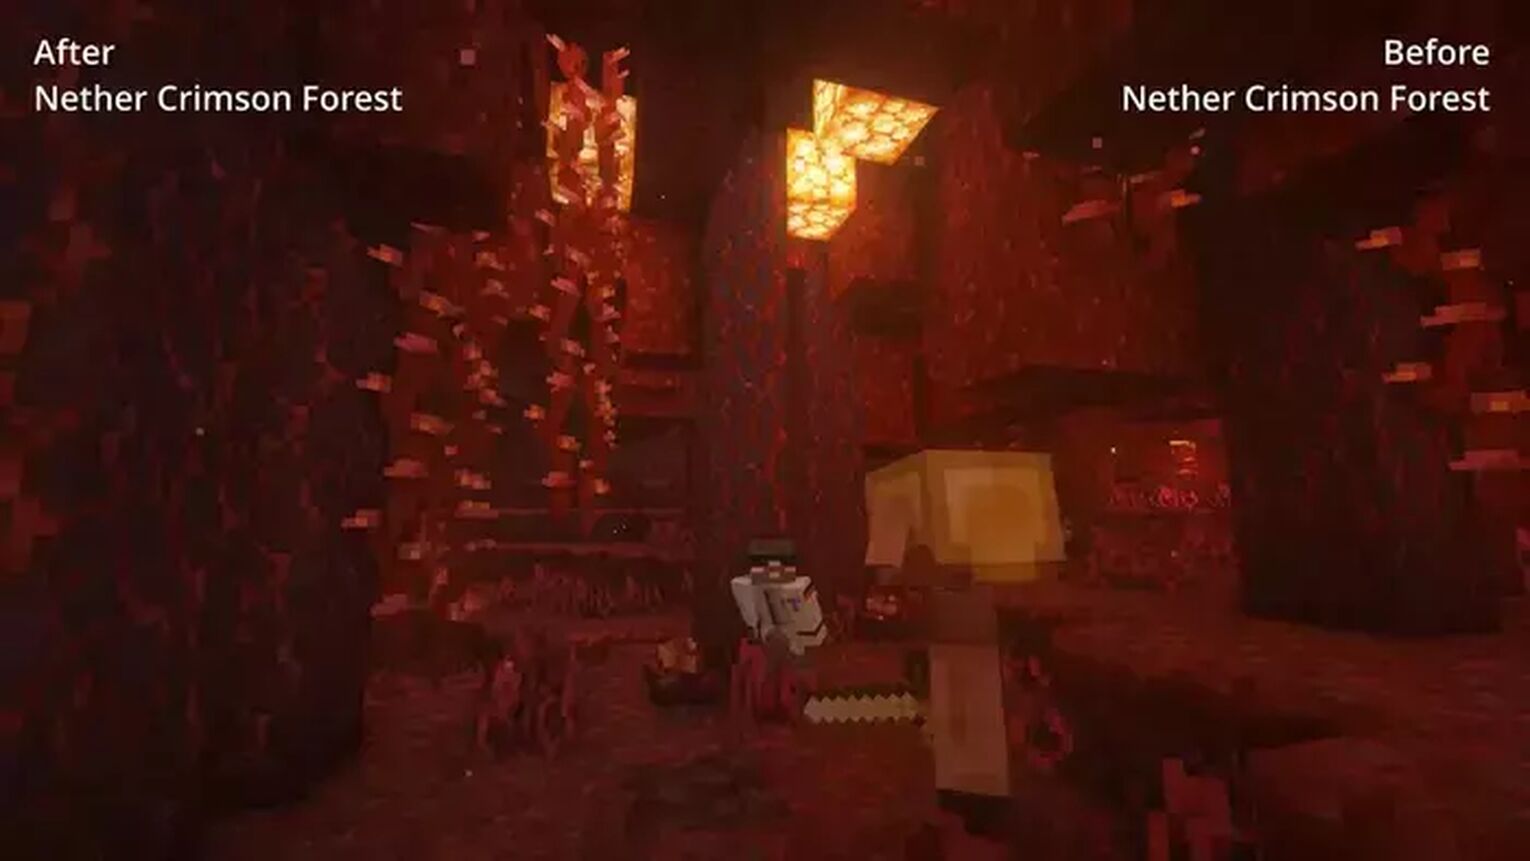
Do you love to visit crimson forests? We will make it more ambient for you. Select the crimson forest colors. Increase red:224, blue:56, green:60 and intensity up to 1.60.
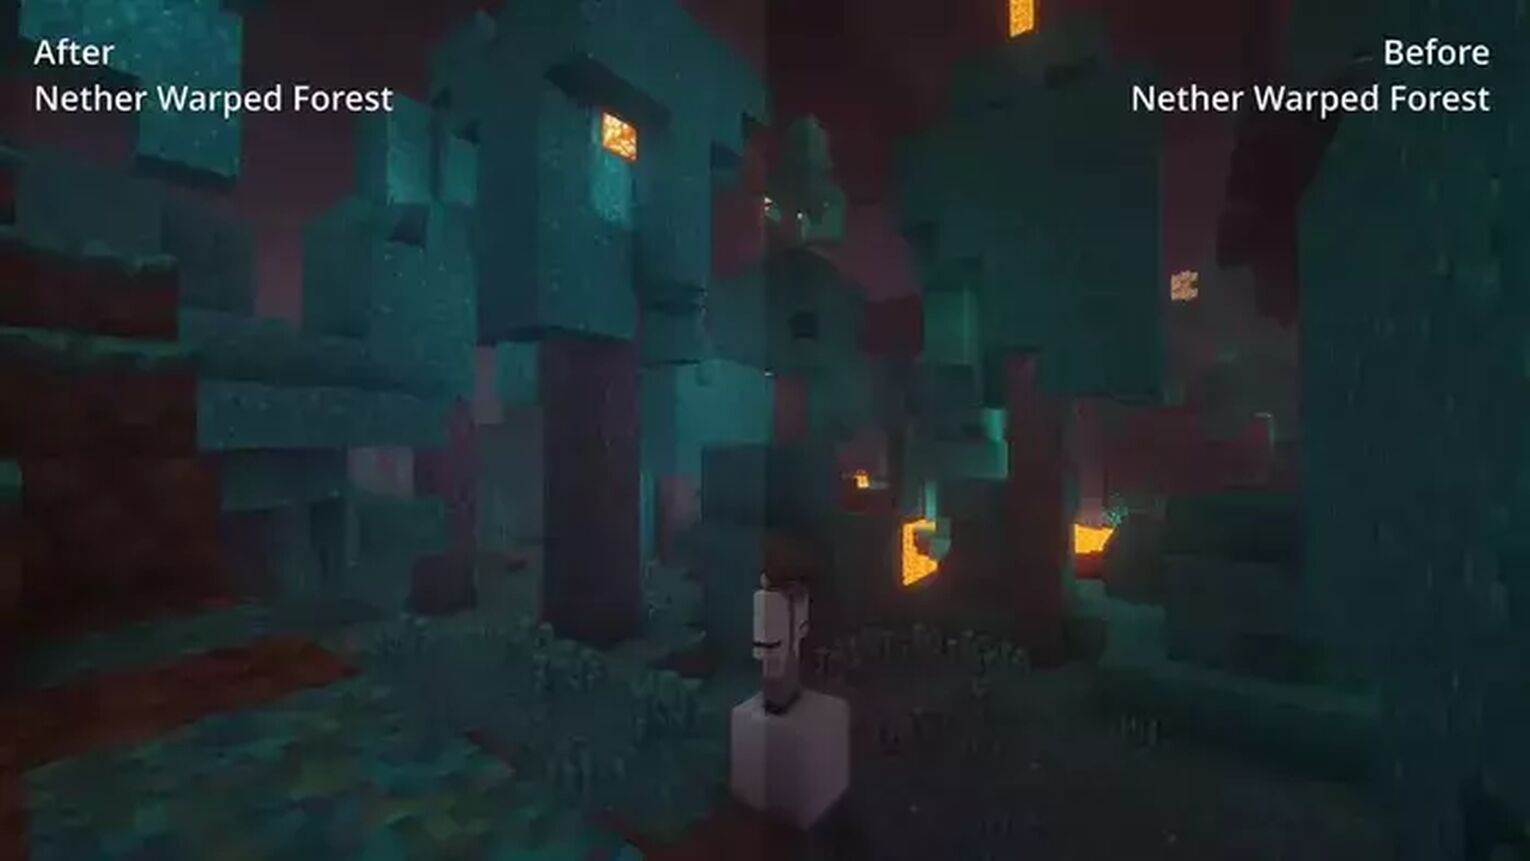
Warped Forest is the best place for blue trees. Increase blue color to the highest limit, increase red to 232 and green to 196. Also, increase the color intensity to 1.20 and press done.
The last part is the End colors. Select the end world from the color menu. Increase green up to 196, intensity up to 1.20, and all done. It will reduce the over brightness in the end world. So all your best optifine settings are done now.



.svg)


![Best HUD Mods in Minecraft [Top 10 List]](https://theglobalgaming.com/assets/images/_generated/thumbnails/4077159/best-hud-mods-minecraft_03b5a9d7fb07984fa16e839d57c21b54.jpeg)
![How to Join a LAN World in Minecraft [Java & Bedrock]](https://theglobalgaming.com/assets/images/_generated/thumbnails/4077161/how-to-join-a-lan-world-minecraft_03b5a9d7fb07984fa16e839d57c21b54.jpeg)
