
In Minecraft, mushrooms are grown in the mushroom land, in caves, and lush cave biome. These mushrooms are easy to harvest and grow anywhere. Some mushrooms like brown mushroom need special conditions of light to grow. These mushrooms could be harvested and grown on farms. Here we will discuss the step-by-step guide on how to farm mushrooms the quick way.
How To Make Mushroom Farm
There are several types of mushroom farms these farms may be automatic or manual. Here we will discuss both farms and easy ways to build them. These farms give you constant production of growing mushrooms that you can use as food like rabbit stew, crafting mushroom stew, or smelting. The mushroom process can be increased by providing the bone meal to them. So, let's start mushroom farming.
Quick Automatic Mushroom Farm
These automatic farms are used for any mushroom type including brown mushrooms and red mushrooms. These red and brown mushrooms will grow in small sizes and will be collected into the chest in that size. Huge mushrooms are not suitable for food or smelting. Here is what you will need:
- 1x Observer
- 1x Hopper
- 1x Minecart with hopper
- 1x Chest
- 1x Sticky Piston
- 8x Black Tinted Blocks
- 1x Rail
- 3x Podzol
- Few Mushrooms
Step 1: Making The Base
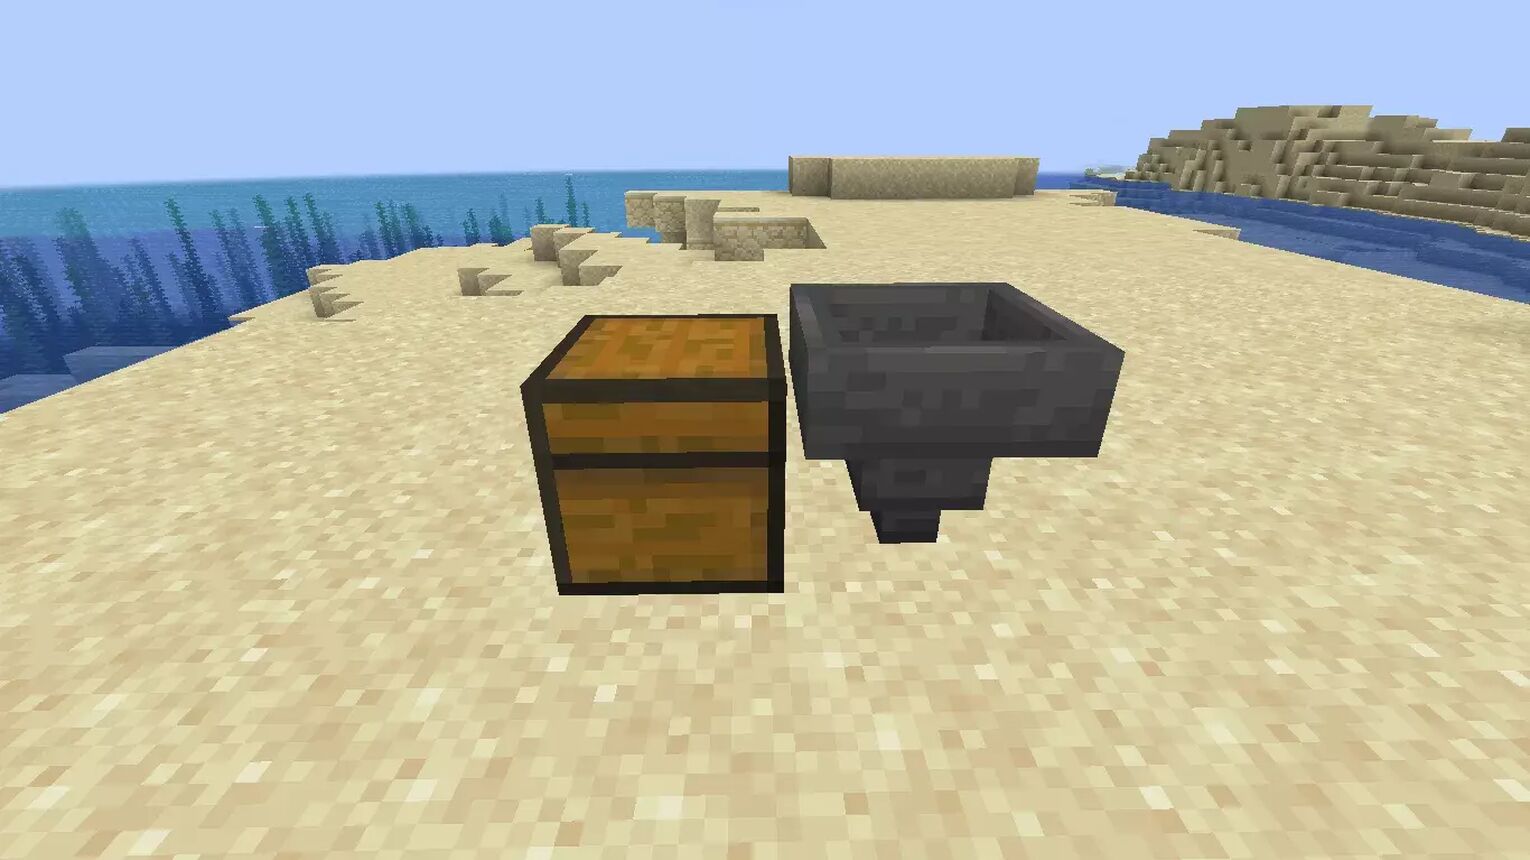
To make the base, you have to place one chest and attach a hopper on one end of it. This hopper will collect the dropped mushrooms with the help of the hopper. Here you will see the collected mushrooms.
Step 2: Main Mechanism
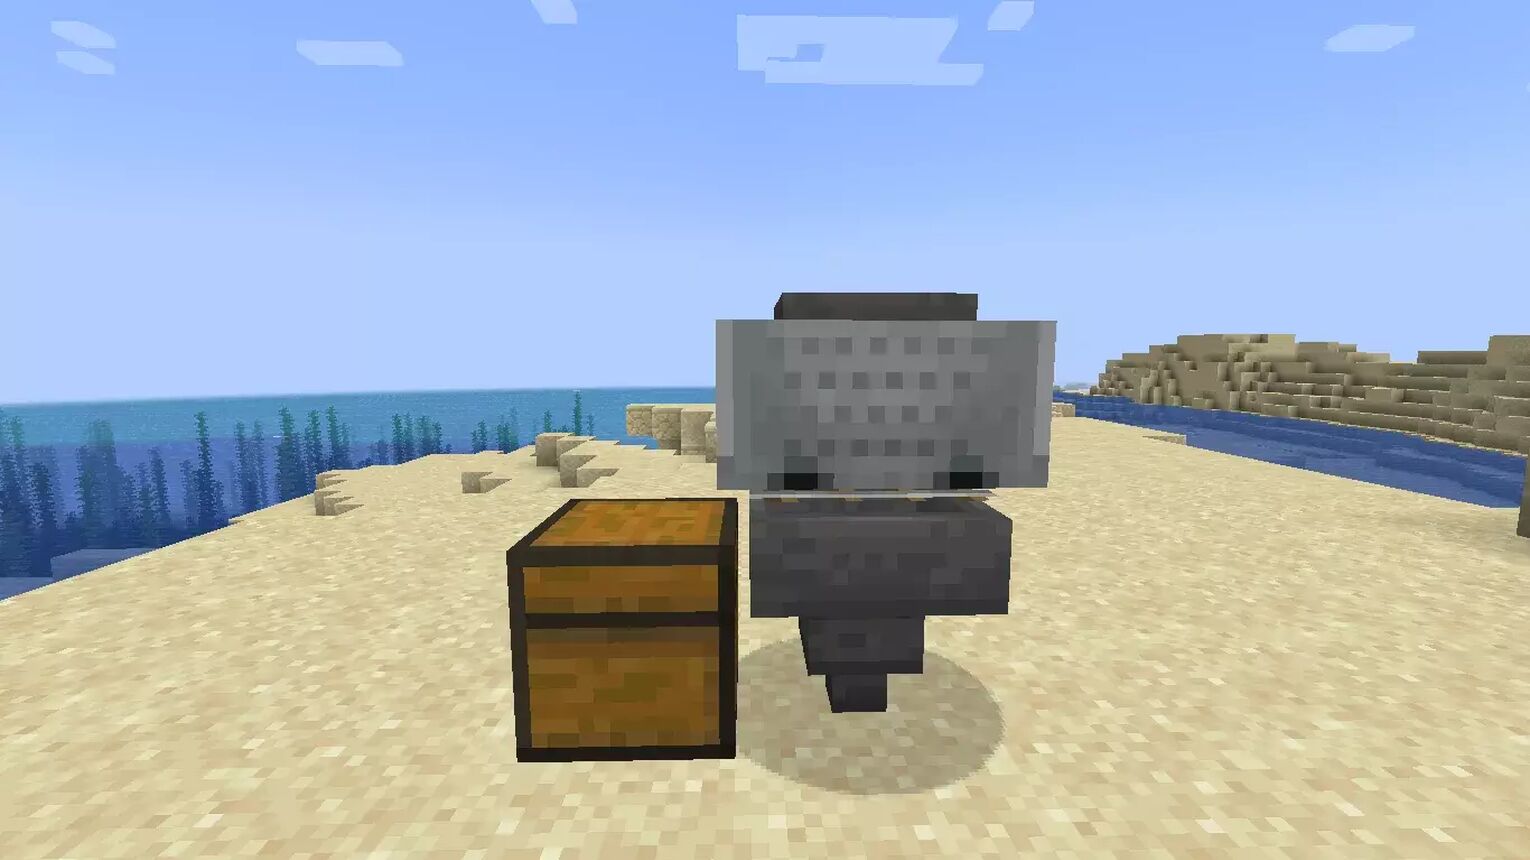
The main mechanism includes the hopper and rail. You will have to place a Rail on the top of the hopper attached to the chest. After placing the rail, place the Minecart with hopper on top of the rail to cover it.
Step 3: Cover The Farm
Now place one podzol on the top of the Minecart and place the other two podzols like triangular shapes and place the sticky piston at one end. Now cover the structure with black tinted glass.
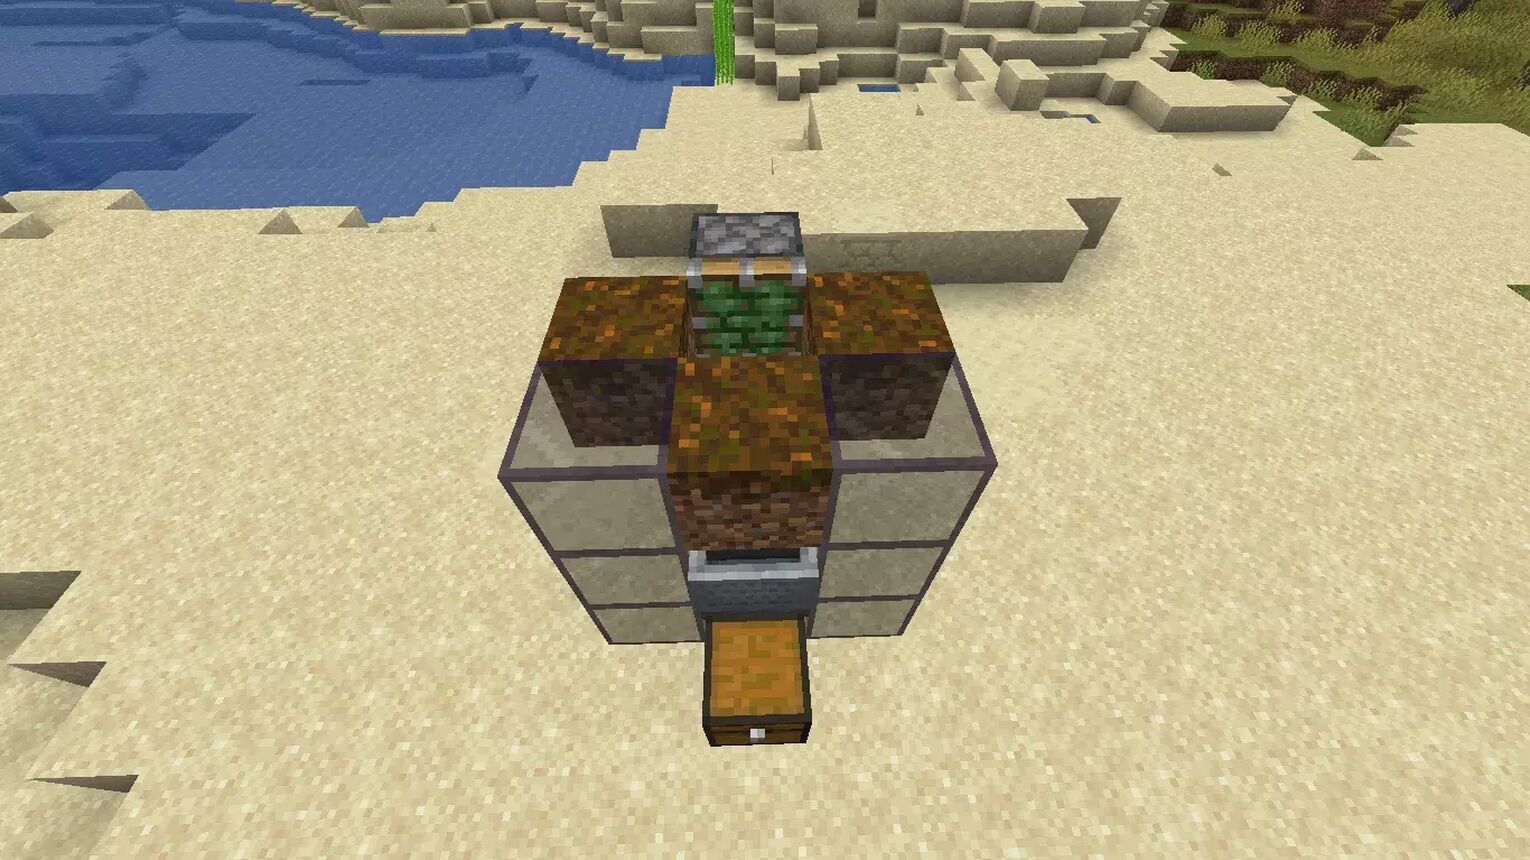
The observer should be placed on one of the podzols above the minecart. This will move the podzol block under the observer. Now break the block and place it again in its original place.
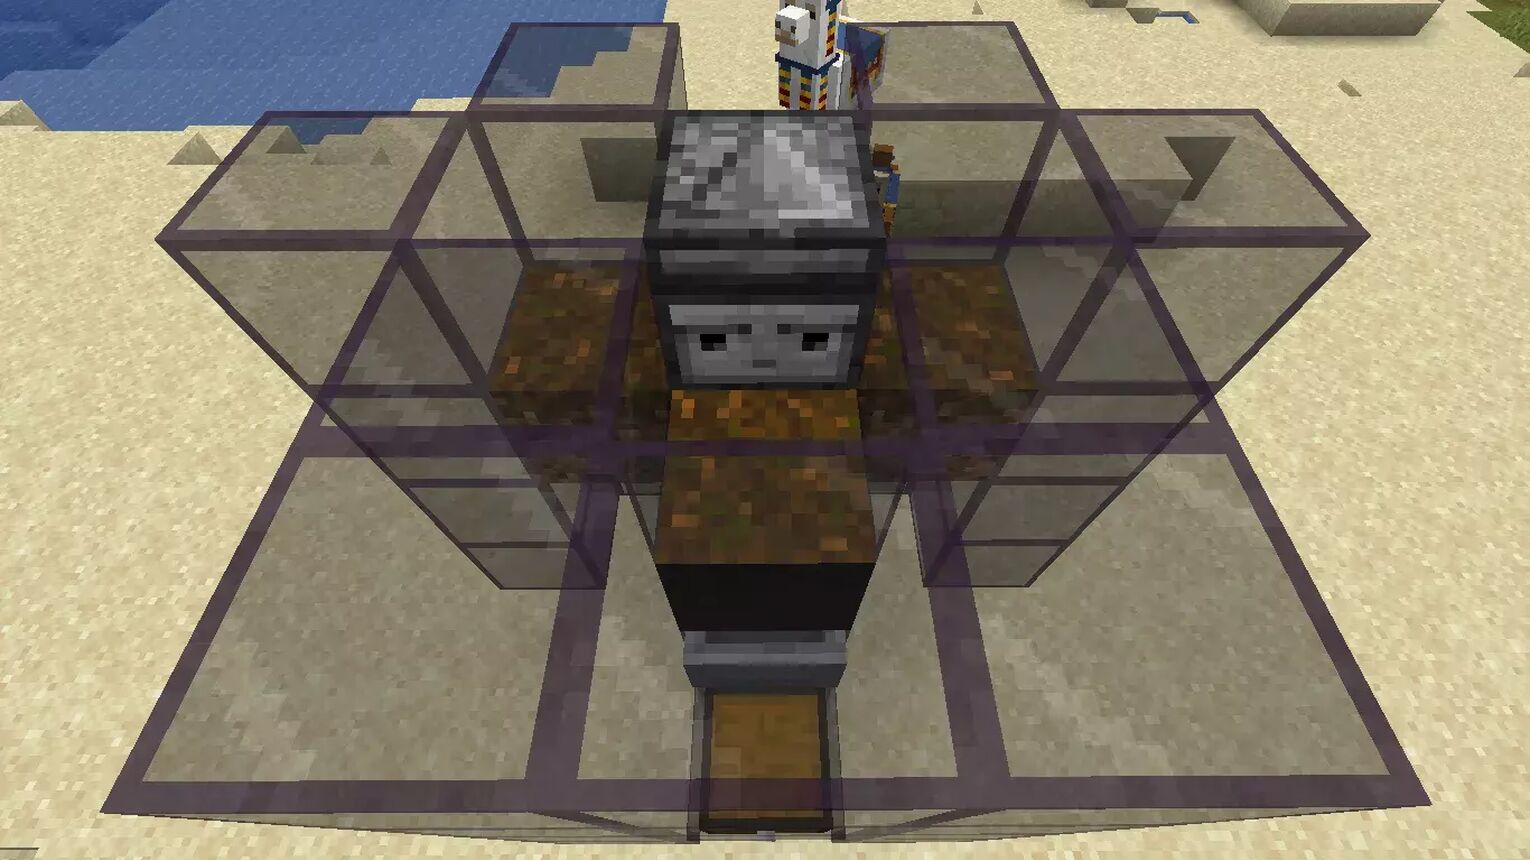
Place the mushrooms on the two podzols and cover them with the black tinted glass. Don’t place any mushrooms on the block in from of the observer. This will allow the mushrooms to grow faster.
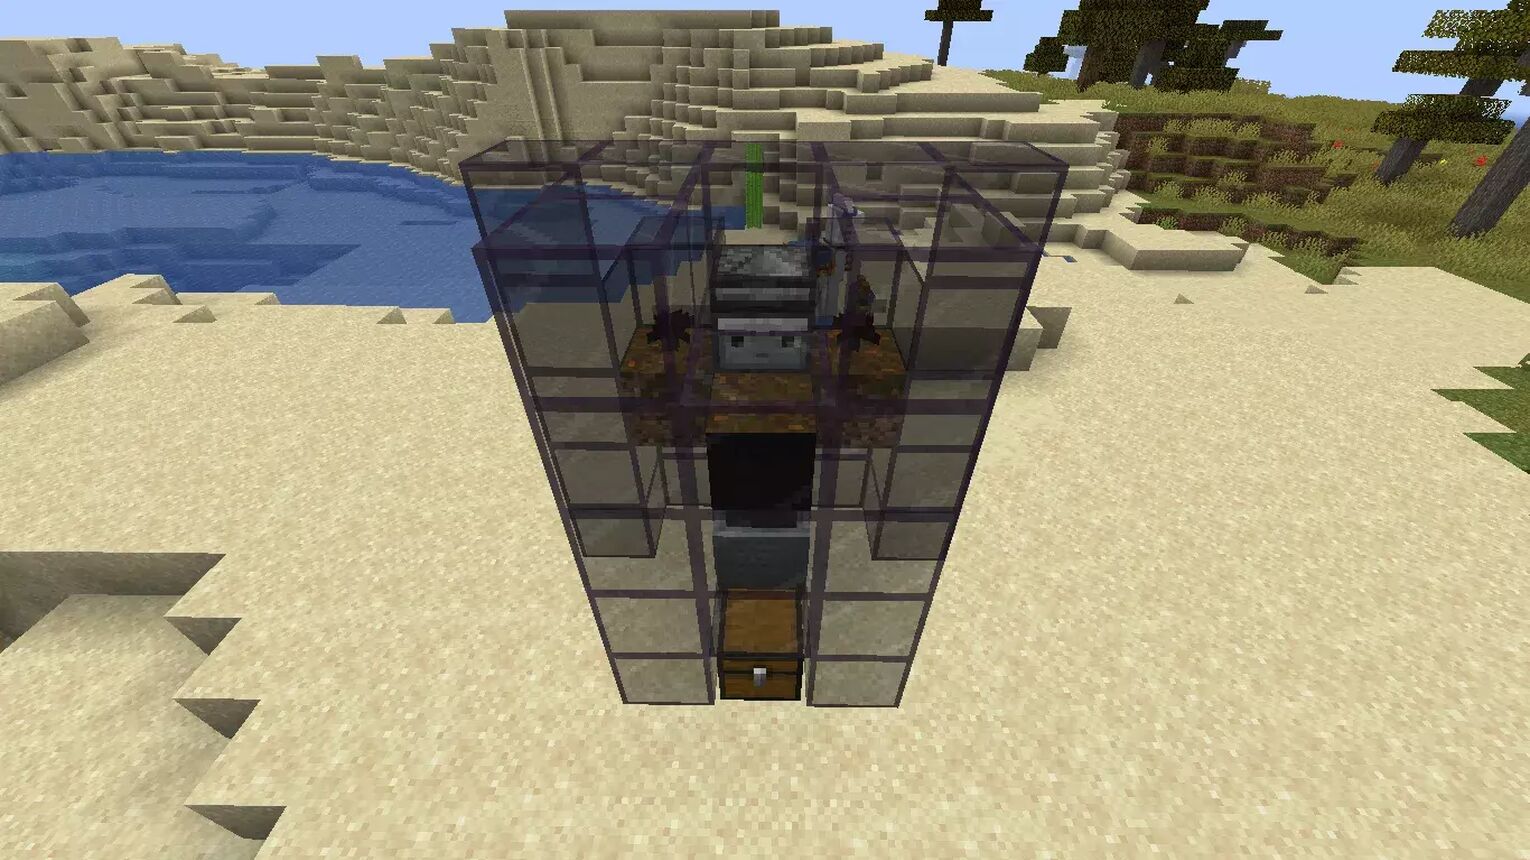
It is a simple farm with a simple mechanism. This mushroom will grow on all three podzols as they are connected to one another. The observer will hit the mushroom that grows on the block in front of it, and it will fall into the chest below from where you can collect them.
Semi-Automatic Mushrooms
This semi-automatic mushroom farm works with the help of water. You have to make gradually decreasing trench platforms from where water can flow from high to the lower area. There are no farming skills required to make this farm. This semi-automated farm is best for the red mushroom but hot for the huge mushrooms. Here’s how you can make it:
Step 1: Make the Slope
Select a flat surface or natural slope to make the the farm. This could be done by digging the place from one side. Dig only one block down and make an 11x 6 block area. Cover the sides of the upper portion and a lower portion with dirt blocks. Continue this process and make three 11x6 slops.

Now dig the trenches around the 11x6 area as shown. Fill the trenches with water in such a way that the water flows downwards.
Step 2: Water Flow Mechanism
Place the chest at the end of the slope to collect all the mushrooms. Now place some dispensers on the beginning of the slope. Place a water bucket in each dispenser.
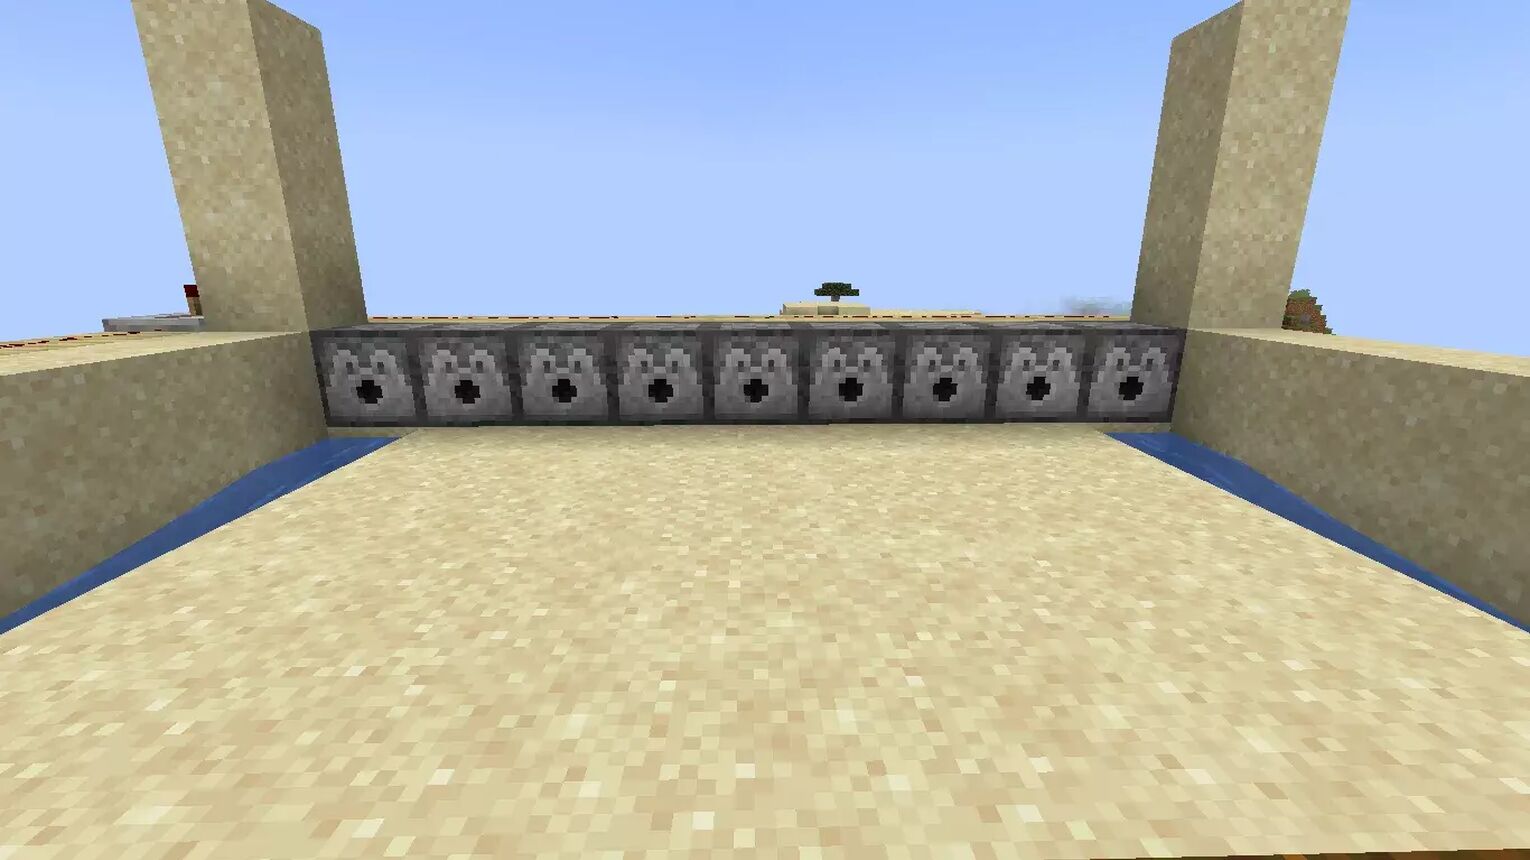
Step 3: Redstone Mechanism
To activate the water flow from the dispenser, you will need this Redstone mechanism. Attach all the dispensers with the help of Redstone dust on wooden planks and place a button at the end of the mechanism to activate the dispensers.
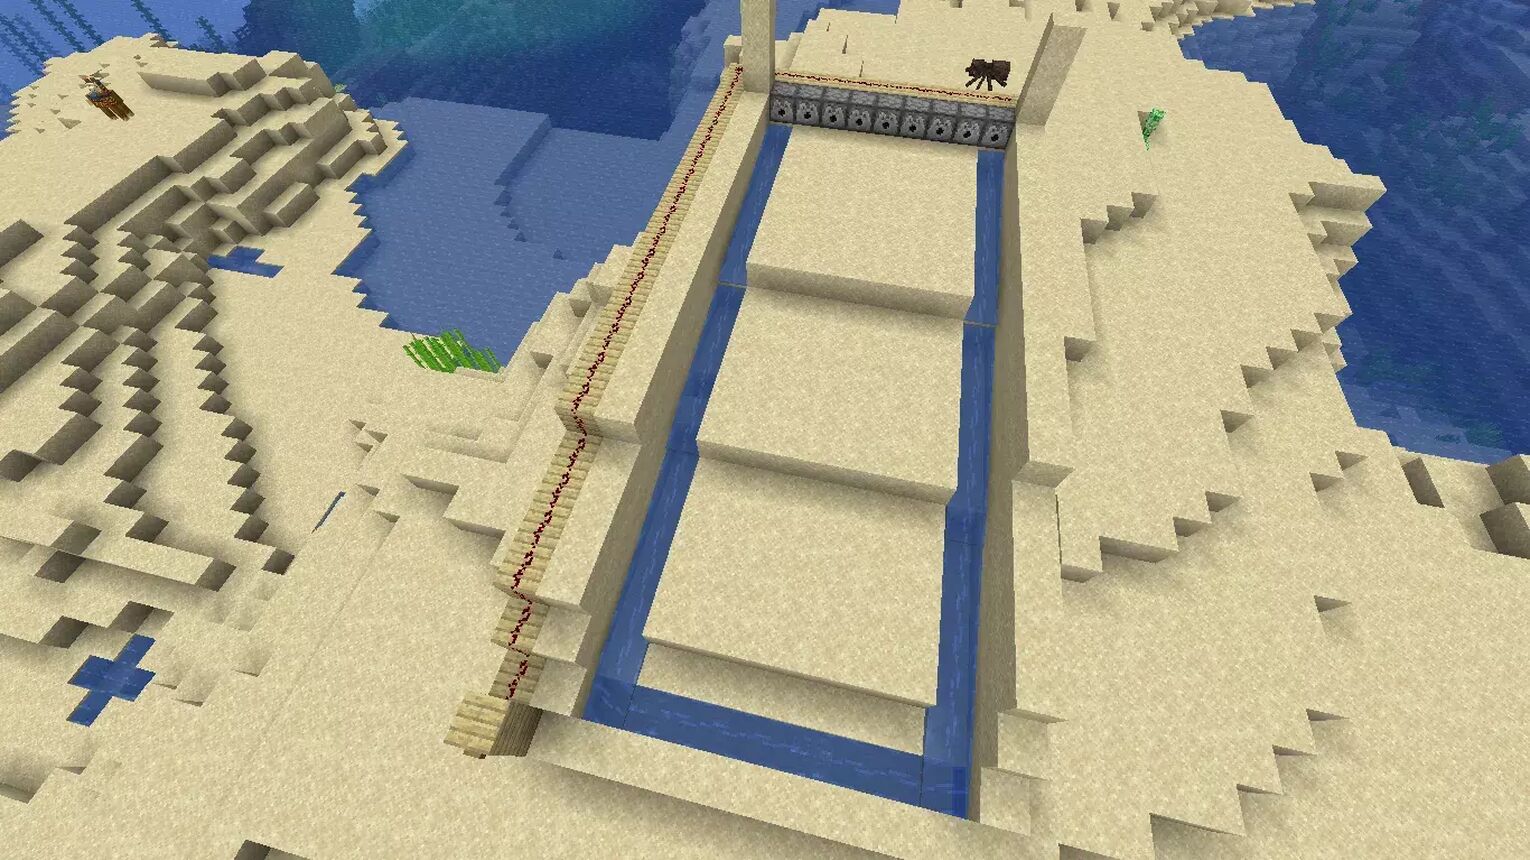
Water flow is necessary for the harvesting of mushrooms. Create an infinite water source on top of where the sloop starts. Now remove some sand blocks and place the podzol soil blocks instead. Podzol is best for mushroom growth.
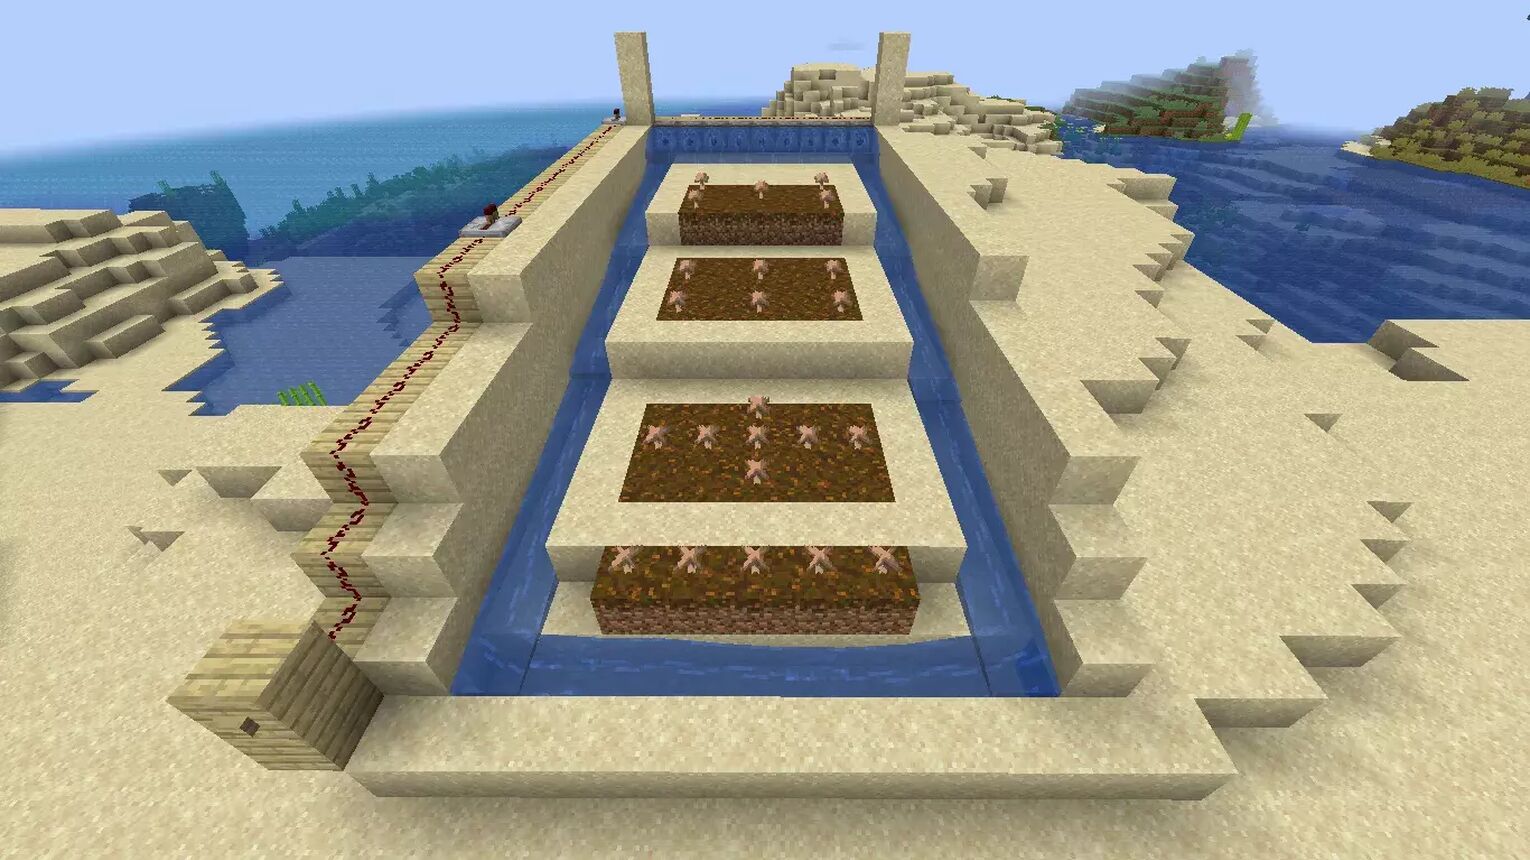
When the mushrooms are well grown in the area, you just have to press the button to release the water from the top. This water will harvest all the mushrooms and you can collect them in the trench which will lead them into the chest.
Tunnel Mushroom Farming
Tunnel mushroom farms work best for brown mushrooms as they require dark areas with a light intensity of 13 or less levels. without any light source to grow small mushrooms. This mushroom farm is manual but you can make it automatic too.
Step 1: Make A Dark Room
This is very crucial because the mushroom grows faster in dark places. So you need to make the dark room first. To make the darkroom select the cave area. There is no specific height and length of your room. In our tutorial, we have created a 10x6 block room.
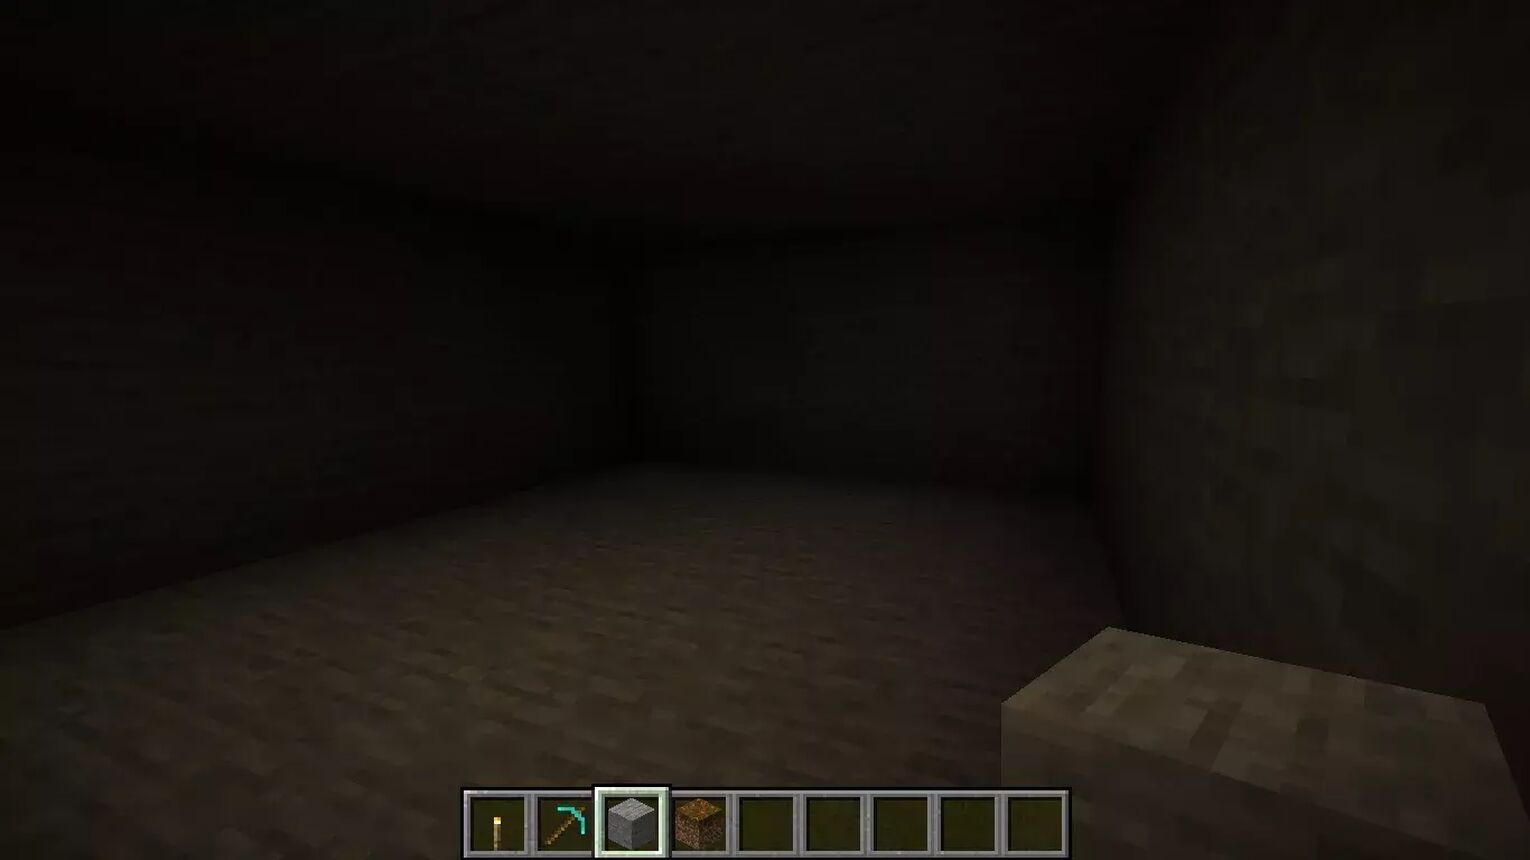
Step 2: Place the Mushrooms
Now you need to make the base for the mushrooms. This requires podzol if you are growing the brown mushroom. Dig some holes into the ground and place the podzol into these holes and place the mushrooms.
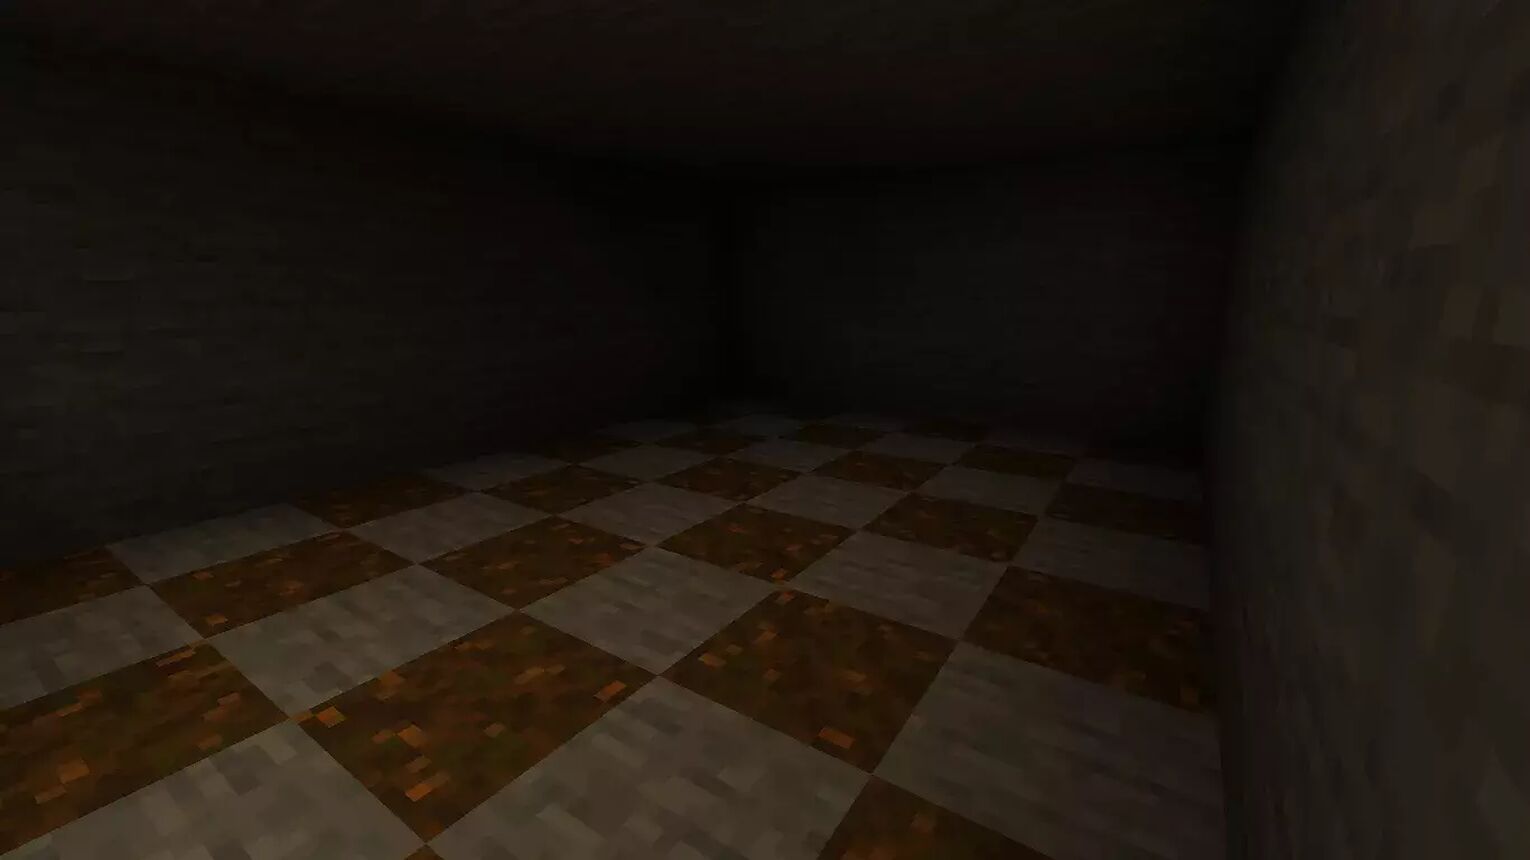
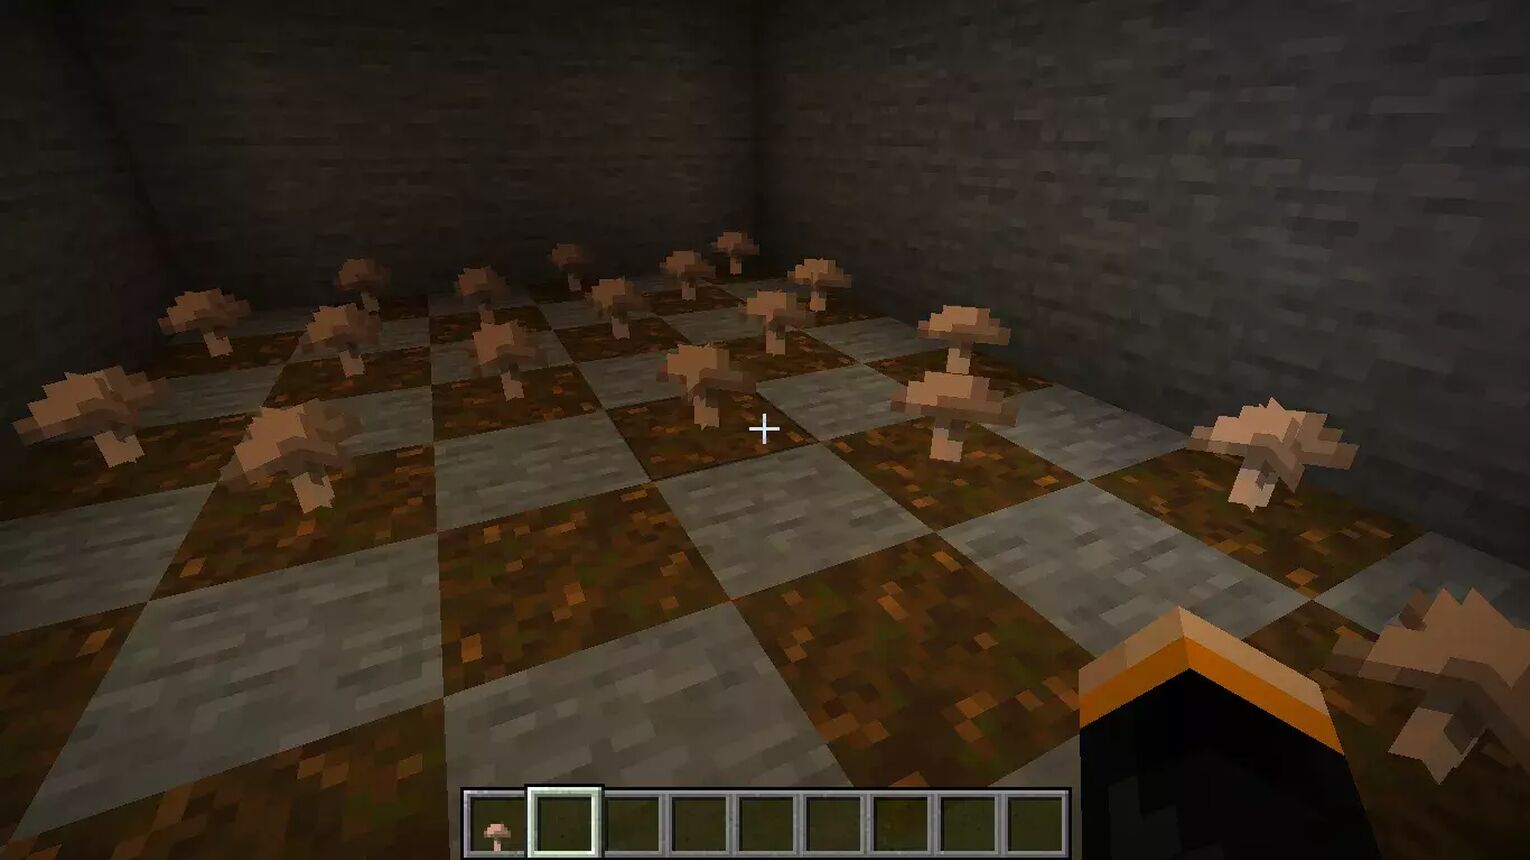
You can cover the whole area with the podzol and place some mushrooms. Mushrooms spread automatically in the nearby area. The roof doesn’t allow these mushrooms to grow as a huge mushroom.

Step 3: Harvesting
Harvesting of these low light levels mushrooms requires a special technique. Don’t harvest all mushrooms, you have to leave some of them to grow again. So, harvest two mushrooms and leave one in the central block. You can use the bone meal to grow them but be careful you don’t want to grow huge mushrooms.


.svg)


![Best HUD Mods in Minecraft [Top 10 List]](https://theglobalgaming.com/assets/images/_generated/thumbnails/4077159/best-hud-mods-minecraft_03b5a9d7fb07984fa16e839d57c21b54.jpeg)
![How to Join a LAN World in Minecraft [Java & Bedrock]](https://theglobalgaming.com/assets/images/_generated/thumbnails/4077161/how-to-join-a-lan-world-minecraft_03b5a9d7fb07984fa16e839d57c21b54.jpeg)
