Changing and editing your Minecraft skin on the internet is easy enough, but getting an image into Minecraft is a challenge in and of itself. Downloading a Minecraft resource pack for the game can help, but this article is about how to upload your own photos. While adding your image to paintings is an excellent way to add custom pictures into Minecraft, the second way is also extremely popular. The second method has you convert your images into map data, which can then be used in Minecraft game servers, and other players would see the photo as well!
Adding Images as Paintings
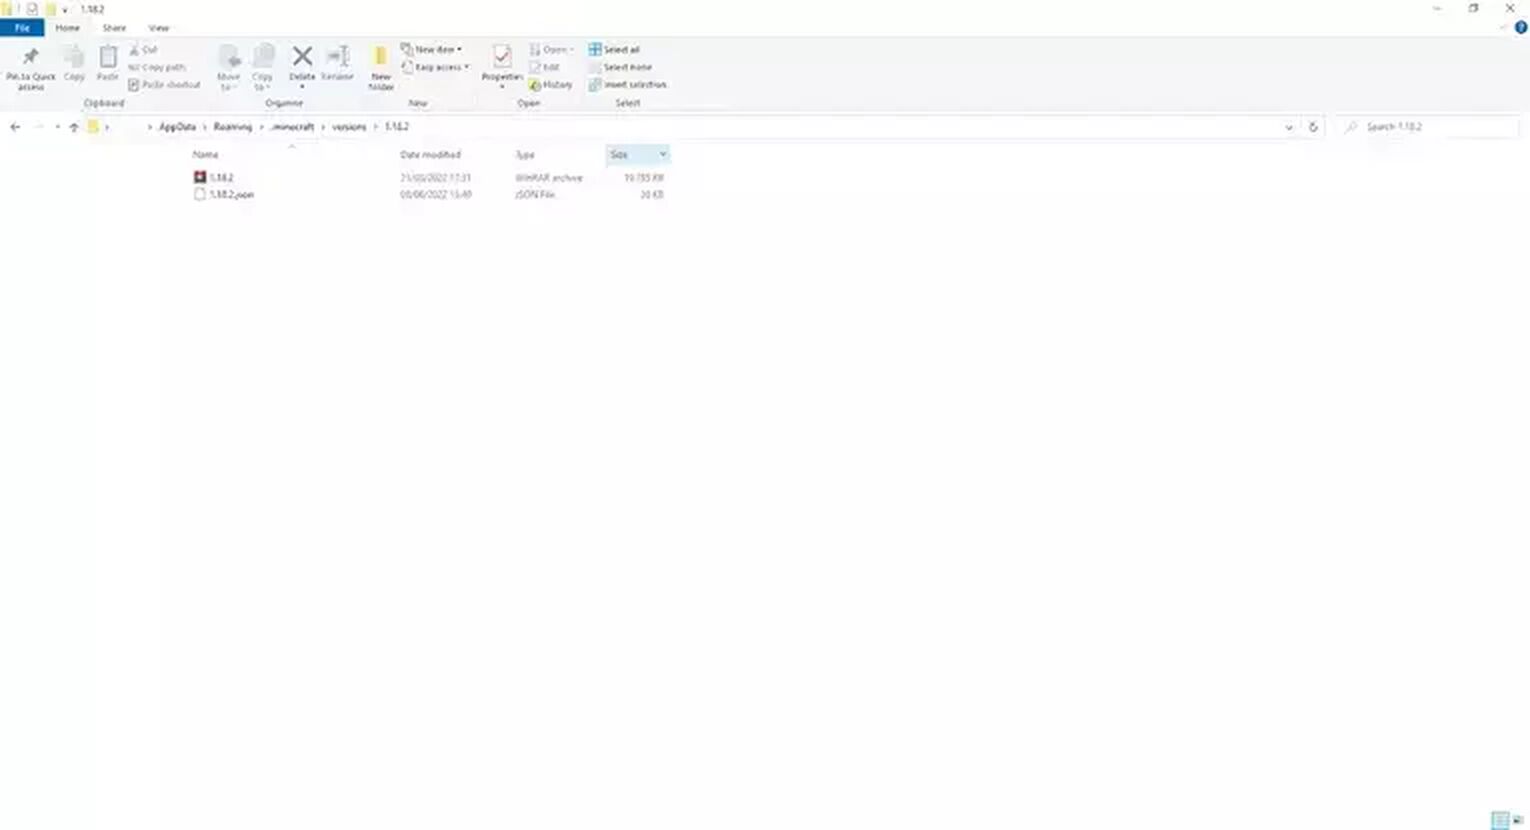
- Search ‘Run’ in your windows search bar and type in %appdata% into the menu that pops up.
- A folder named “Roaming” should appear in this folder.
- You’ll need to enter the ‘.minecraft’ folder and then the ‘versions’ folder.
- After that, click the folder of the Minecraft version you’re playing and you should see a .jar file with the version of your game attached.
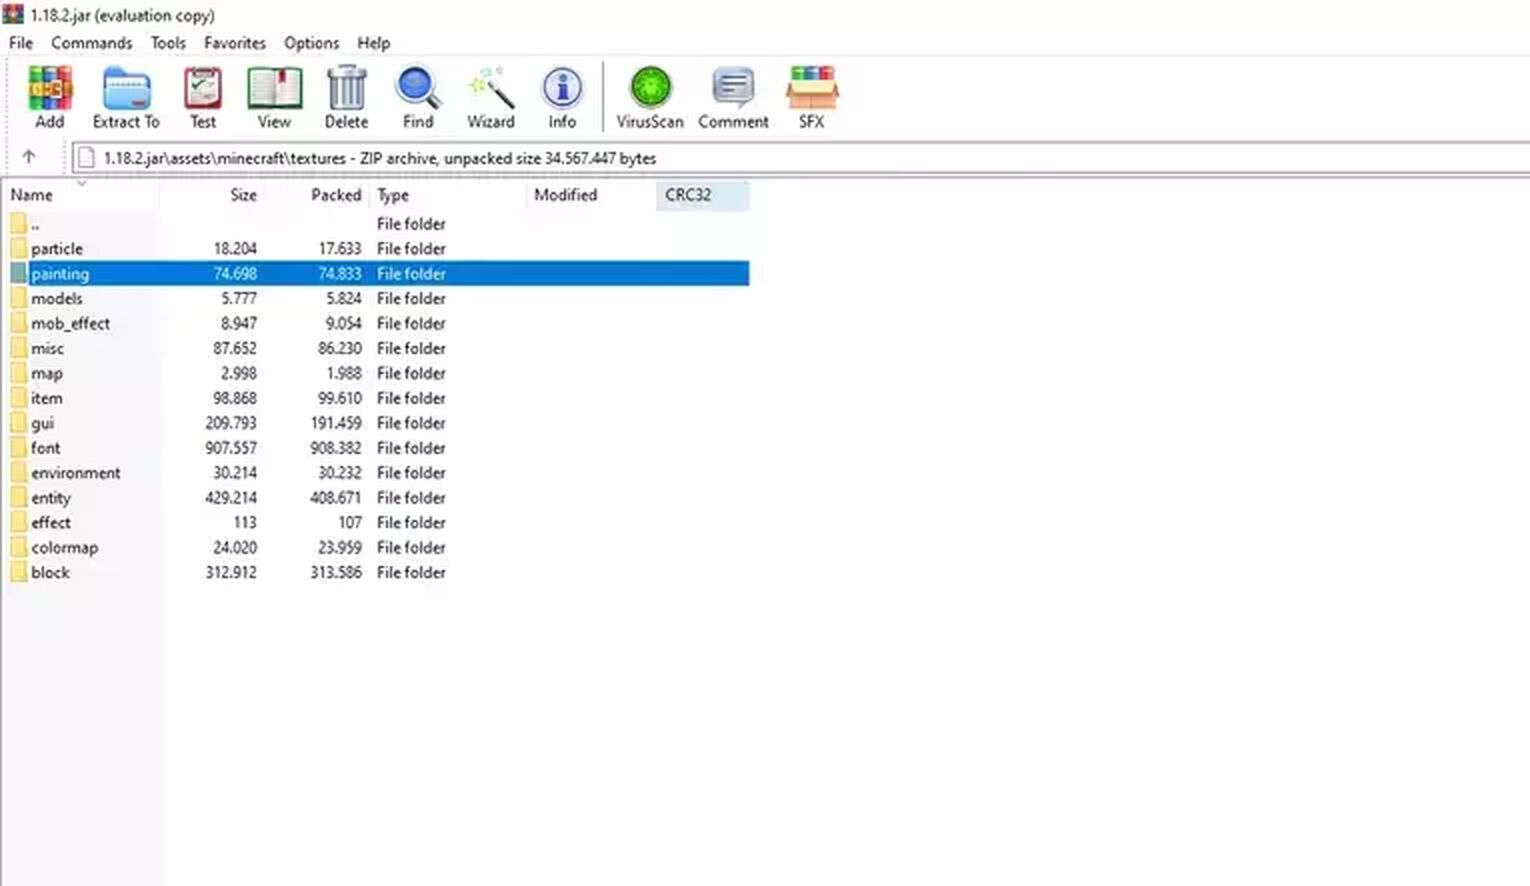
- Right-click the .jar file and select your extraction program to open the archive.
- Doing this will allow you to open the .jar file as a folder.
- Once in there, you’ll have to go click on ‘assets’, and then ‘Minecraft’.
- After that go into the ‘textures’ folder, and then finally go into the 'painting’ or in some cases art folder.
- The painting or art folder will contain a plethora of PNG files that are paintings in Minecraft.
- If you want your own chosen pictures as a painting, you’ll need to replace one of the existing images in the folder with your custom photo.
Your new images have to be a PNG file and the same pixel size as the Minecraft paintings you’re going to replace. Your PNG file needs to be the same pixel size as the art PNG file. If it isn't, your altered art or paintings won't properly display in-game. You can find the pixel size for paintings here.
Pros & Cons
The pros to this way are the ability to easily and efficiently add many existing images into Minecraft through the paintings or art folder into your Minecraft world, but this does have a significant downside. The downside is that these changes will only take effect for your client, so any other players would still see default Minecraft art/paintings.
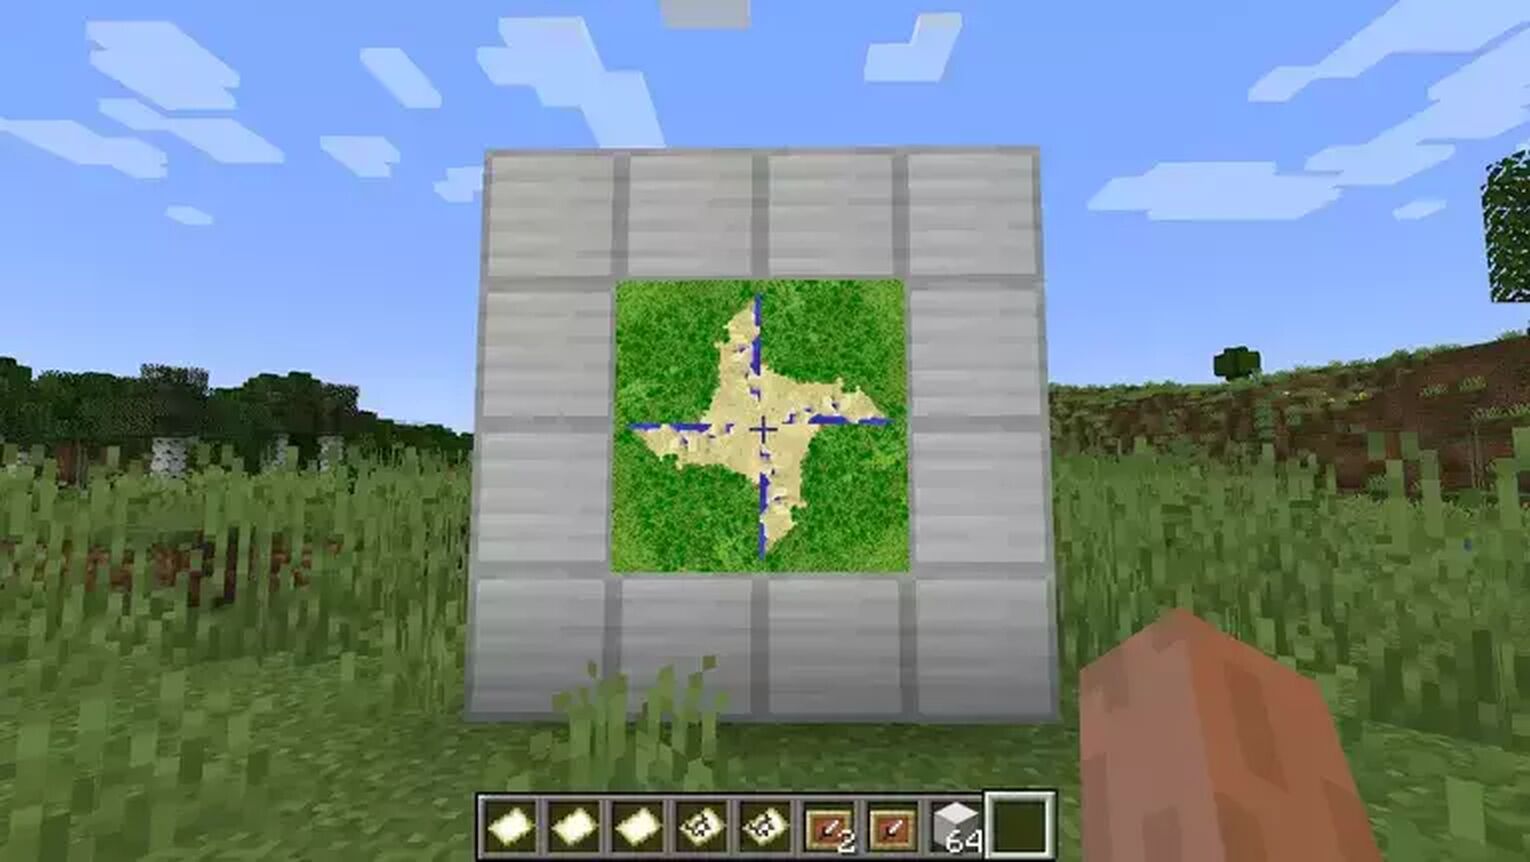
That downside makes this way perfect for a single-player adventure, but multiplayer servers would find this useless. That may be one of the reasons that this is often ignored.
Adding Images as a Map
An incredibly popular option for adding your custom image into your game is to replace the map data. By replacing this data, users can easily import images into their game. Although this isn't as simple as with the paintings, it's still viable.
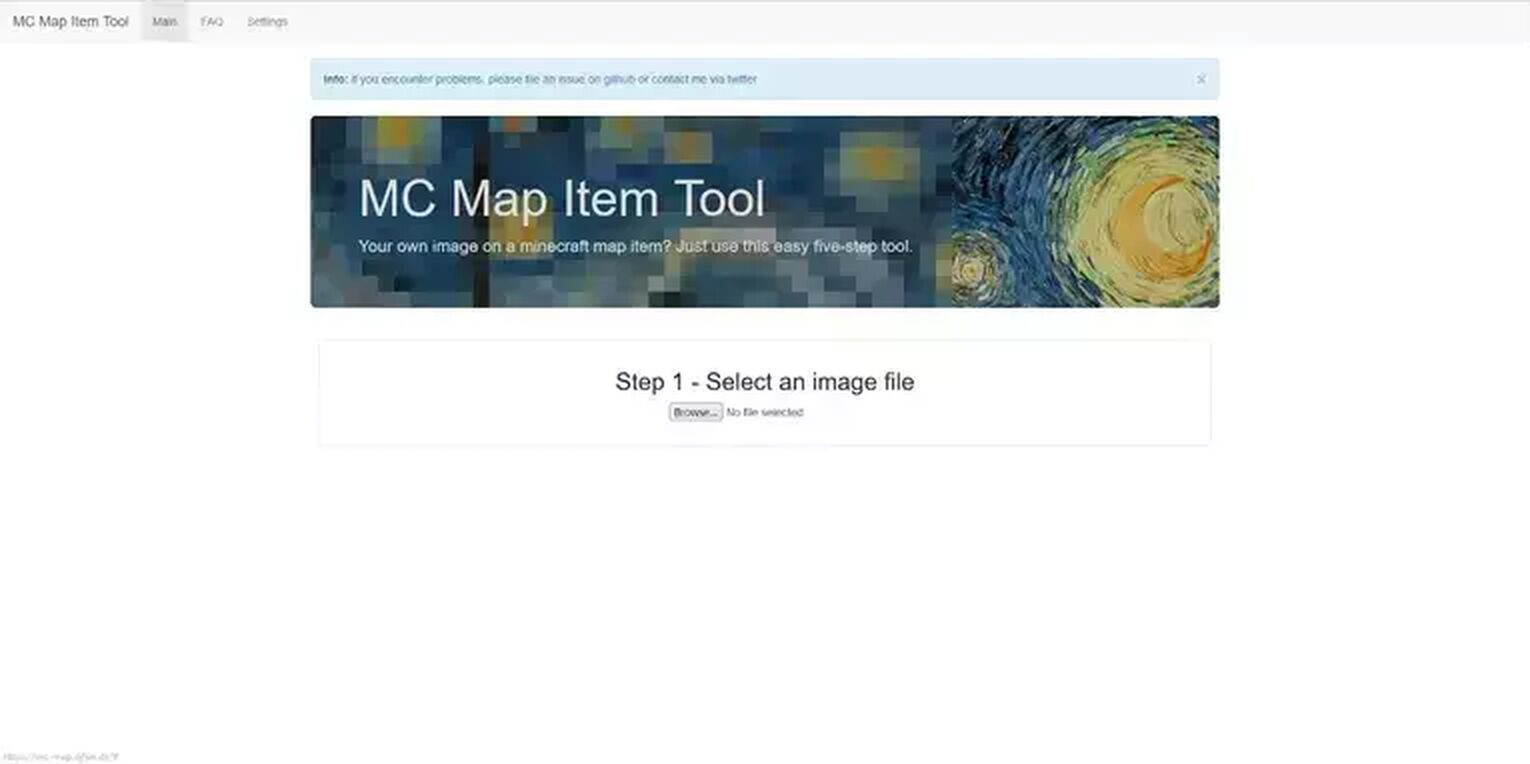
- Open an application or website that converts your standard photo into a Minecraft map .dat file.
- A commonly used application for .dat file conversion is MC Map Item Tool.
- Once you have your .dat file, head to your worlds/server’s information folder.
- If you’re playings single-player, then you need to go into the folder named ‘Saves’ and pick your world.
- Upon entering your world’s folder, go into the ‘data’ folder and you’ll see a lot of .dat files.
- This is where you put your new .dat file that’s been renamed to an already existing map name.
- If your .dat file is named something entirely different, then you’ll have to change the actual name of your map in-game for the custom image to appear.
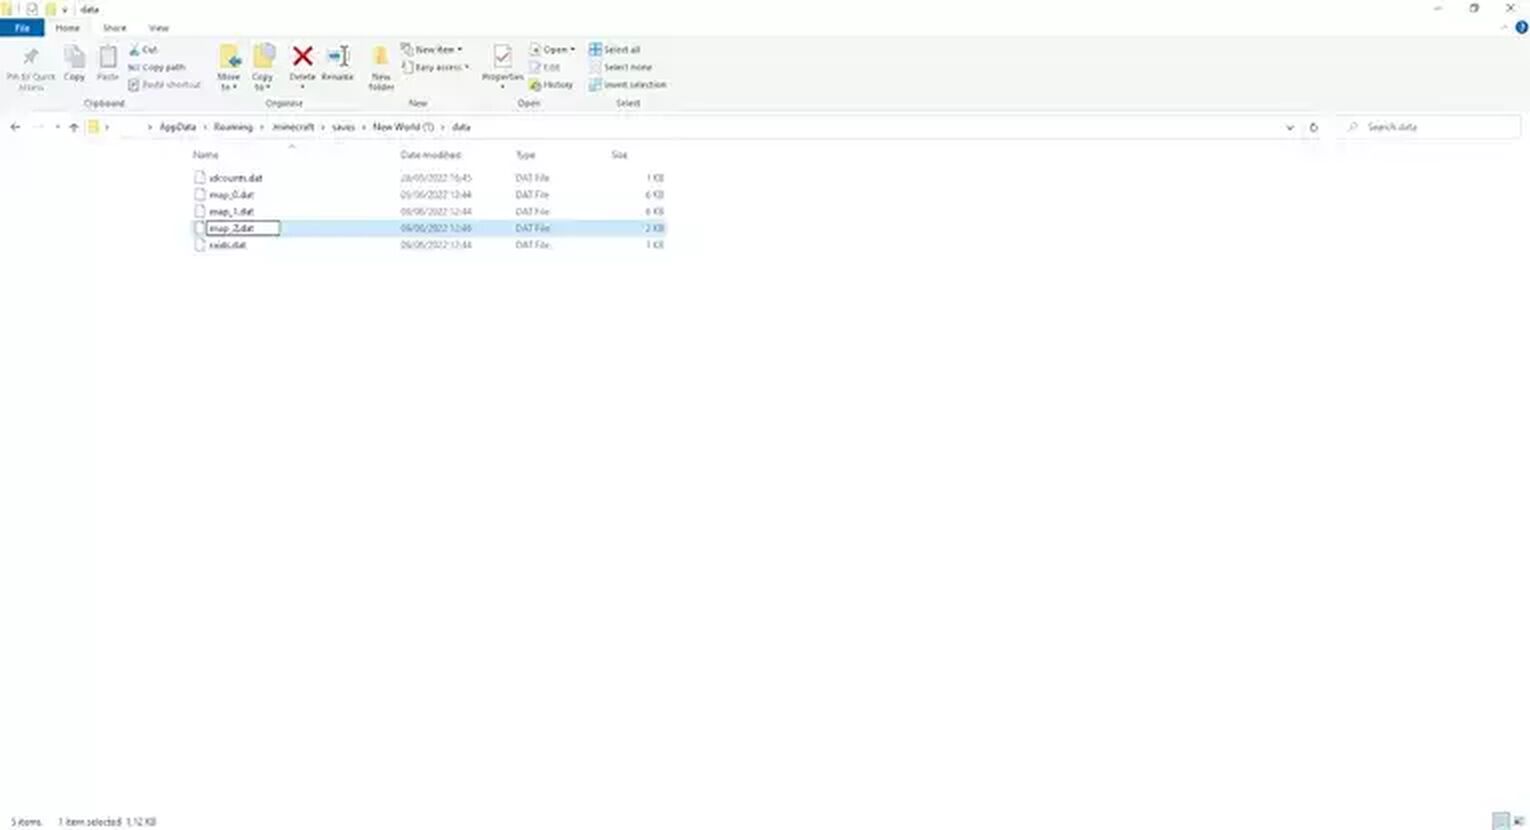
This method is commonly used in many Minecraft servers thanks to the ability to get ImagetoMap as a Spigot plugin, making the process of adding new images into a world simple.
Converting a Photo into Blocks
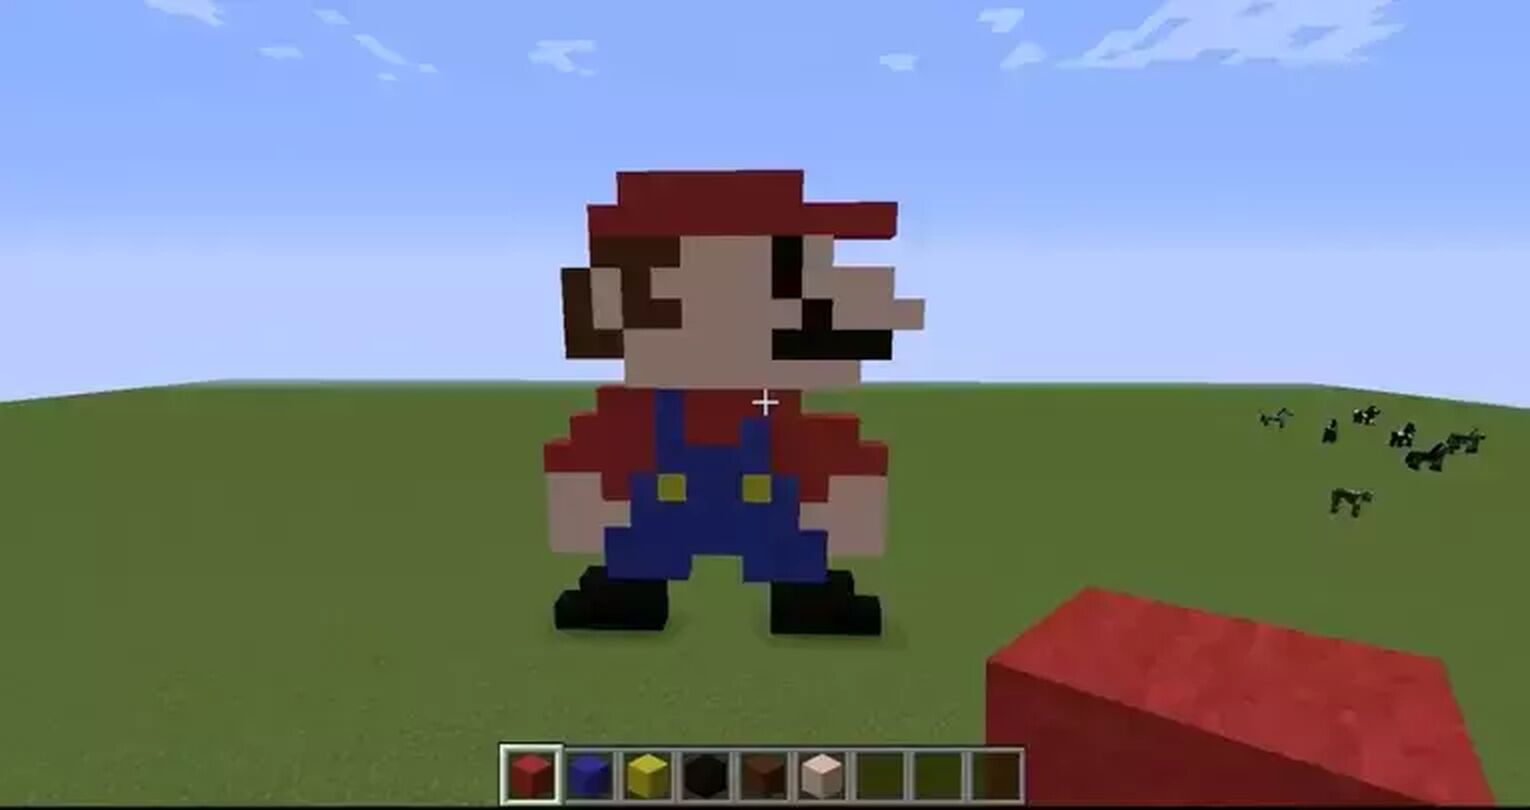
This method is considerably different from the previous ones listed. Instead of making your image into a Minecraft map or a painting, you’ll be making it into a 2D flat image. This will actually turn your image into Minecraft blocks. Others may find this method very complicated, as it offers little benefit when compared to the effort that’s required to make it work.
- This method will require the use of a separate application called SpriteCraft.
- The application’s options include Wool, common blocks, and even rare blocks like emerald and cracked stone brick!
- After you press 'render', a new window will appear, showing what the image will look like once completed and even showing the materials used to create this image.
- You can then use this as a tutorial to build it in your game
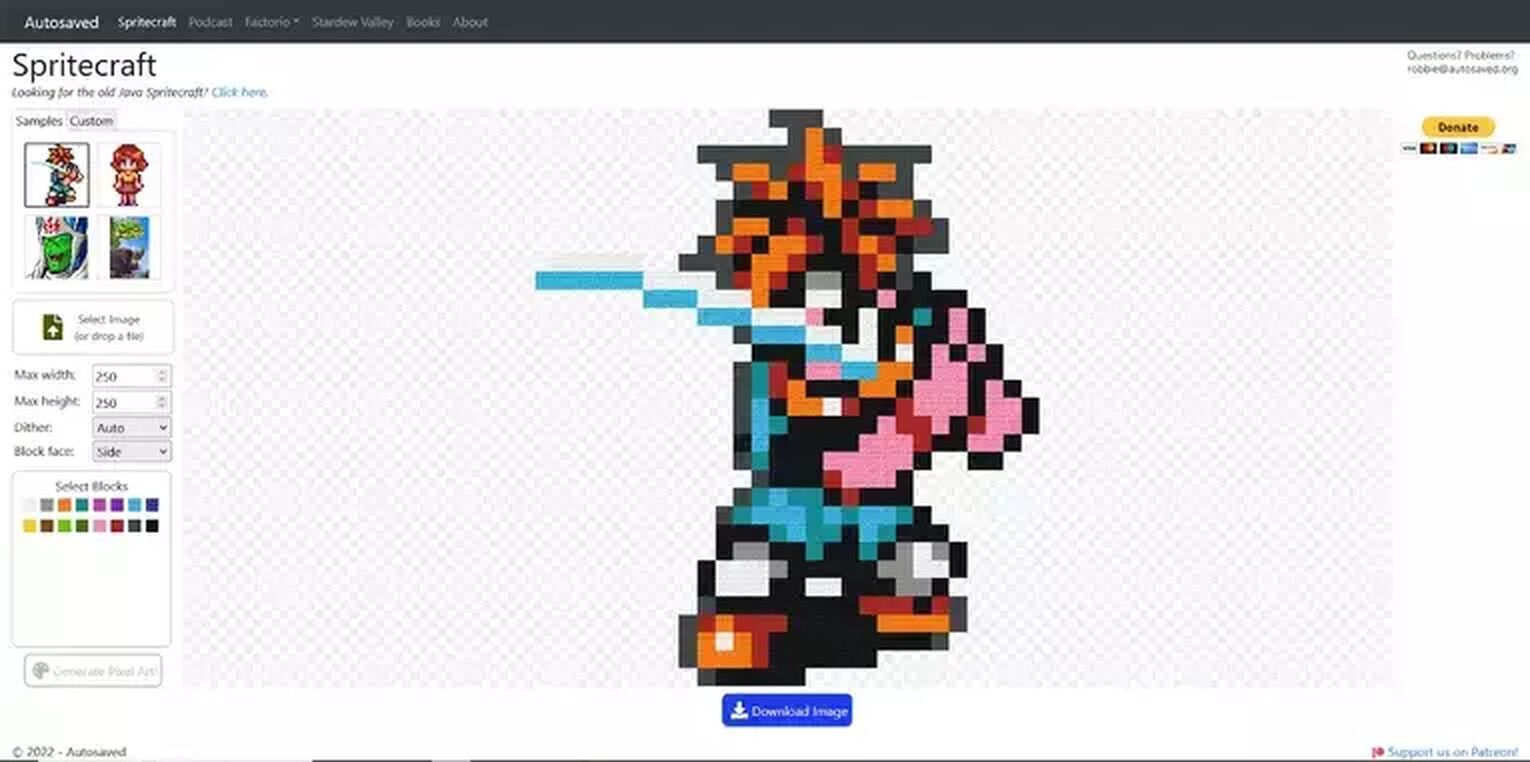
The main downside to this is the high level of Minecraft world space required. But, due to world editing being a thing, you can easily alter a Minecraft world in your server and create the required space for a custom picture.
Those were just three of the most common ways to add your custom image into the game of Minecraft, but there are many more. The reason why we didn’t look into the other methods is due to either the need for a plugin or the complexity to get the image into Minecraft.
If you’ve enjoyed this article, then be sure to check out our other guides on how to make Minecraft fullscreen, or how you can put an image onto a Minecraft skin.


.svg)


![Best HUD Mods in Minecraft [Top 10 List]](https://theglobalgaming.com/assets/images/_generated/thumbnails/4077159/best-hud-mods-minecraft_03b5a9d7fb07984fa16e839d57c21b54.jpeg)
![How to Join a LAN World in Minecraft [Java & Bedrock]](https://theglobalgaming.com/assets/images/_generated/thumbnails/4077161/how-to-join-a-lan-world-minecraft_03b5a9d7fb07984fa16e839d57c21b54.jpeg)
