

.svg)
How to Add Text to a Part in Roblox (Step-by-Step Guide)
Are you having trouble adding text to a part in Roblox? Well don't fret as this guide contain everything you need to know about adding text in Roblox.
Roblox Studio gives developers a plethora of options to customize and change according to their liking. With a wide range of menus and sliders, you can tweak your games easily to create a more personalized experience.
Text is an essential element of almost every game. Unless you're creating a primarily musical or visual experience in your game, you will need to add text. This can be done in multiple ways and has countless advantages. The most common method is to add text to a part to make it visible to the player.
But how to add text to a part in Roblox studio? What are its uses? And what are some of the different properties of the text that you can adjust? Let's find out.
What Are the Uses of Text On a Part in Roblox?
General uses of text are obvious. It can be used to communicate with the player in a simple way. However, voice-over and interactive communication take precedence over a large number of text boxes.
Sometimes, having some amount of text is necessary for your game. This can be due to a smaller budget or can simply be a part of the personality of your game.
Text on a part, however, is a different story. It is not necessary at all, but if used properly, it can elevate the experience of your game entirely. Here are some use cases of text on a part in Roblox.
Create a Tutorial
Text on an object can be utilized to guide the player on the workings of the game. While a tutorial in text form isn't very innovative or interactive, it is convenient for the developer and less time-consuming.
Whenever a new player enters your game, they need information on how it works. Different controls, actions, skills, and powers need to be explained before they can fully start playing the game.
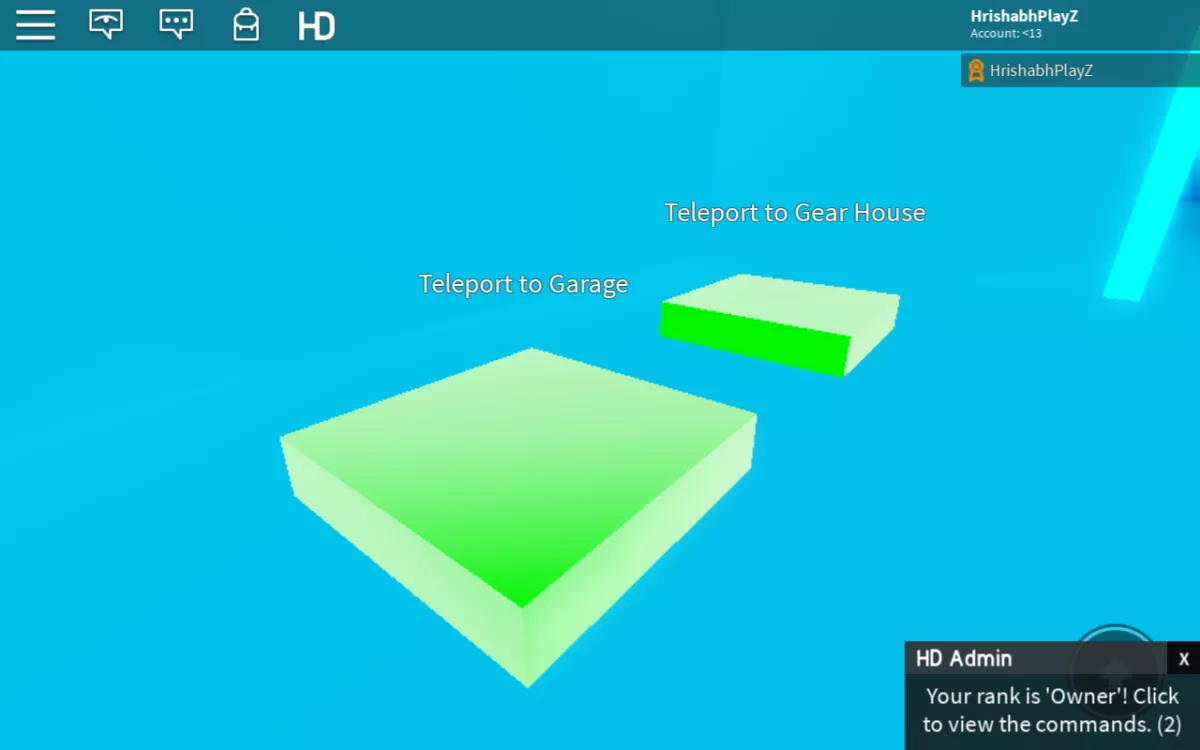
The best way to do this is through an interactive tutorial. But even then, you will need text property to tell the player the specifics. This can be done by adding visible text, for example, on a part that floats in the air and is invisible. Visually, it will look like only text is floating in the air, and it will be much more immersive and appealing. The player can easily look up at the floating text when they need to, without it taking up any space on their screen. Hence, by doing this, you effectively give the properties of an object to your text, allowing it to stay anchored in the air.
Adding code or a script to the part can help you decide when the text pops up. Maybe you want it to appear when the character gets close enough to the part. Or you can tie it to a certain action, which upon performing, will allow the text to appear, which will then explain the next task to the player.
Create a Sign Post
If you're creating an expansive new world, every place will need its own name tag. What better way to showcase the name of a pub, building, town, or hotel than by writing it on a part such as a signpost?
You will first have to create a signpost. This can be archaic-looking, like the wooden posts that dominated medieval times. Or you can use a sophisticated stone as a mantle piece in which the name of the place can be carved.
A signpost can also act as a waypoint, with multiple locations written on it. Arrows on the signpost will then tell the players roughly the path to take to reach a specific place. Hence the options are limitless.
Dialogue
Every great game has some sort of story or dialogue. When talking to an NPC, you will need to articulate speech through a medium. This can be done using floating text or a speech bubble part with text written on it. Try to keep away from some of these worst Roblox games out there.
Whenever a player talks to an NPC, they need to be able to read what the NPC is saying. It can be essential to communicate a wide range of tips to the player, such as the presence of hidden passageways or some unique power that the player can gain. Hiding this information behind an NPC's dialogue will push the players to interact more with NPCs and will make your game deeper and more interesting.
In order to do this, you need to write code for the non-playable character. Every time the player interacts with the said character, some form of floating text should appear above or beside the NPC. An even better way is to add a voice-over for what the NPC wants to say. But even then, having a text property is essential for proper communication.
How to add text to a part in Roblox Studio?
The best approach to add text to a part is by inserting a Surface GUI into it.
Surface GUI
When we talked about a signpost with text on it, we had this setting in mind. This property places a manipulable surface on whatever part you choose. You can then add elements like the text on this surface.
Step 1: Create or enter YOUR game
Open Roblox Studio and go into the My Games tab. You may face an error on startup, which can be a bit tricky to fix. Once through, choose the project you're working on from here. Conversely, you can create a new world as well if you just want to practice adding text to a part.
Step 2: Confirm that the explorer window is enabled
The explorer window is essential for this process to work. It is a menu that displays the hierarchy of all the "Instances" that are in your game.
In order to check if the explorer window is enabled, first head on over to the View tab in the navigation bar at the top of the screen. Once you open this, you'll find the Explorer window buttonat the top left side of your screen. Simply click on it if it's not greyed out to turn it on.
Step 3: Add a new part to your game
To add text property to a part, you will need to create a part first. You can do this by going into the home tab on the navigation bar and then selecting the Part button .
By default, the part will be a Block. The default value of the size of the block can be changed by clicking on the scale option in the Home tab. You can then scale the size of the block according to your preference. If it's a signpost you want to create, then you should tweak the scale setting appropriately.
If your project has a lot of objects, you may face the DXGI swapchain error, which is quite difficult to fix.
From the Home tab, anchor your part as well, by clicking on the Anchor button . This will allow it to stay in place without gravity acting on it.
Step 4: Add surface GUI to the part
The next step is to create a tweakable surface on the part you created. To do this, select the part, and click on the "+" buttonnext to the part in the Explorer window. This will open up a small window with a search bar on top.

Search for "Surface GUI" in this window and click on it to add it to your part.
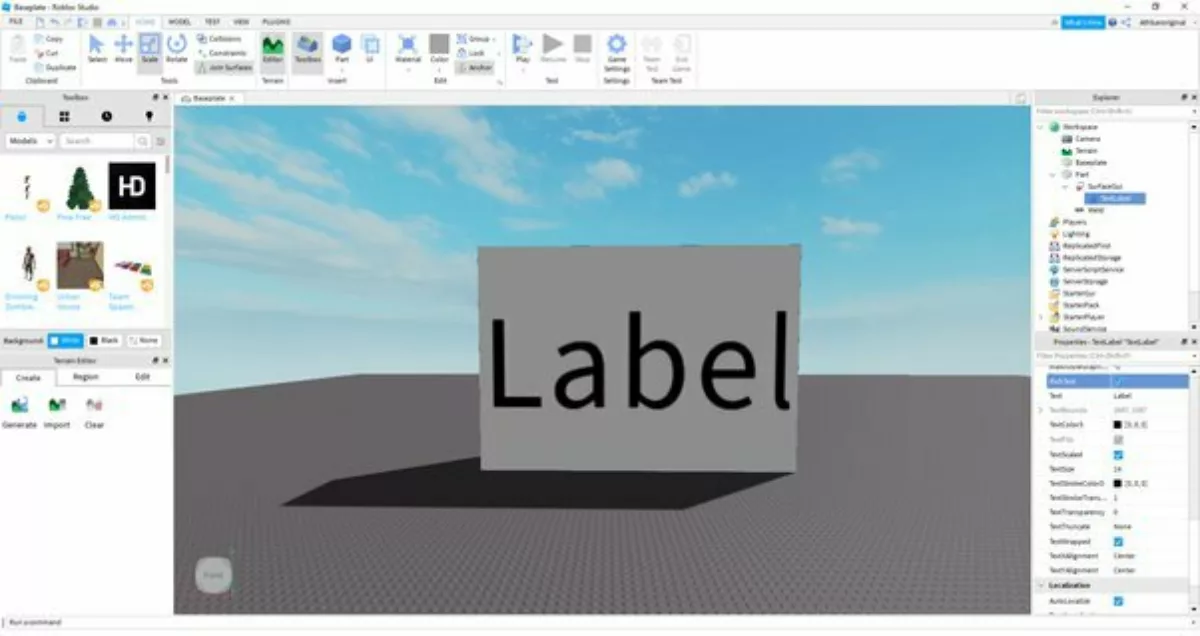
Step 5: Create a Text Label
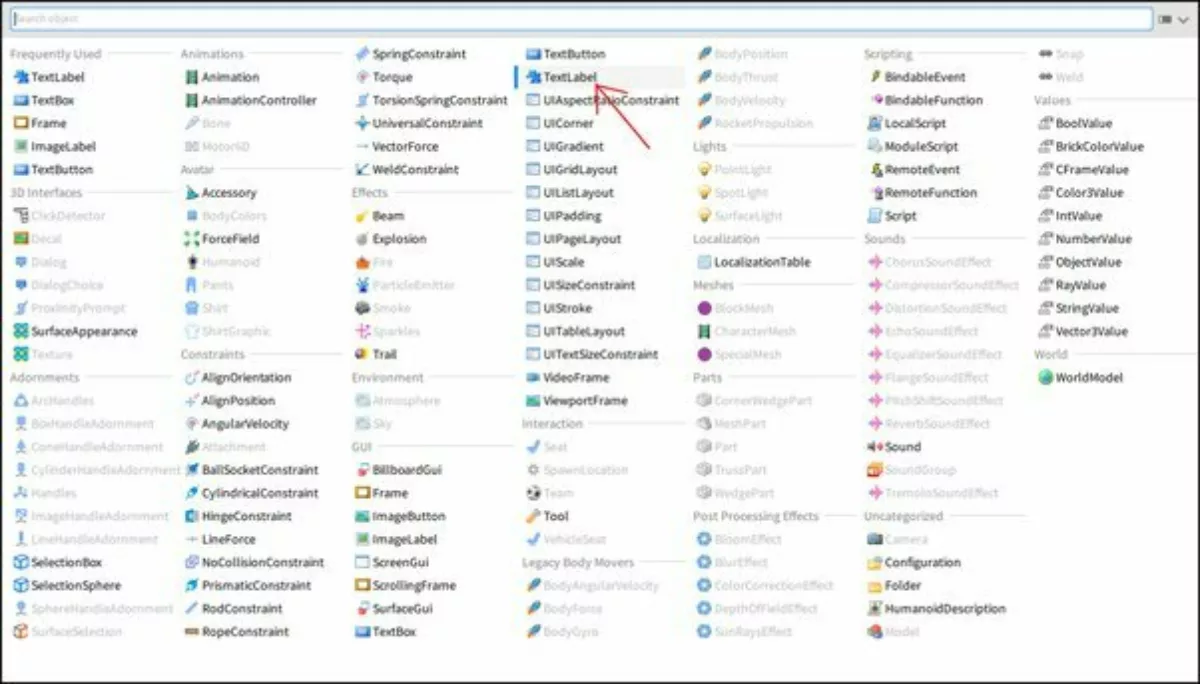
Finally, click on the "+" next to the Surface GUI and search for "TextLabel" in the search box. Once found, click on it to add it to your part.
This will create a standard text box with default font size, text color, height, and width. You can then change these settings by opening the properties window to match your needs.
Properties of Text and Part
Font
There are different types of fonts you can pick from. Simply go into the properties window and choose the appropriate font.
Font Size
Font size can be tweaked to increase or decrease the size of the text. Note that this setting is different from font weight, which denotes the thickness of the text. The position of the text may change when altering the font size./h3
Text Color
Change the text color according to your requirements. For example, you can set different colors for different characters, which will give a visual personality to each character.
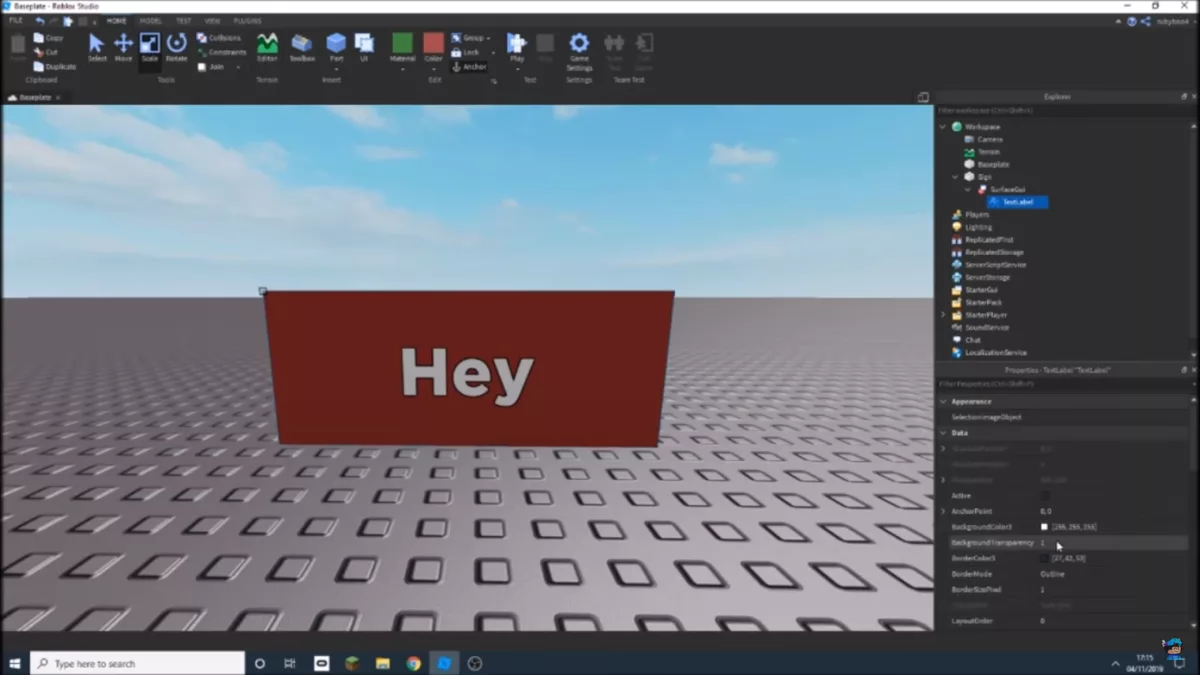
Background Transparency
This denotes how opaque the part is and can be changed from 1 to 0, with 0 being fully opaque. If you set it to 1, the player will see text only, giving it a floating effect.