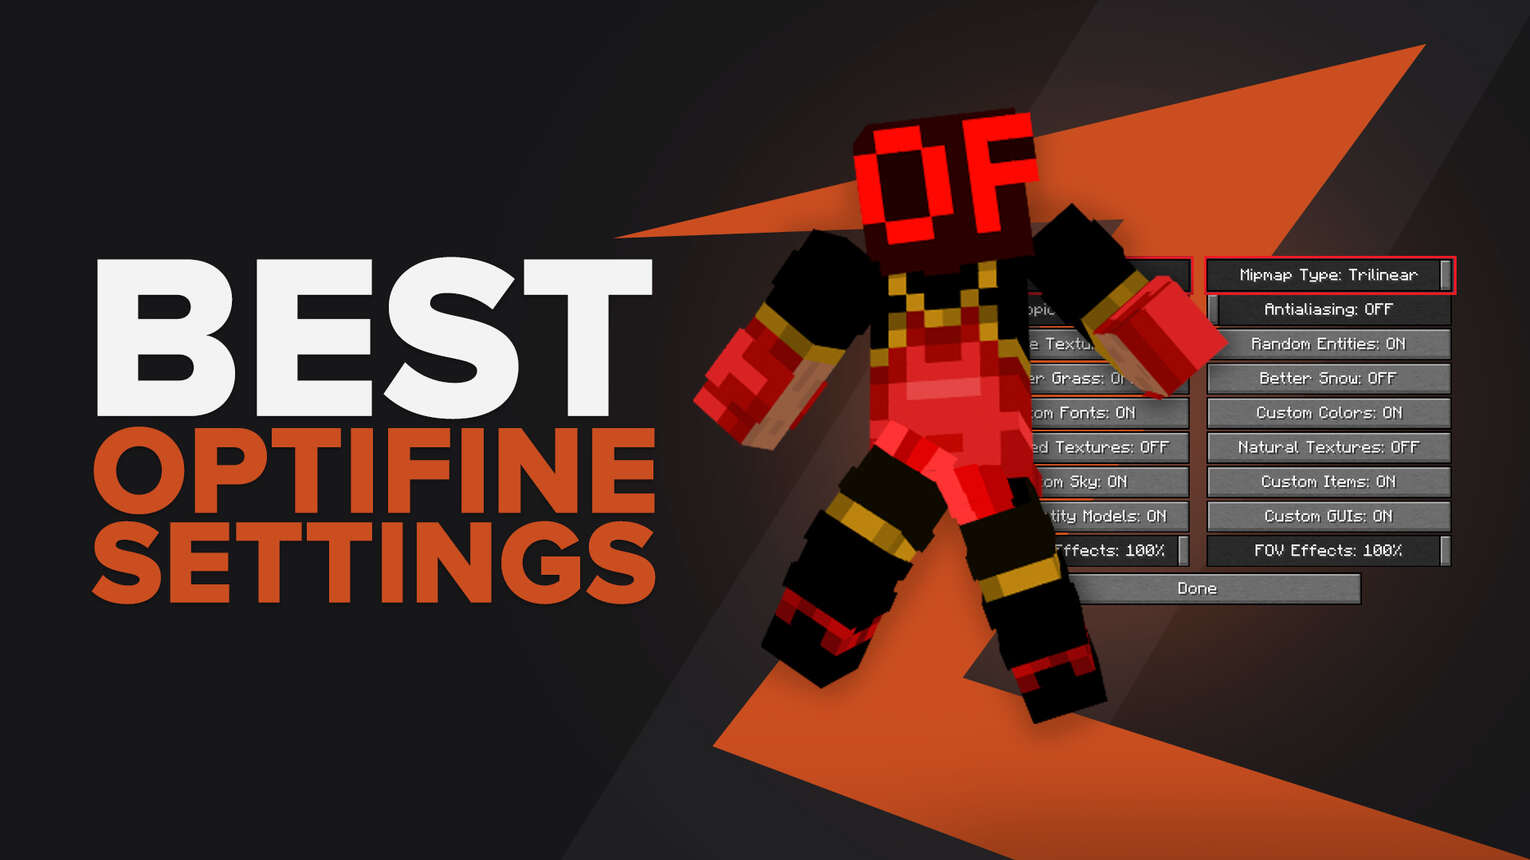
Optifine is a type of Minecraft mod that allows its users to optimize the video settings and advanced settings. It is more popular among the players as it doesn’t require any forge to install shaders or connected textures packs. You just have to download and install OptiFine and it's ready to go. Here we will let you know the optifine settings, so stay tuned.
Graphics
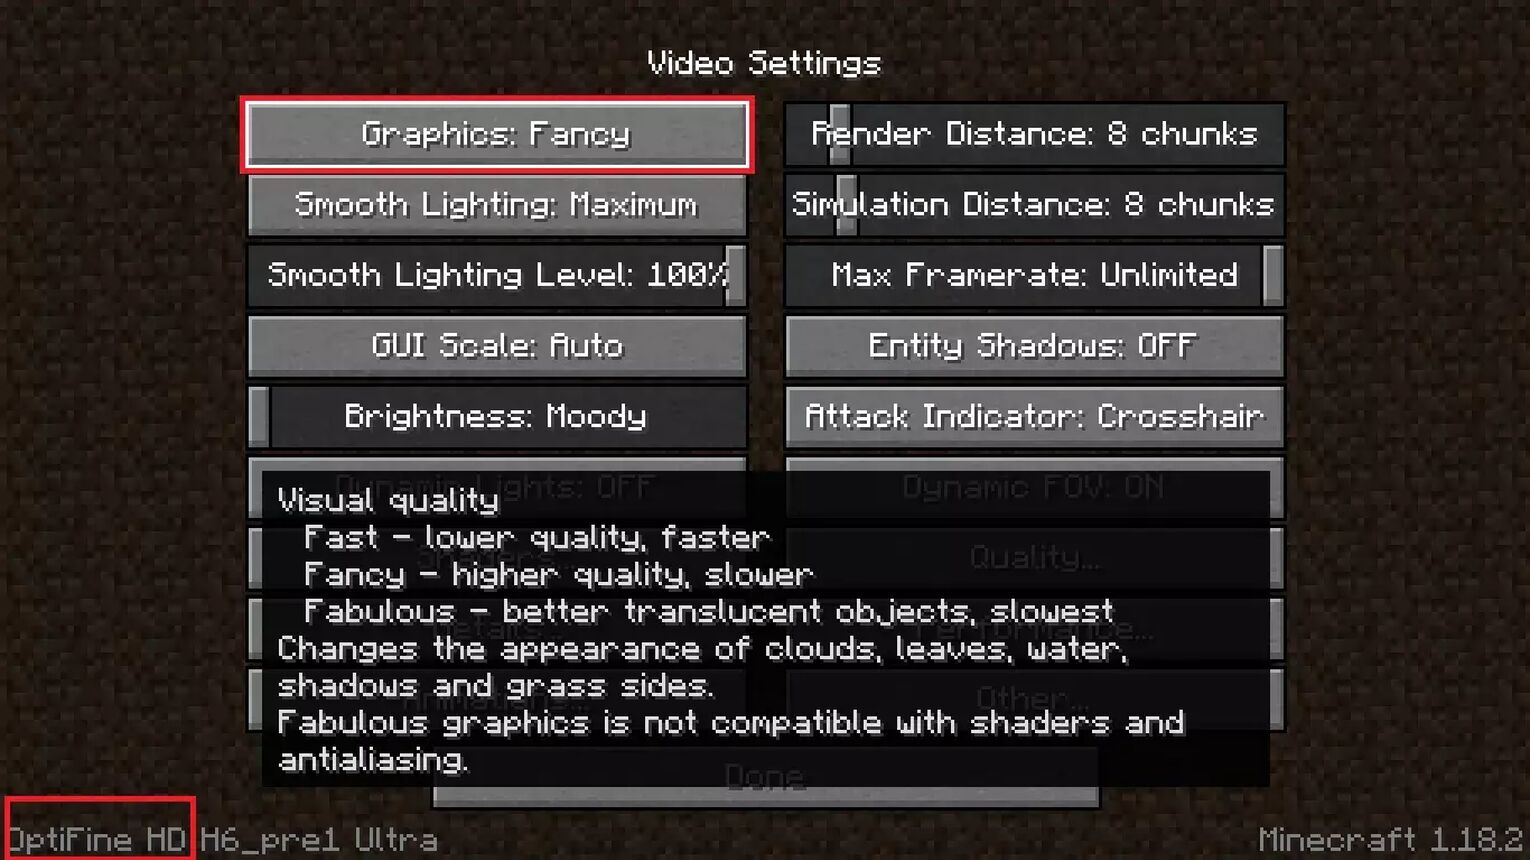
If we talk about the graphics you can find the three best options when you install Optifine. After installing optifine you will see Fast, Fancy, and Fabulous options. If you need quick rendering, select the “Fast” mode. If you need the high-resolution game then select “Fancy”. The “Fabulous” option is for players who have a high-end graphics card. We recommend you to use “Fancy” from this video settings menu if you want the best-optimized settings.
Smooth Lightning
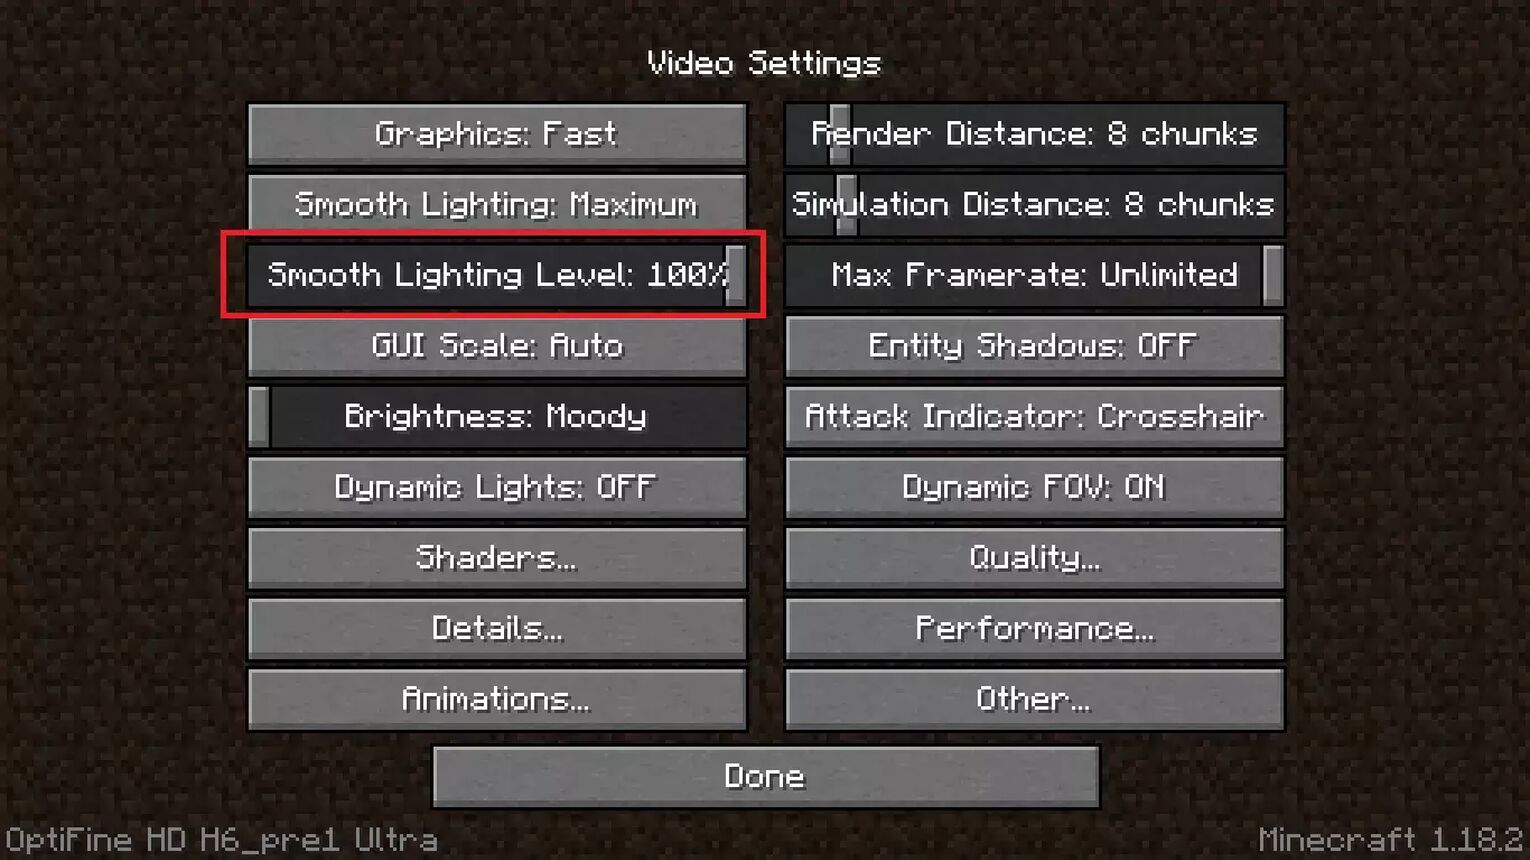
The smooth lighting effect includes brightness level and lightning blur to smoothen the light effect. Smooth lighting directly affects your game's smooth FPS as it decides the light shades. You can choose from minimum to maximum level. We recommend you select the maximum 100% if you have a high-level rig and optifine installed.
| PERCENTAGE | EFFECT |
|---|---|
| Off | No shadows |
| 50% | Light shadows |
| 100% | Dark Shadows (Close to natural) |
Brightness Level
Brightness must be balanced with the settings. If it’s not, you will face darker shades during mining or in the deep dark. So always keep the brightness 100% which is “Bright” in Optifine settings. You can keep these settings even if you have a low-end PC. Brightness doesn’t affect the pure fark objects as they lack basic color.
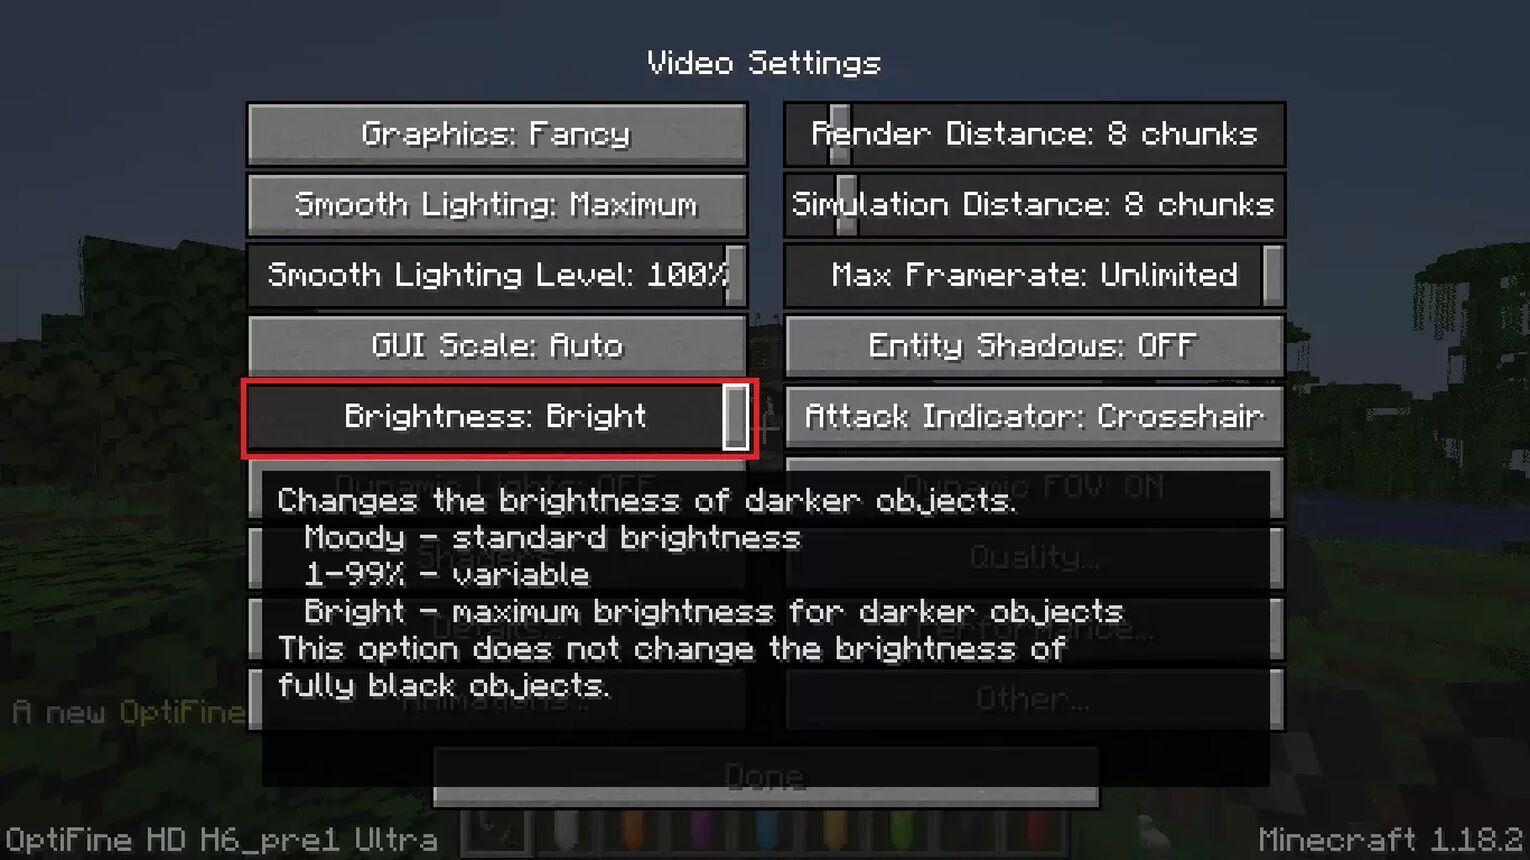
Dynamic Lightning
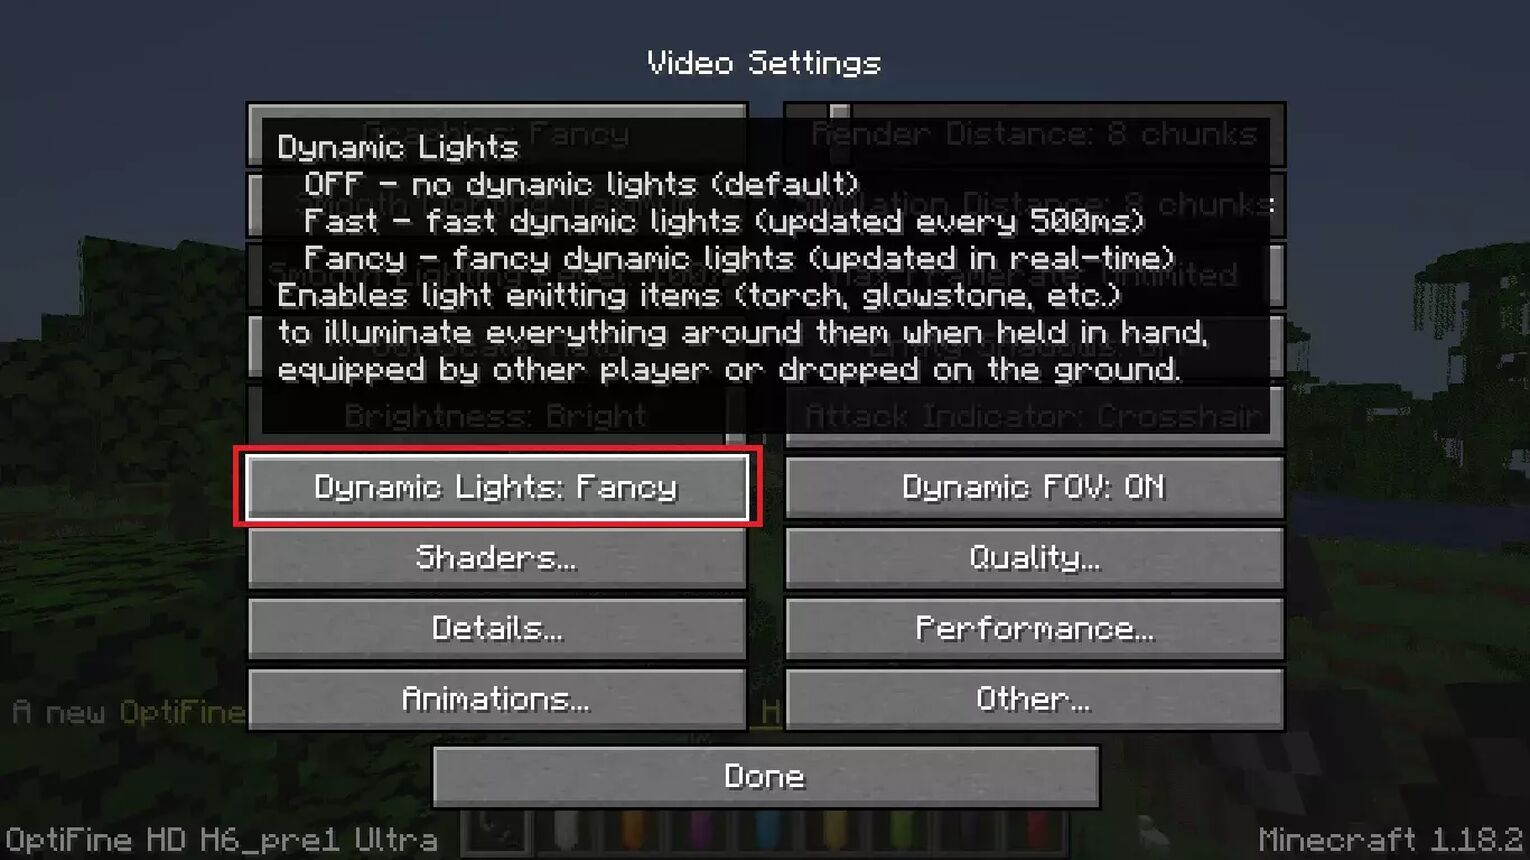
Dynamic lighting is the luminous level of light-emitting objects like a torch, glowstone, lantern, etc. It is the light emittance of these items to glow their surroundings while they are in hand or dropped on the ground. With a high-level rig, you can go with “Fast or Fancy” dynamic updates.
| DYNAMIC LIGHTS | LATENCY |
|---|---|
| Off | No dynamic (Nearly 5%) |
| Fast | Lightning with 500ms |
| Fancy | Real-time light effect |
Render distance
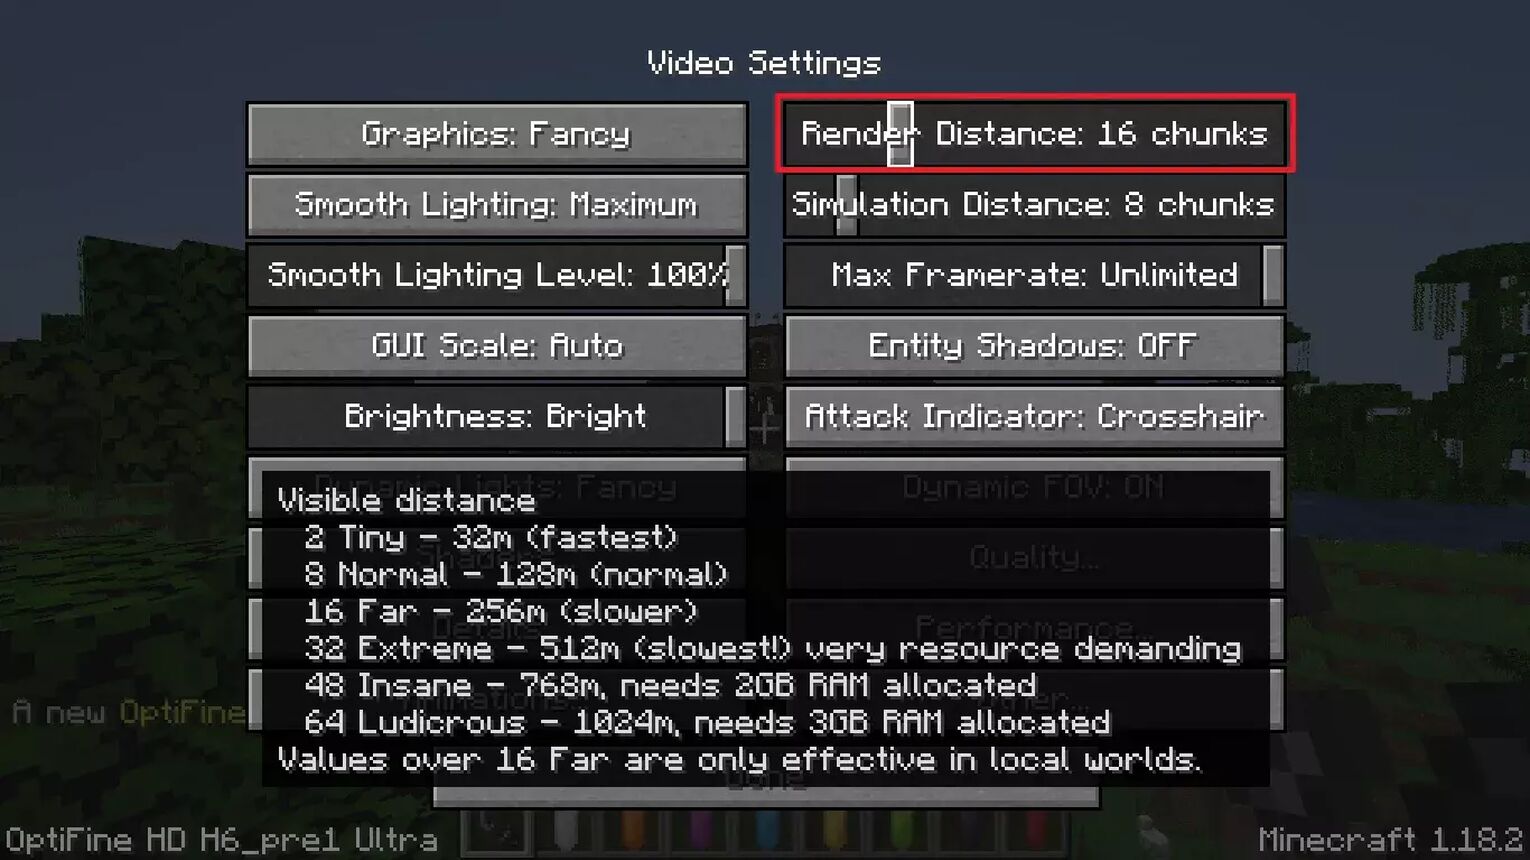
Render distance decides how many chunks have to be rendered around the player. Render distance is very graphic and RAM depending settings. As it may affect your max framerate or FPS boost if you have a low-end PC or graphics card which will lead to lazy chunk loading. We recommend you to keep it between 8 to 16 chunks which are perfect for smooth gameplay with better fps and fast render.
Entity Shadows
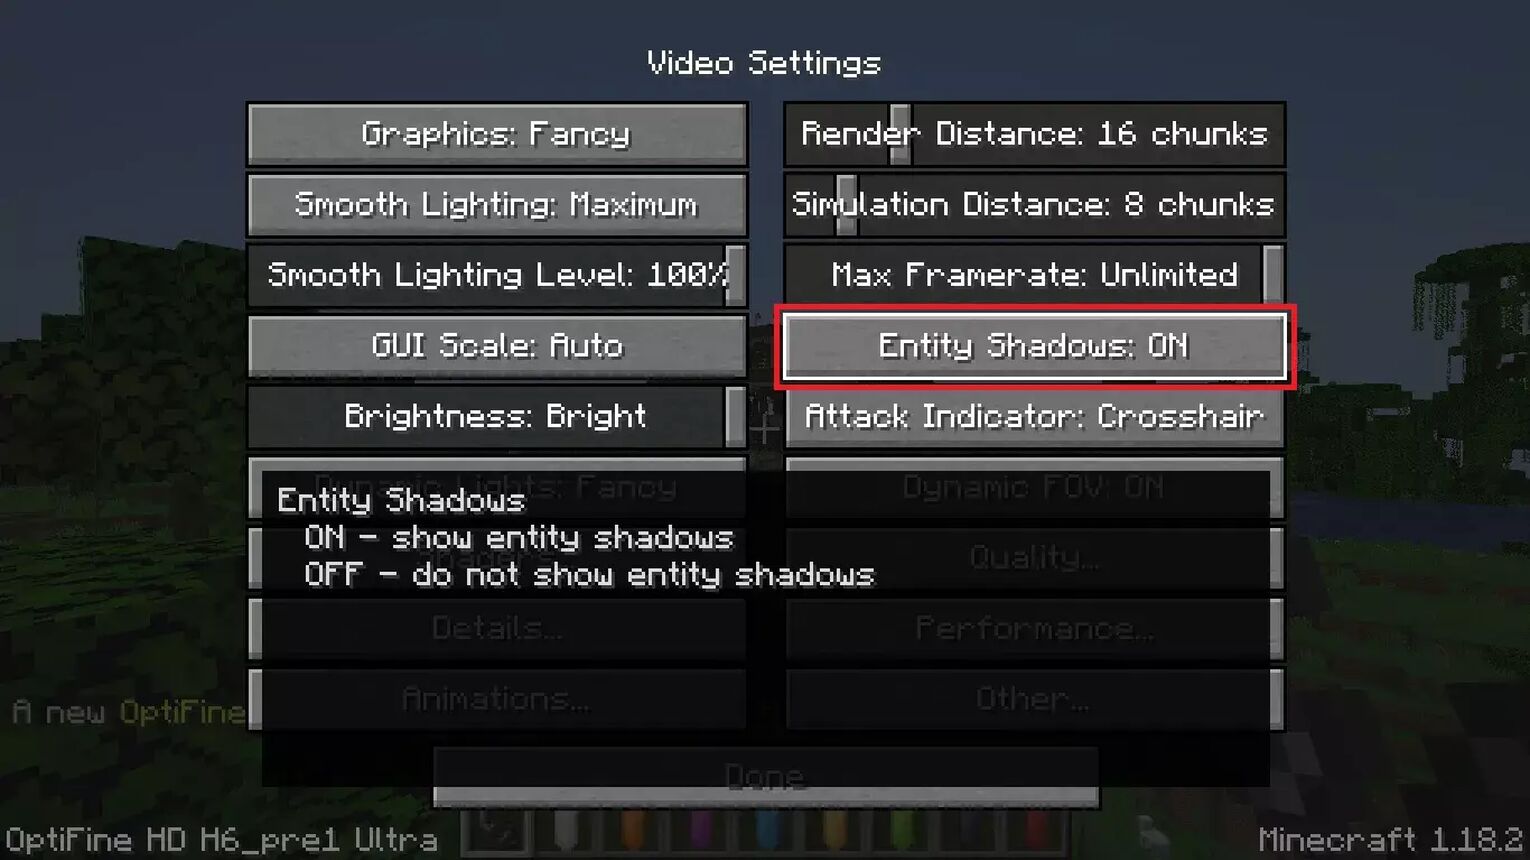
Entity shadows are simply shadows of objects like grass, trees, translucent blocks, players, and mobs. These shadows are best to use with the shader mods that give you a realistic smooth world. You can also use them for the best OptiFine settings to make it look more realistic. So download optifine modded Minecraft.
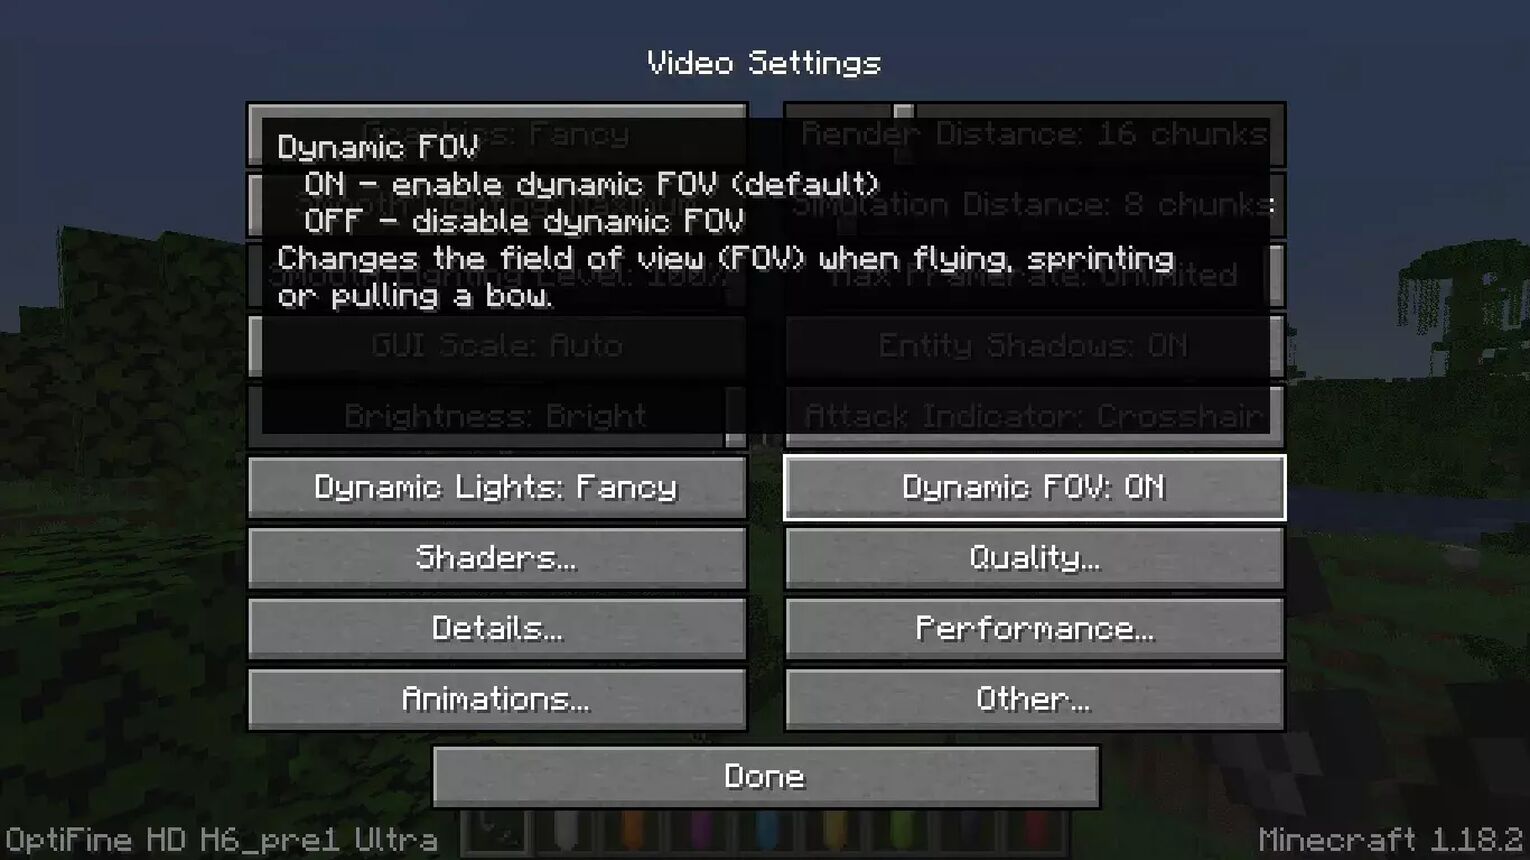
Dynamic FOV
If you love the wide lens field of view, turn on the dynamic field of view. With the optimized settings, we recommend you not to use these dynamic updates as they may affect your chunk rendering and may lead to low game performance decreasing your fps boost.
Shaders
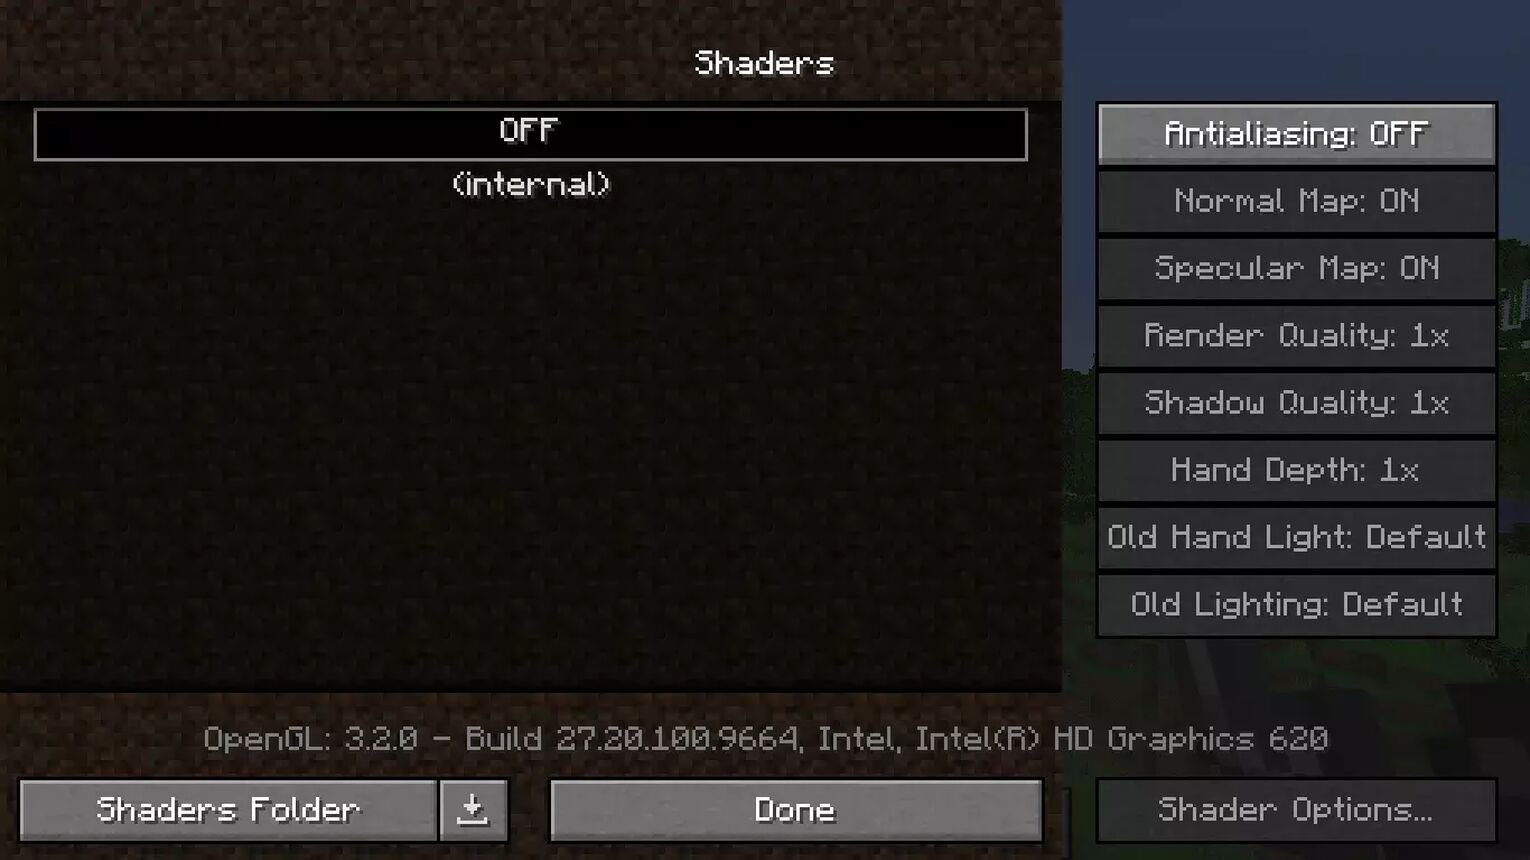
In Optifine settings, the shader option is used to launch the connected textures and shader packs. Here you can also change the shader settings like map quality, render quality, shadow quality, and hand depth. You can also change the basic lightning settings of the texture pack just like fast math settings to get an fps boost.
The general Optifine settings also affect the shader or texture settings. But if you don’t want to use shaders, just turn this setting “Off”. These options are not available in vanilla Minecraft.
Quality Settings
Quality settings are used for the basic textures and colors when you play minecraft. These settings allow you to change the static items like clouds, snow, and sky. Here are the best optifine settings for you.
First, you have to set the Mipmap level. It is the visual effect that increases the texture details of distant objects like the custom sky. Thes best thing about the Mipmap settings is they won’t affect your overall game performance or smooth FPS. So we recommend you to use 2 to 3 levels of mipmapping.
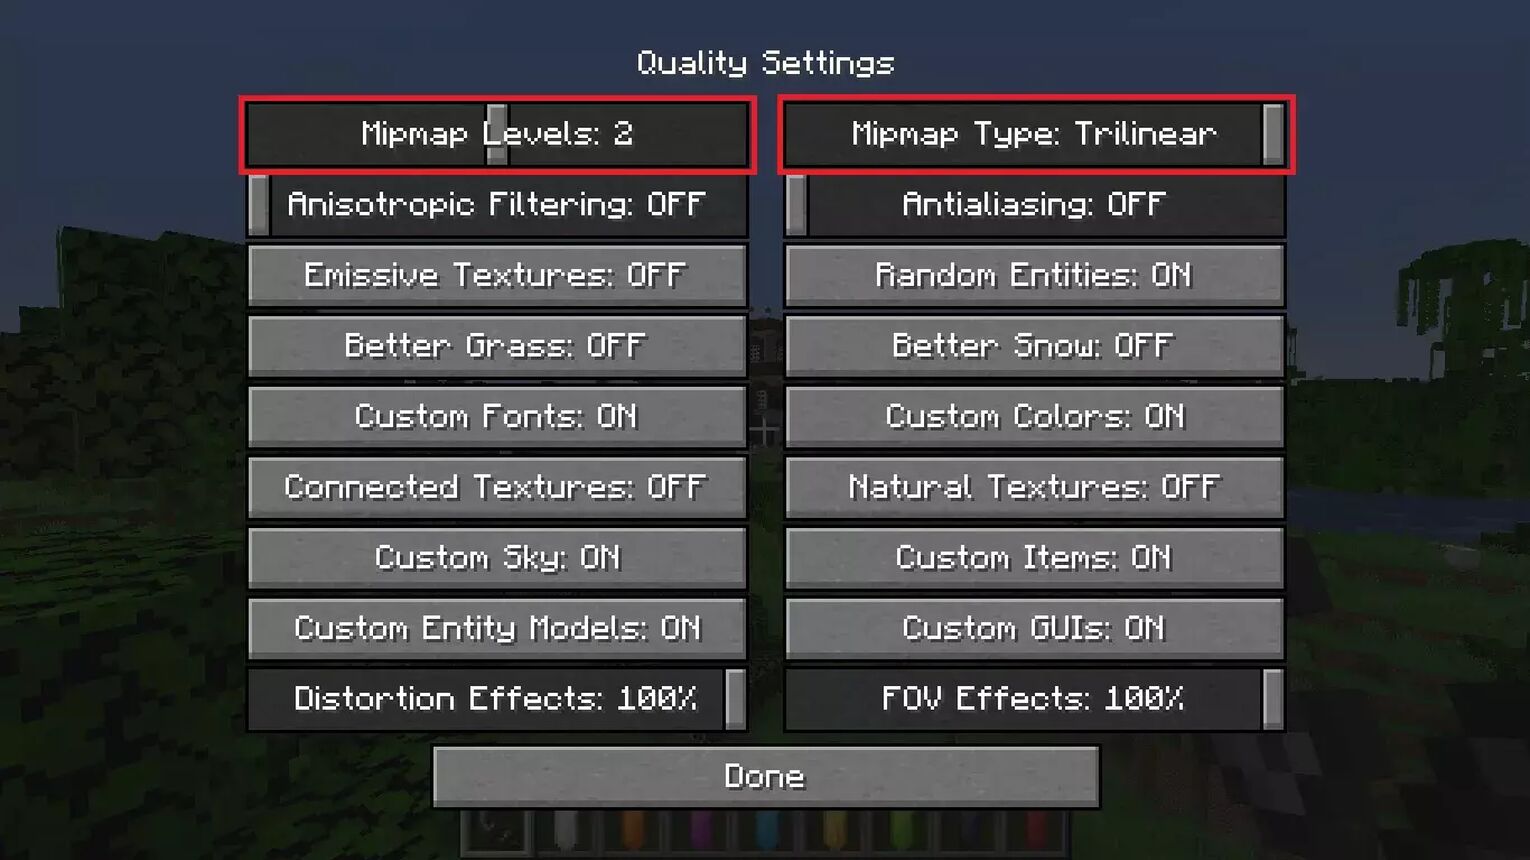
The second option is the type of mipmapping. It means what percentage you want the texture to be.
| TYPE OF MIPMAP | TEXTURE/VISUAL EFFECT |
|---|---|
| Nearest | Rough smoothing |
| Linear | Normal smoothing |
| Bilinear | Fine smoothing |
| Trilinear | Finest smoothing |
The last option of mipmapping is the “Anisotropic filtering”. This option allows you to add fine texture details to the mipmapping to get the best optifine settings. We recommend you should use 8% Anisotropic filtering.
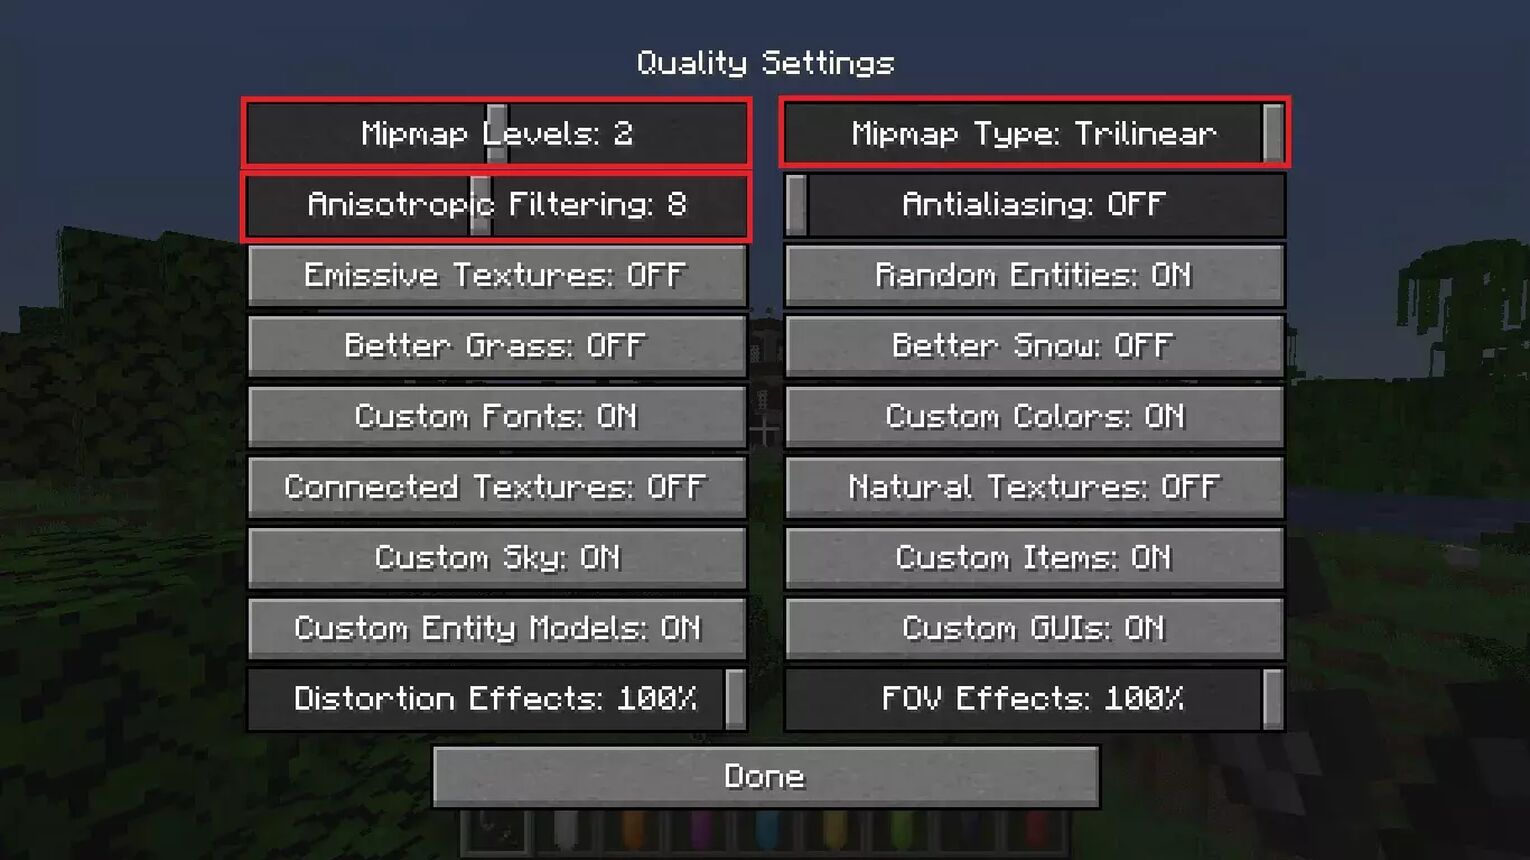
Emissive textures are the settings that allow you to set up the overlay textures to increase the brightness of the overall game. In the optifine or optifine ultra mod, we recommend you to turn on these settings to adjust according to the brightness.
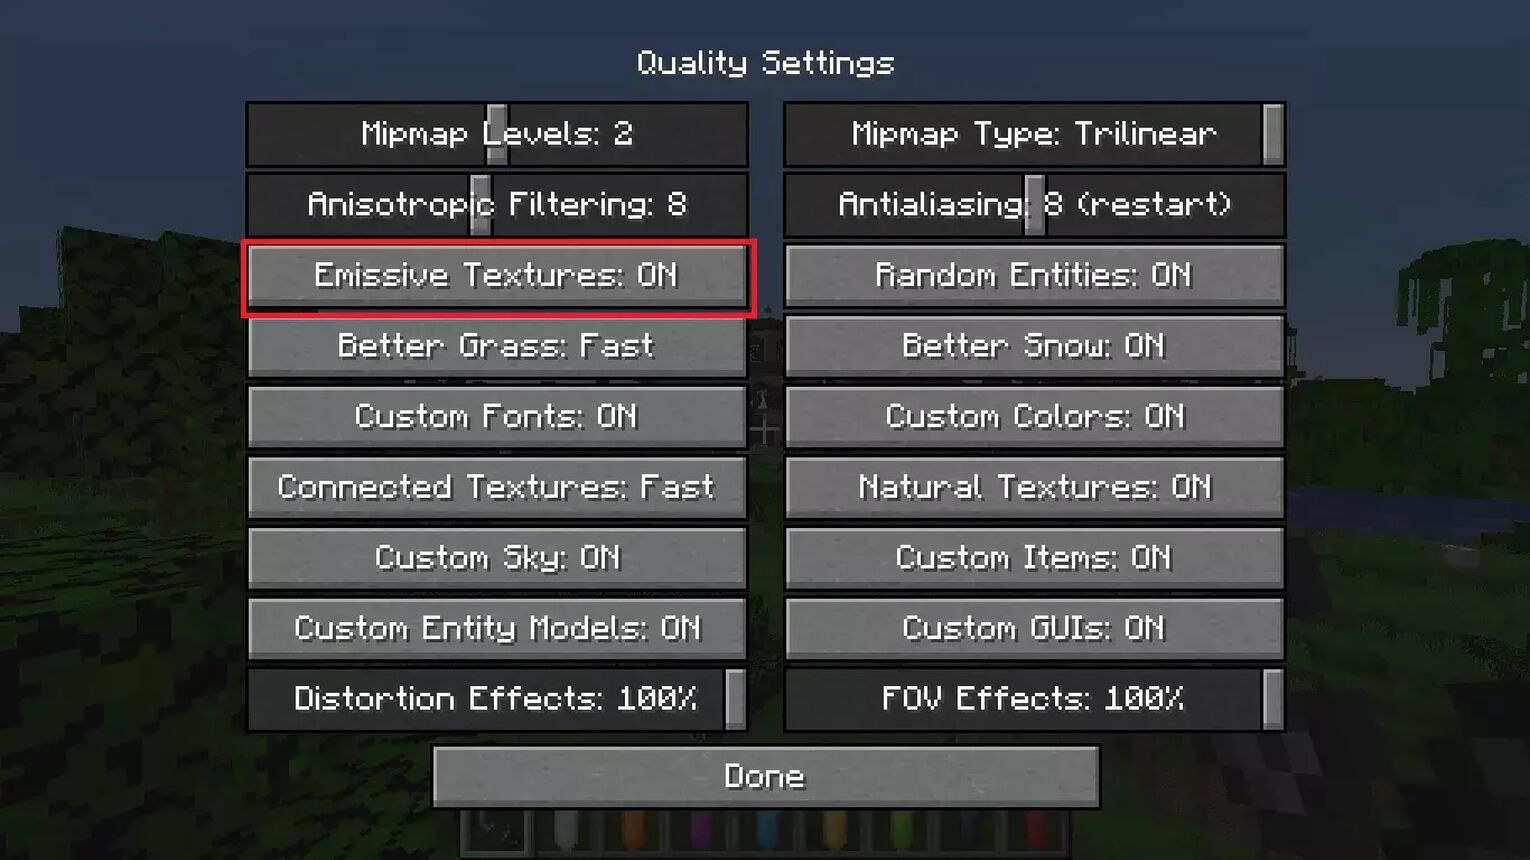
It is recommended to keep better grass at “Fast” and turn on the better snow, custom fonts, custom colors, natural, fast custom sky, custom items, and custom entity models. The screen distortion must be 100% to avoid resolution glitches during the gameplay. Now your quality settings are done. It's time to adjust the “Detail Settings”.
Detail Settings
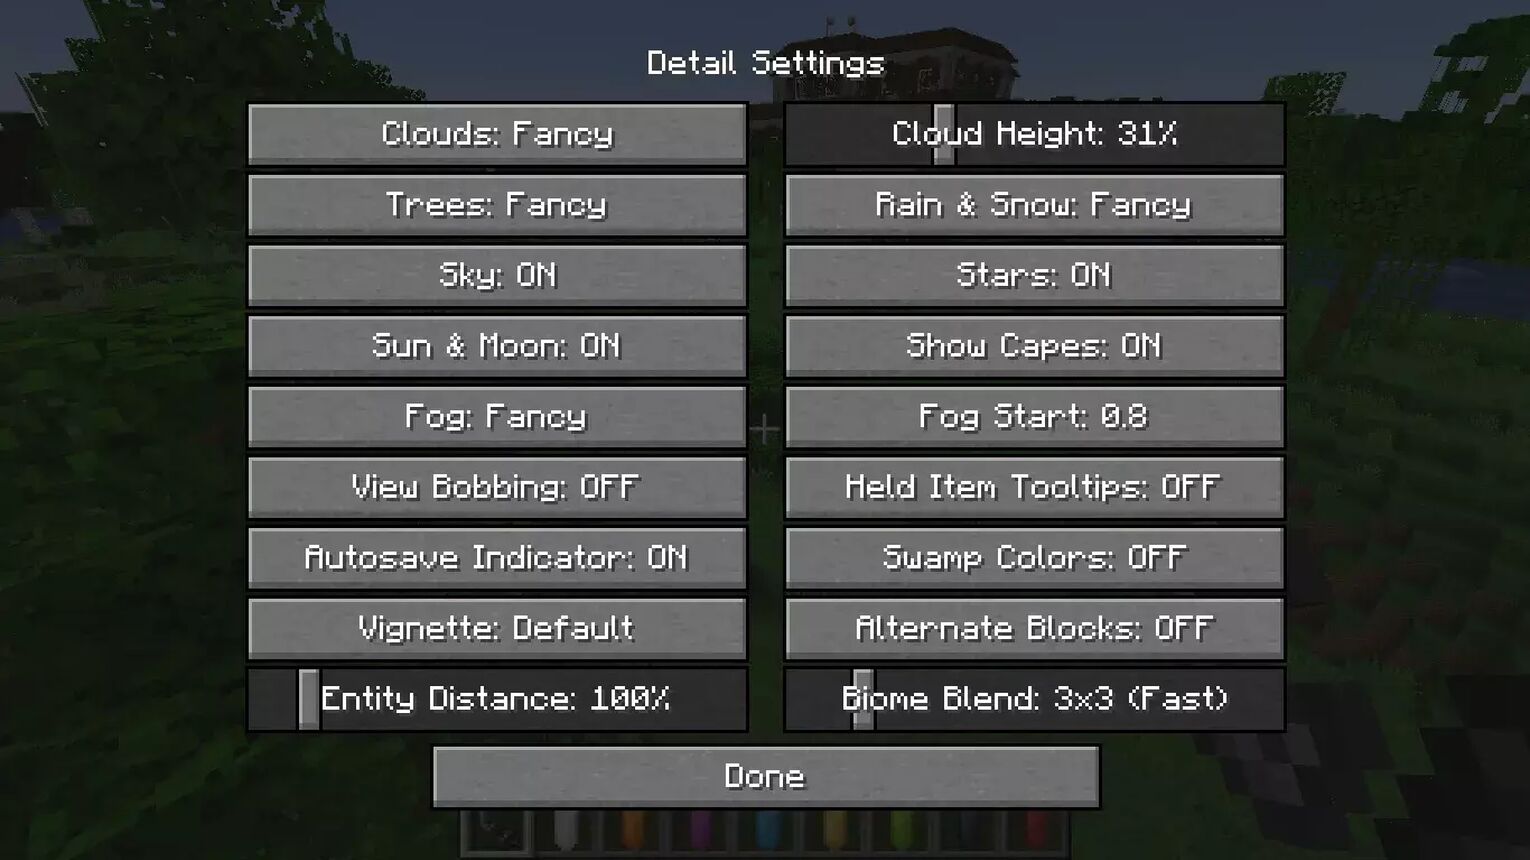
First, start with the cloud settings. Keep the clouds to “Fancy” to get the maximum 3D result from these fancy custom sky. You can also adjust the cloud height up to 31%. Now also keep the trees, rain and snow details to “Fancy”. This will make the tree leaves semi-transparent, snow, and rain more prominent giving them the natural textures and a realistic look without decreasing max framerate just like the fast math.
Turn on the sky, stars, sun & moon, and show the capes effect. Also, increase the fog to “Fancy” and the starting point to 0.8 to get a smooth lighting effect just like the texture packs. You can change the swamp colors, but it is better not to turn them on in optifine settings if you want an FPS boost.
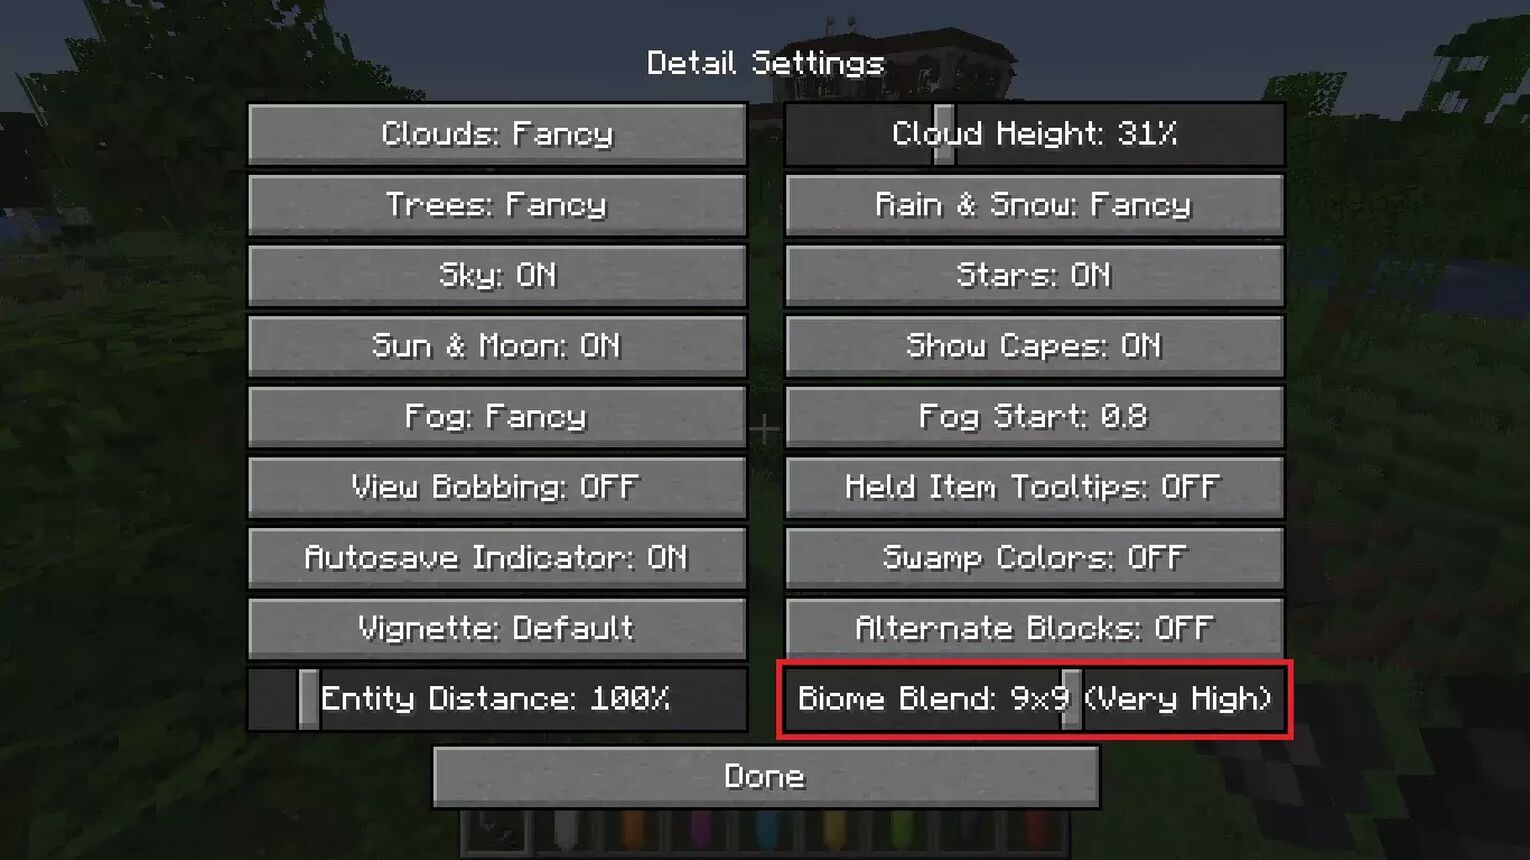
Biome blending is the overall texture setting that makes the biome look more rich with textures having smart animations. We recommend you use 9x9 biome blending to get excellent graphical results with a performance boost. You may increase it if you have a high-performance graphics card to get more fps, fast render, and avoid lazy chunk loading.
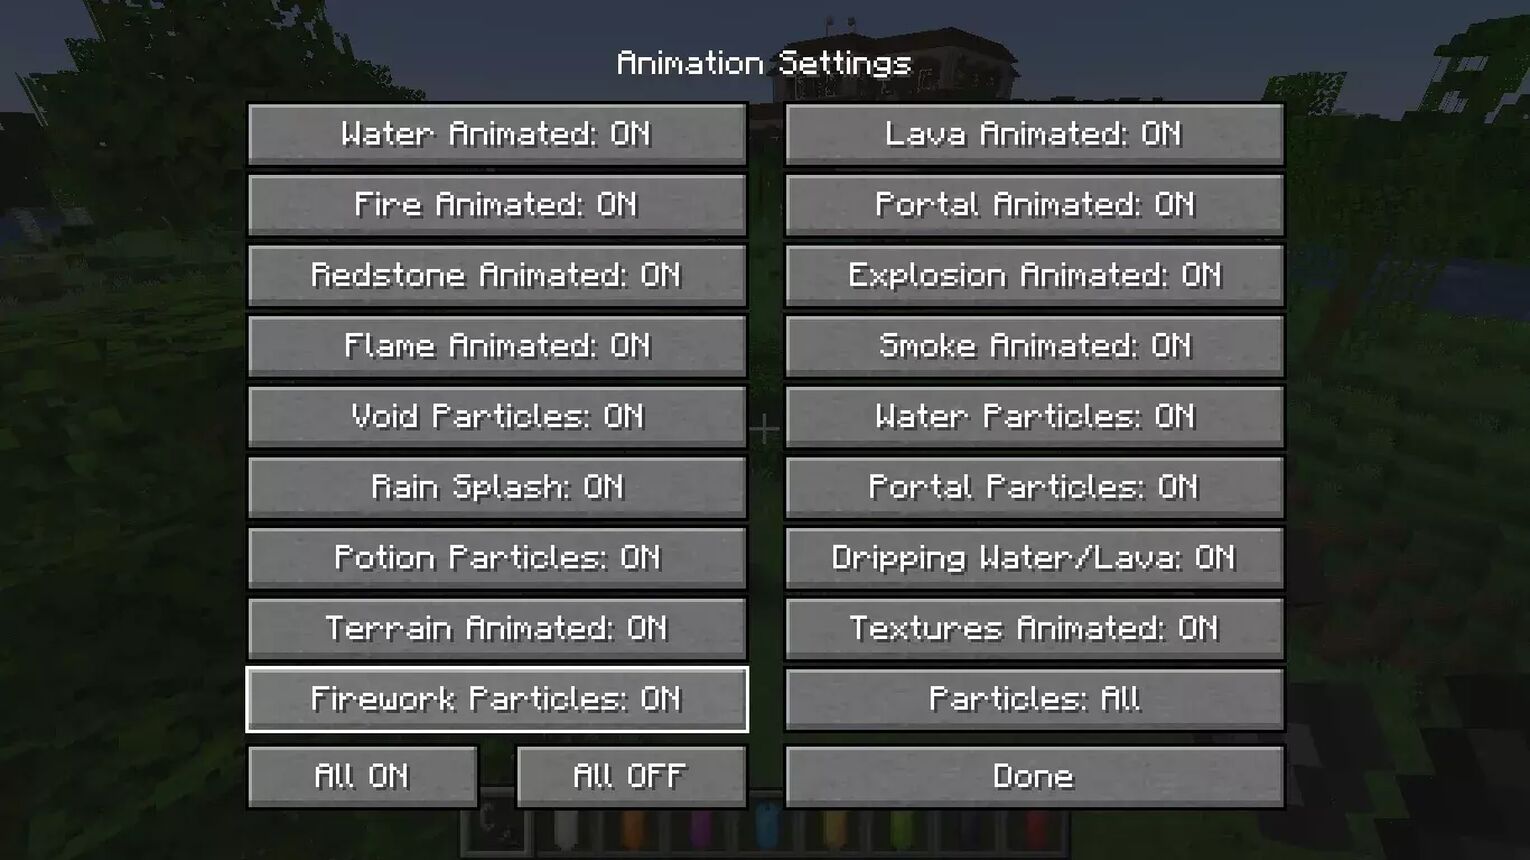
Animation Settings
Animations are the moving effects and smart animations in the game including the fire, portal, smoke, water, potions, etc. Always keep them all on which will provide you with amazing animations during the gameplay. With these optifine settings, the optifine gameplay will change the look of your overworld into a smooth world with more fps.
The last video settings are the “Other Settings” which are basically the screen overlay settings in any Minecraft version. You can show FPS, weather, advanced tooltips, time, lagometer etc on your screen during the gameplay. It is recommended to keep the fullscreen instead of windowed mode, so you enjoy the best optifine settings in the Minecraft java edition.


.svg)


![Best HUD Mods in Minecraft [Top 10 List]](https://theglobalgaming.com/assets/images/_generated/thumbnails/4077159/best-hud-mods-minecraft_03b5a9d7fb07984fa16e839d57c21b54.jpeg)
![How to Join a LAN World in Minecraft [Java & Bedrock]](https://theglobalgaming.com/assets/images/_generated/thumbnails/4077161/how-to-join-a-lan-world-minecraft_03b5a9d7fb07984fa16e839d57c21b54.jpeg)
