Valheim is one of those high-risk/high-reward games in which you can either lose everything or get substantially rewarded for your bravery. So there's no reason why all these boss battles would become forgotten into oblivion.
Instead, you can preserve all those perilous deeds by simply recording Valheim gameplay in the form of videos or clips.
This article is all you need when it comes to learning how to record the gameplay of Valheim because we'll reveal the most suitable ways to perform that in just a few simple steps and much more.
What’s The Best Way To Record Valheim Gameplay and Clips?
Speaking from our personal experience, the best way to record Valheim gameplay and clips is by using the two programs we're about to mention. Our first choice is Powder, the only highlight-capturing app powered by artificial intelligence to automatically capture highlights from Valheim and save them in the form of clips that you can then share with your friends.
Our second pick is Gazoom, which allows you to automatically capture highlights from Valhalla and store them on a cloud, so you can easily access, edit, or share them even from your mobile device.
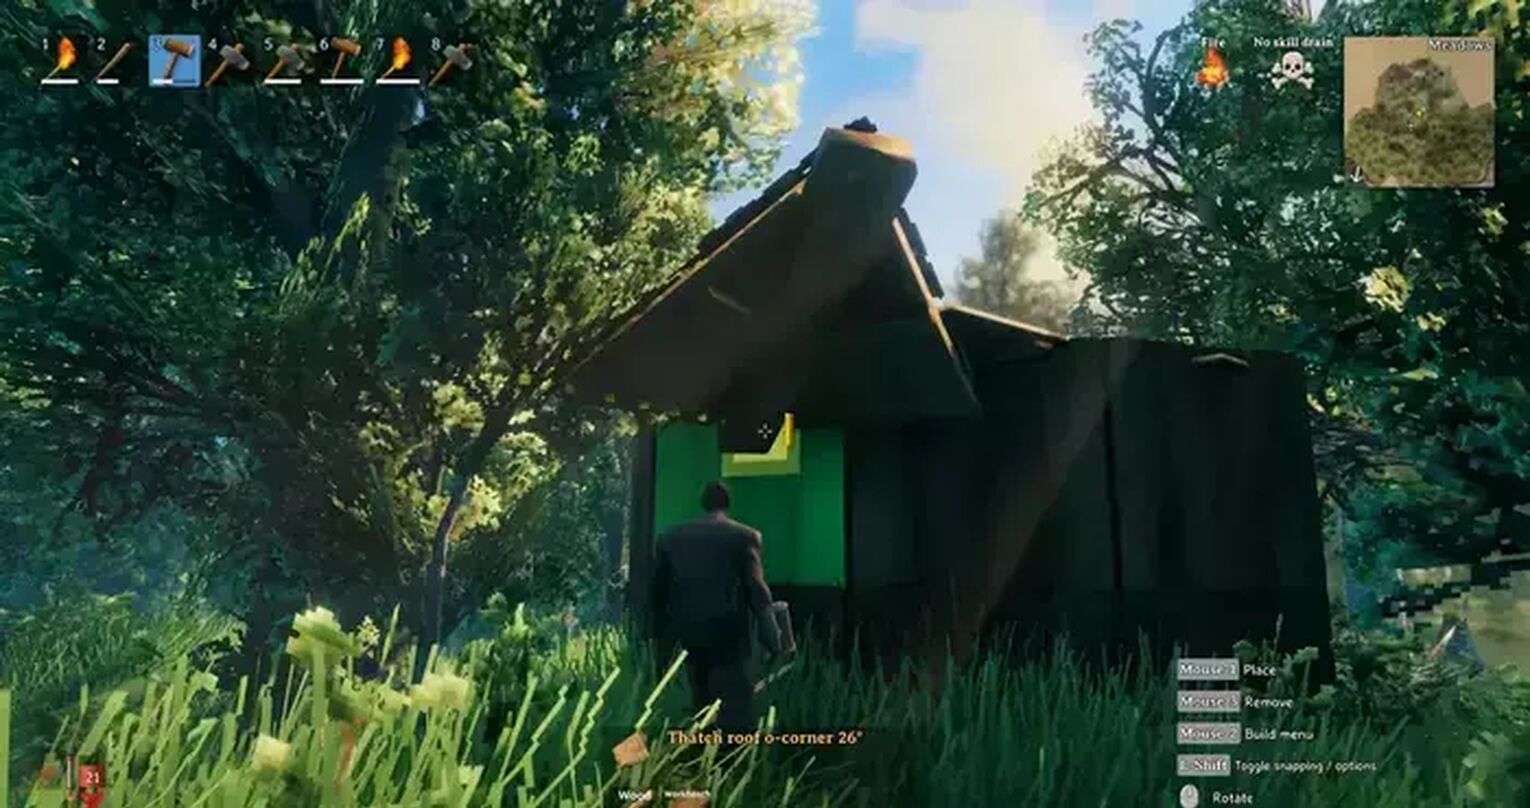
We consider these as the best programs for recording Valheim because they have all the expedient features required for gameplay capturing and because they are super intuitive so that anyone can record Valheim gameplay without any prior knowledge.
How To Record Valheim Clips In A Few Clicks?
If you'd like to skip all the blah blah blah and just start recording Valheim gameplay forthwith, there's a way to do it, but it requires at least Windows 10 installed on your PC.
Windows 10 and above have an in-built program called Xbox Game Bar, which can do many wonderful game-related things, including gameplay capturing.
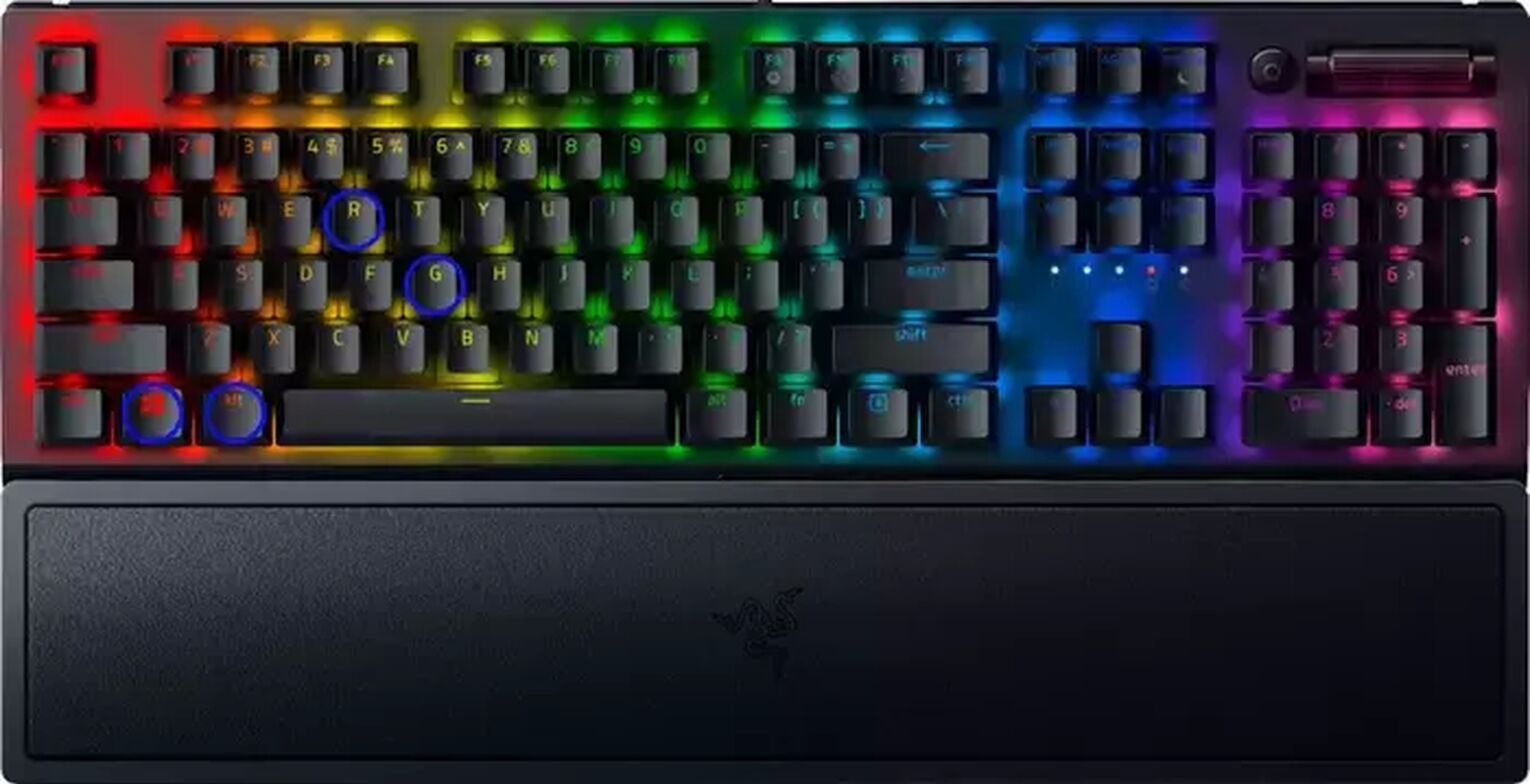
So if you wish to capture Valheim gameplay by recording videos and clips, press the Windows button + Alt + G to record clips or the Windows button + Alt + R to record videos.
The Best Methods Of Recording Gameplay and Clips In Valheim
Here are the carefully selected most outstanding programs used for recording Valheim gameplay videos and clips, in our opinion.
Of course, since there are many other programs we couldn't include, we decided to mention them in the section at the bottom of this article.
If you'd like to learn more about gameplay capturing, we'll also show you how to record World Of Warcraft gameplay or how to record Halo Infinite gameplay.
Method #1: Nvidia GeForce Experience
Here's how you can record Valheim gameplay through GeForce Experience:
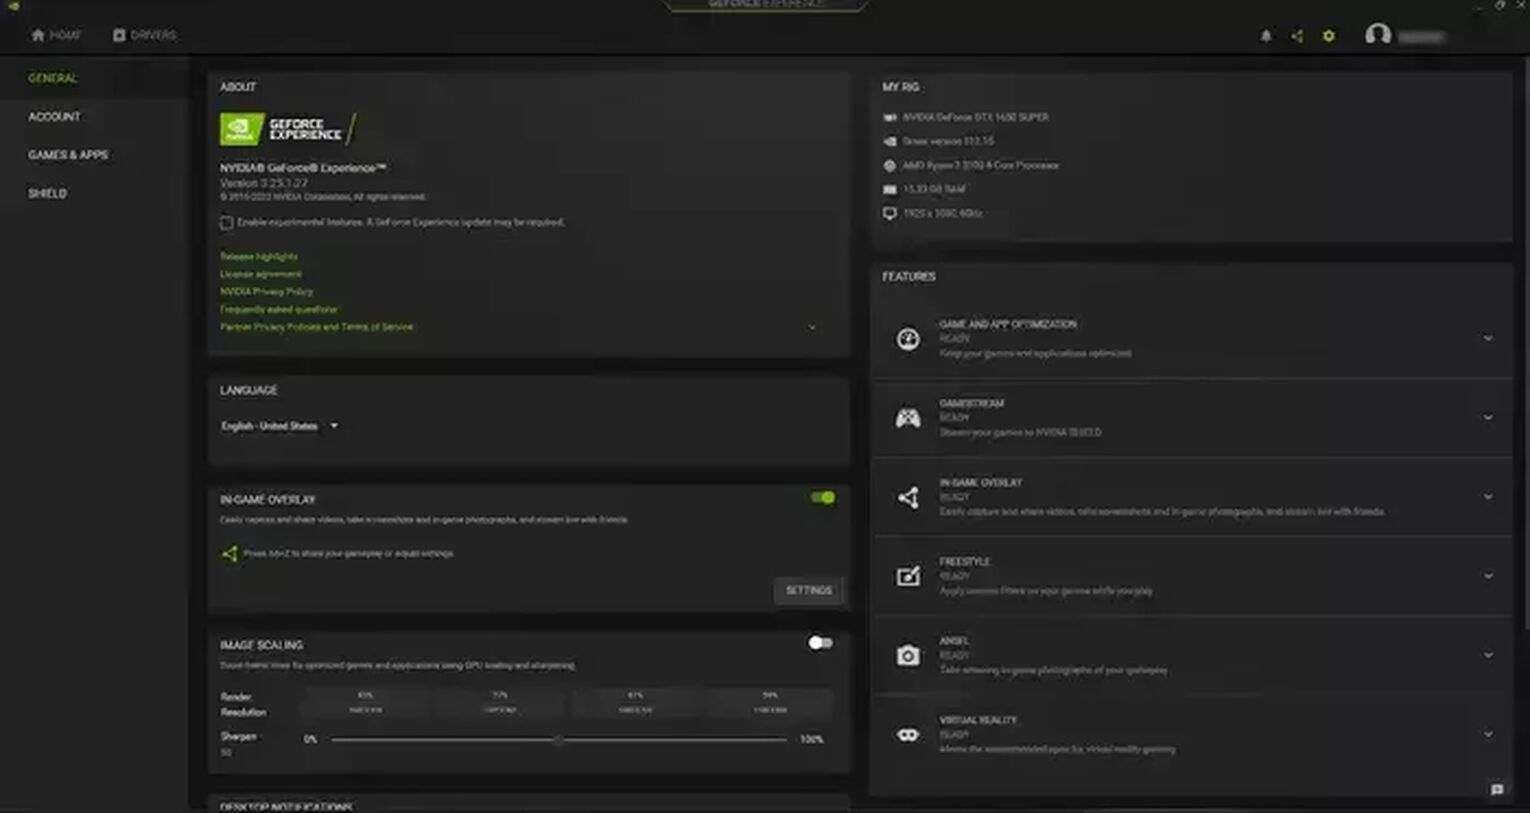
- First, download the latest version of GeForce Experience from the official website of Nvidia, and once you install it, the program will automatically run.
- Click on the settings cog icon found in the upper corner of the main menu.
- Select the gray button to enable "In-game overlay."
- Finally, select "Settings" under the "In-game overlay."
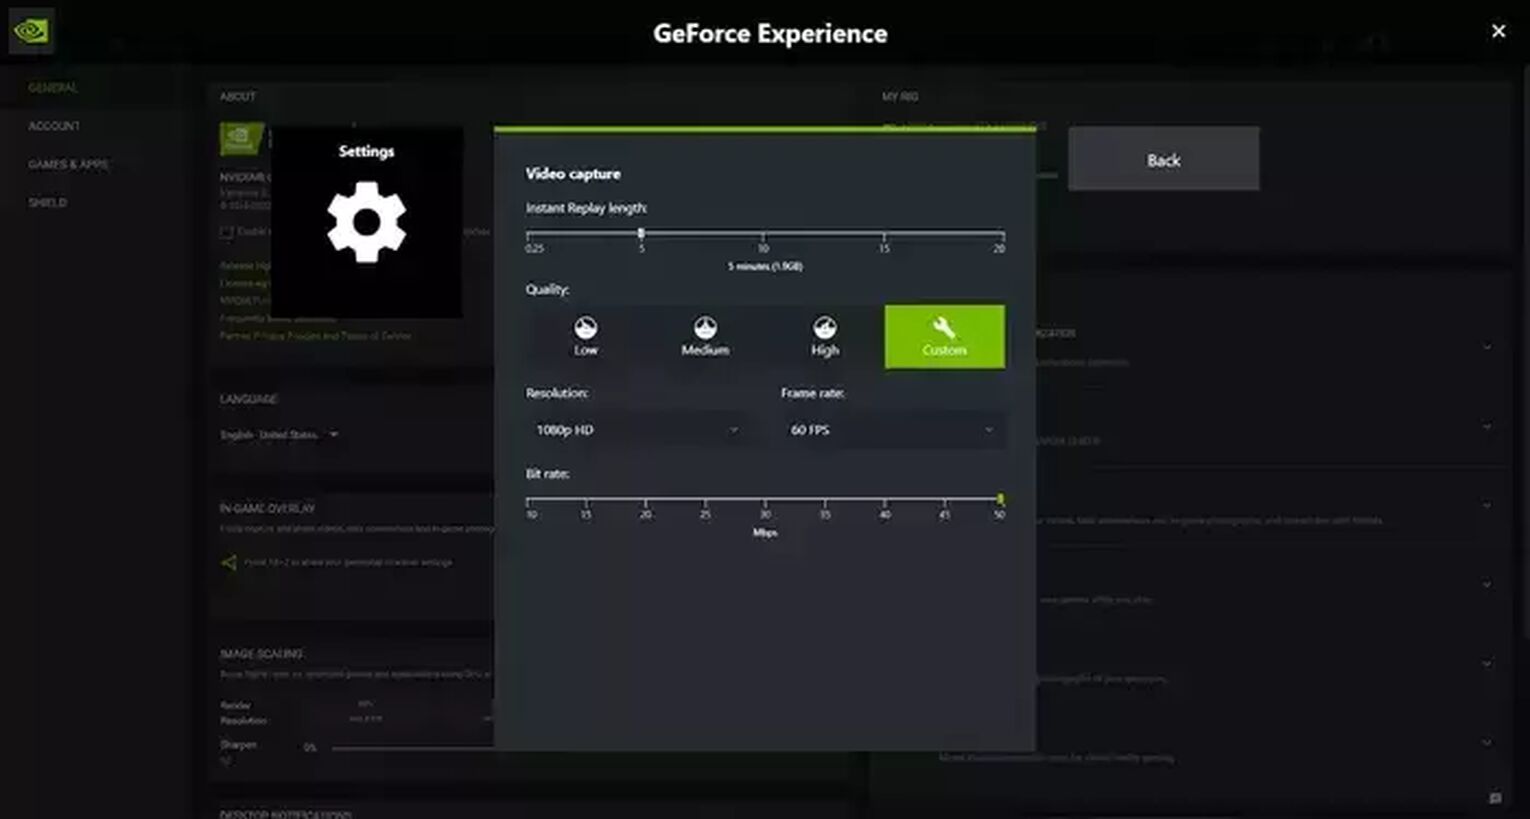
You can leave all these settings on default, as they are preset according to your GPU's power. However, if you decide to change any settings, you'll be able to adjust audio/video settings, default storage folder, keyboard hotkeys, and much more.
While in Valheim, press Alt + F9 to record videos (manually) or Alt + F10 to record clips, and you'll find these Valheim videos and clips in the C:\Users\<Username>\Videos folder.
Method #2: Radeon ReLive
The second method in our choice used for recording Valheim gameplay is Radeon ReLive, and here's how you can use this program:
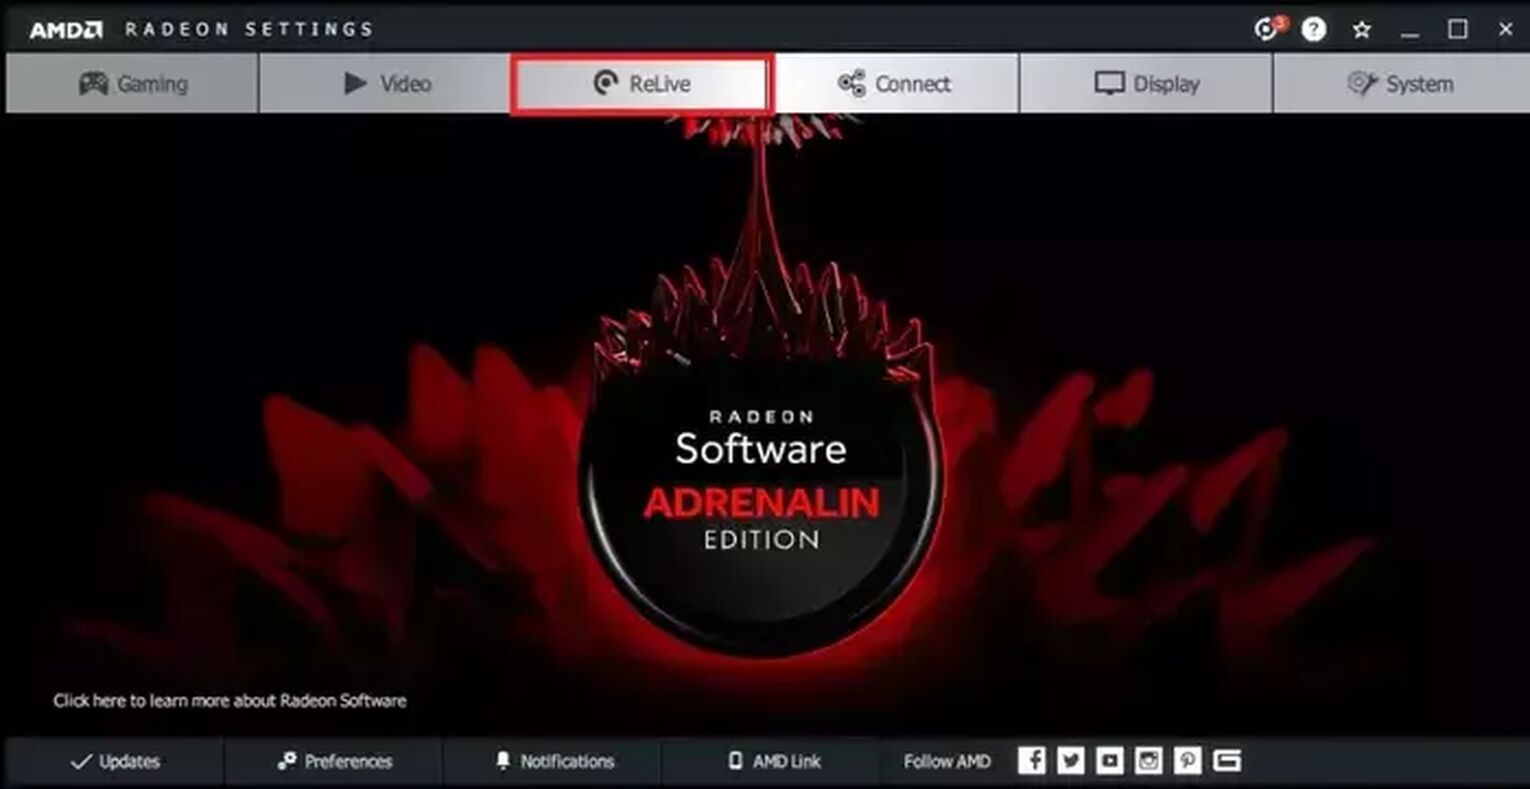
- Download the current version of the Radeon Software Crimson ReLive Edition from the official source, and then you'll be prompted to restart your PC.
- After doing so, select the ReLive tab in the AMD Radeon Settings.
- Finally, enable the ReLive function by ticking the button.
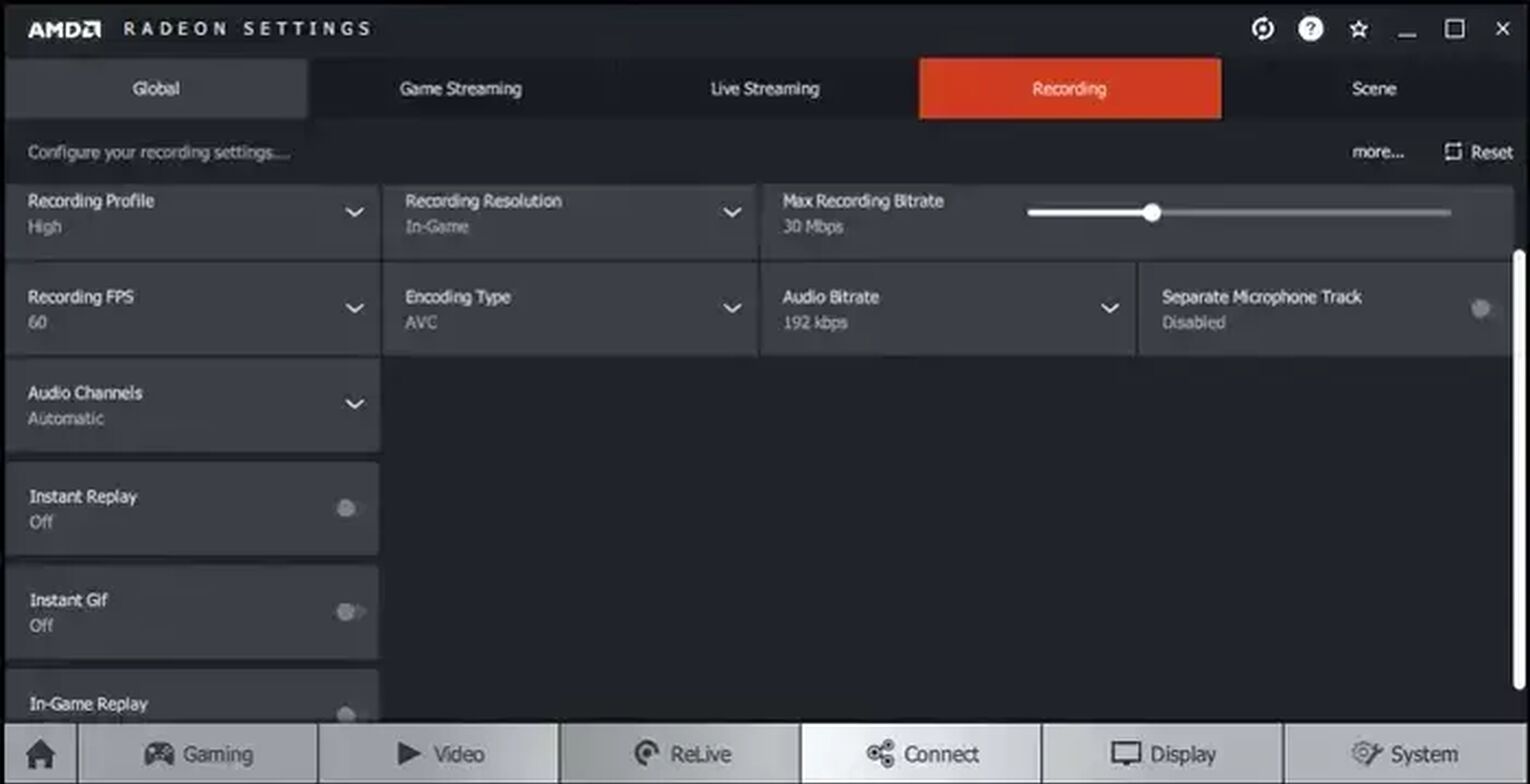
The reason why you had to restart your PC before using this program is so it can automatically configure video settings for you and save you some time, that's all.
That means you won't need to configure anything, and you can start recording Valheim gameplay straight away.
However, before you do that, make sure to enable "Instant Replay," "Instant Gif," and "In-game Replay" functions, which can be pretty useful when recording Valheim gameplay.
Then, while in the game, press Ctrl + Shift + R hotkey to begin recording, and you'll find the Valheim clips and videos stored in the C:\Users\<Username>\Videos\Radeon ReLive folder.
Method #3: Open Broadcaster Software
Our final method for this article is the OBS (Open Broadcaster Software), which you can learn how to use if you follow these steps:
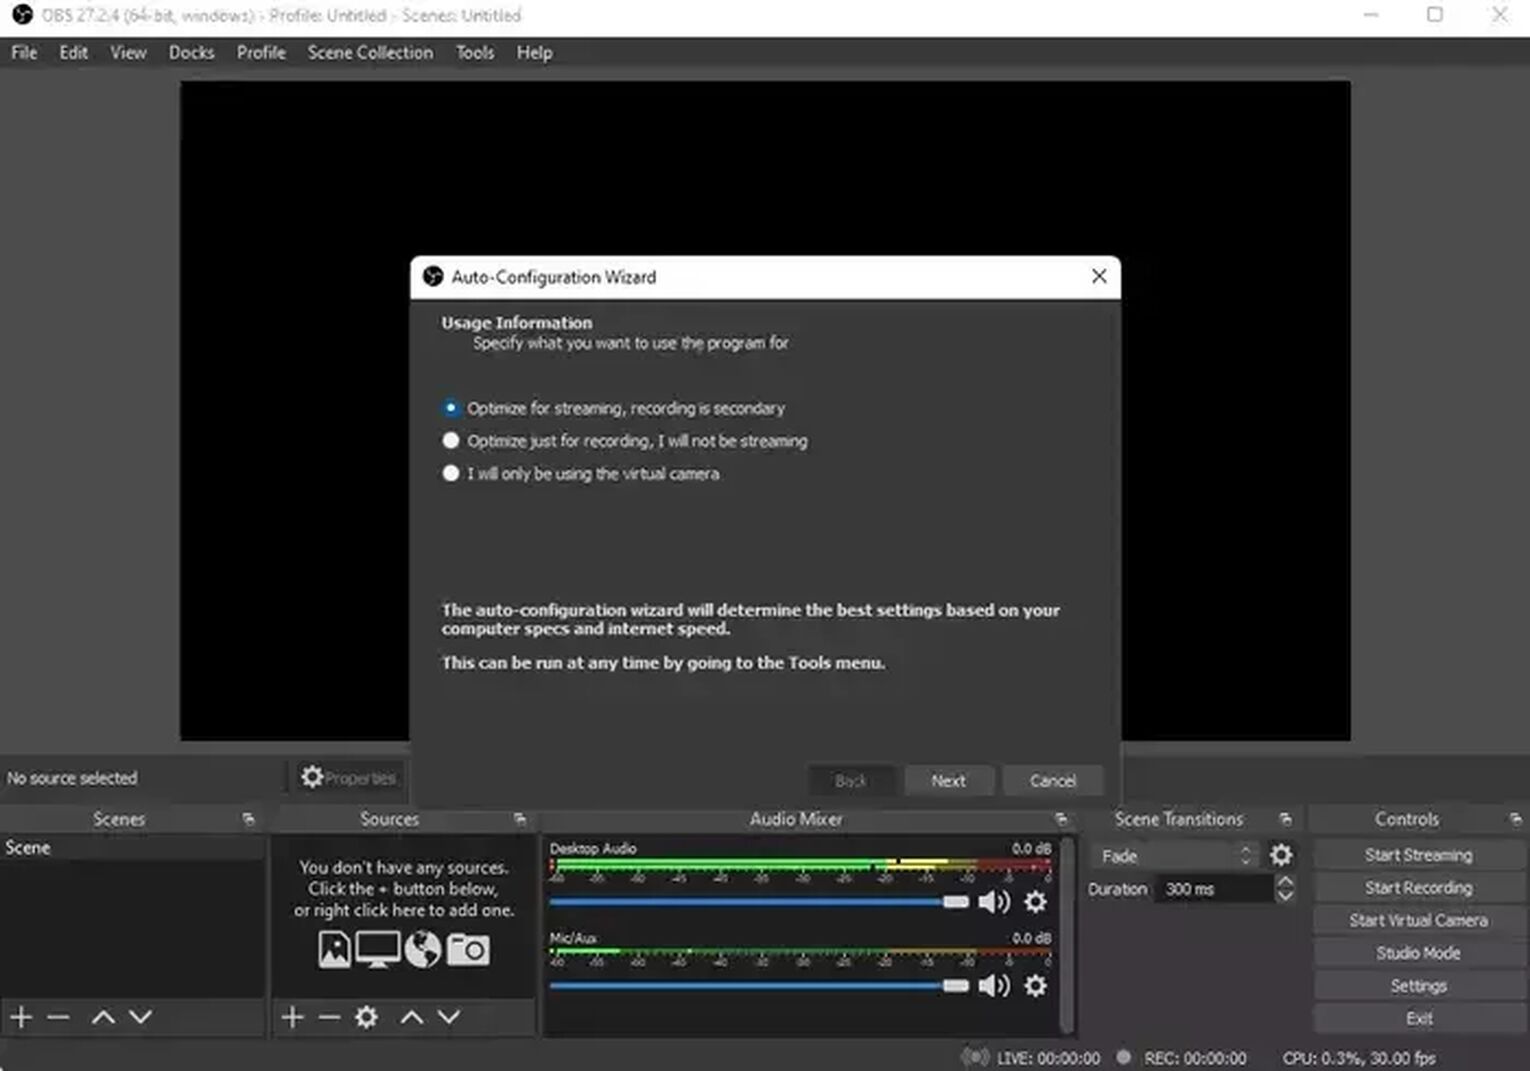
- Visit the OBS official website and download the program's latest version there, and once you run it, you'll receive the auto-configuration wizard prompt, which can configure everything for you in just three clicks!
- Once you're in the main menu, click on the + icon under the "Sources" tab.
- Finally, click on the "Game Capture" option, write anything in the field, and confirm it.
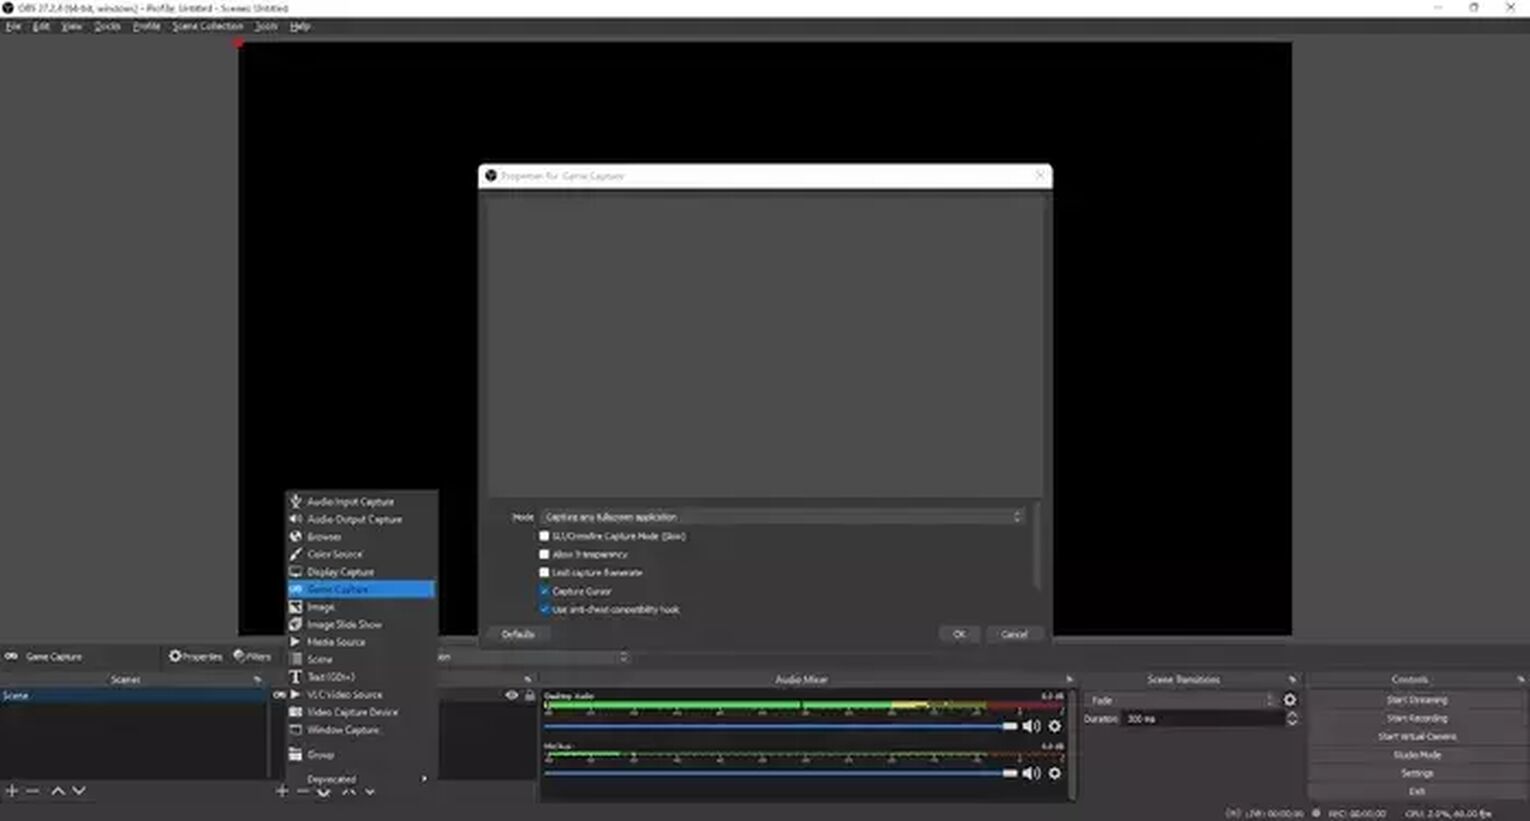
For those unfamiliar with the OBS, this program can also be used for streaming Valheim (and other games, for that matter) on Twitch, YouTube Gaming, Trovo, and various other platforms.
If you need to change options like video, audio, default video storage folder, or keyboard hotkeys at any point, click on the "File" then choose "Settings."
Pro tip: Make sure to configure the keyboard hotkey for recording, or you would need to go Alt + Tab each time you wish to record Valheim. Once you're ready to finally record Valheim gameplay videos and clips, press down the previously configured keyboard hotkey or click on the "Start Recording" from the main menu of OBS.
You'll find Valheim videos and clips stored in the C:\Users\<Username>\Videos folder, which you can also change to any folder you want.


.svg)


![How Good is Tin Rank in Brawlhalla? [Distribution]](https://theglobalgaming.com/assets/images/_generated/thumbnails/64795/62e080641efe5ac2a8436c8f_tin20rank20elo20brawlhalla_03b5a9d7fb07984fa16e839d57c21b54.jpeg)
![Is Bronze a Good Rank in Brawlhalla? [/w Distribution]](https://theglobalgaming.com/assets/images/_generated/thumbnails/62990/62e0892d786b56c1f7a96c93_bronze20rank20elo20brawlhalla201_03b5a9d7fb07984fa16e839d57c21b54.jpeg)
![Is Platinum Good in Brawlhalla? [Rank Overview]](https://theglobalgaming.com/assets/images/_generated/thumbnails/64506/62e080e9086bb080797e1845_platinum20rank20elo20brawlhalla_03b5a9d7fb07984fa16e839d57c21b54.jpeg)