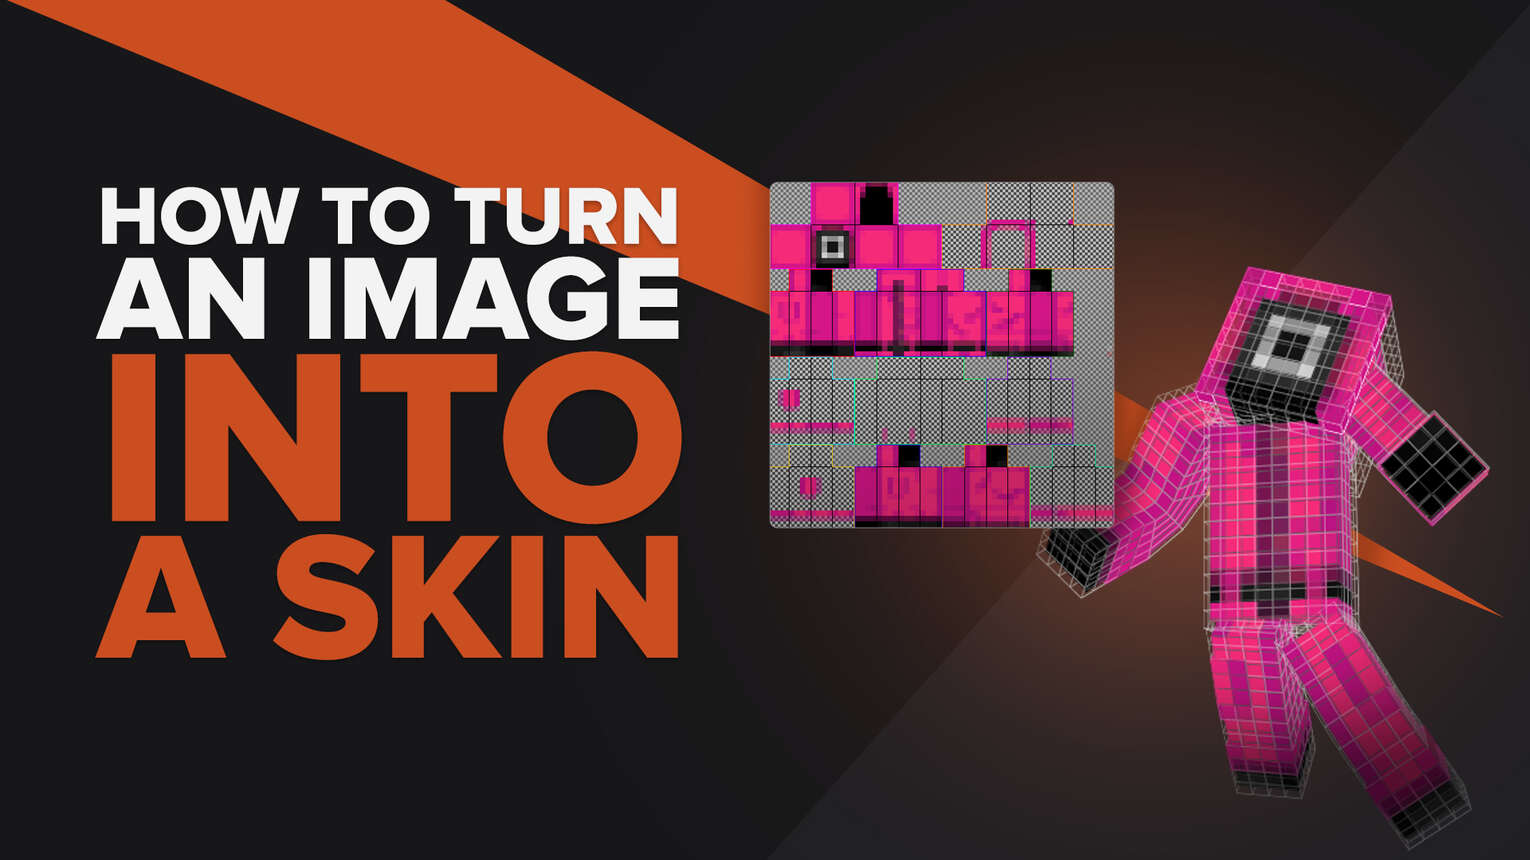
Custom Minecraft skins are very desirable, and nearly everyone that plays Multiplayer regularly has one. We've already made a guide on how to make, edit and change your Minecraft skin, and that process is very similar to this guide. With that being said, let's see how you can put an image onto a Minecraft skin.
Turning Any Image into a Minecraft Skin
There are a few necessary steps that you’ll have to take if you want to turn ANY image into a Minecraft skin. This can either be a rapid or extensive process that can take a significant amount of time and effort on the creator’s part.
Step 1: Selecting the Image
The first step is to select the item in the image you want to be your new Minecraft skin. The desired picture should be a high-resolution image that offers the ability to see the item that you wish to be your new Minecraft skin. Another thing to consider when choosing an image is if the image is a square resolution; it’ll work best with a system like this.
Step 2: Removing the Image
After selecting the image and deciding what you want your next Minecraft skin to be, you’ll need a way to remove the background from the image, allowing only the key items of the picture to be shown on the skin itself.
Step 3: Resizing the Image
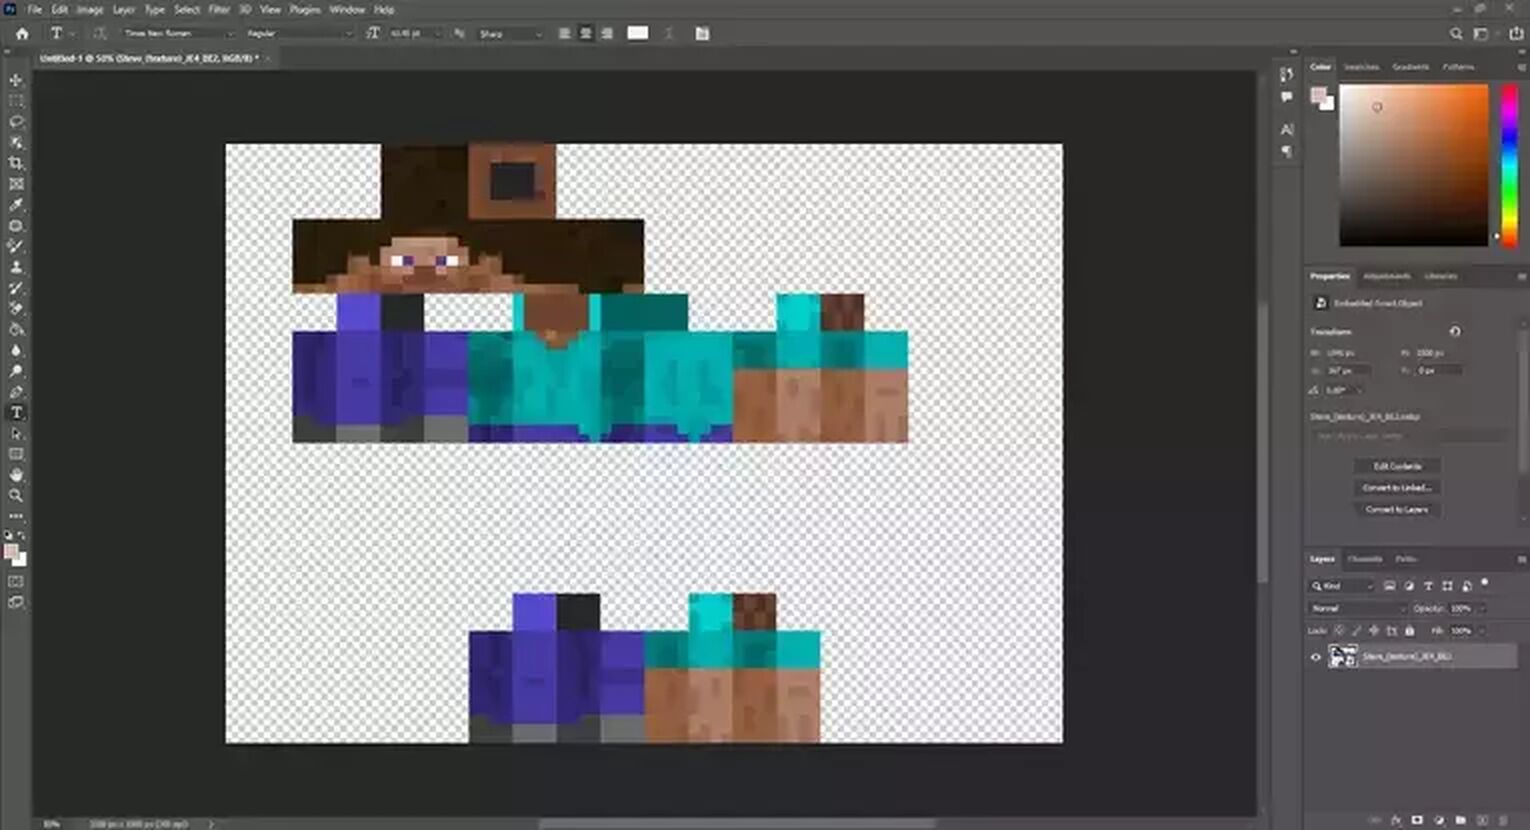
In addition to removing the background, you’ll need to resize the image (normally to 64 x 32 pixels). There are multiple ways to do this. The first way to resize your selected image is through a photo editing software. Examples of such apps include:
- Adobe’s Photoshop
- Gimp
- Microsoft Paint.
Step 4: Downloading the Template
In order to continue, you’ll need to download the Minecraft skin template online. This template is a very small image having a size of just 64 x 64 pixels, which means that most images added onto it will be significantly larger, and the images that work the best with this type of template is a square image that allows for easy downscaling.
That's why it's important to resize your images beforehand. The template provided by Minecraft is the default steve skin; this skin showcases the correct locations for each aspect of the skin file.
Step 5: Combining the Template & Image
You'll need to combine the two images into a single Minecraft skin using the photo editors that are listed above. To do this, users can import and then resize the image to fit over the skin with ease. In addition to resizing, users can reconfigure the image to be better suited to work as a Minecraft skin. This is done by editing the image to fit into the required 64 x 64 pixel size of all Minecraft skins.
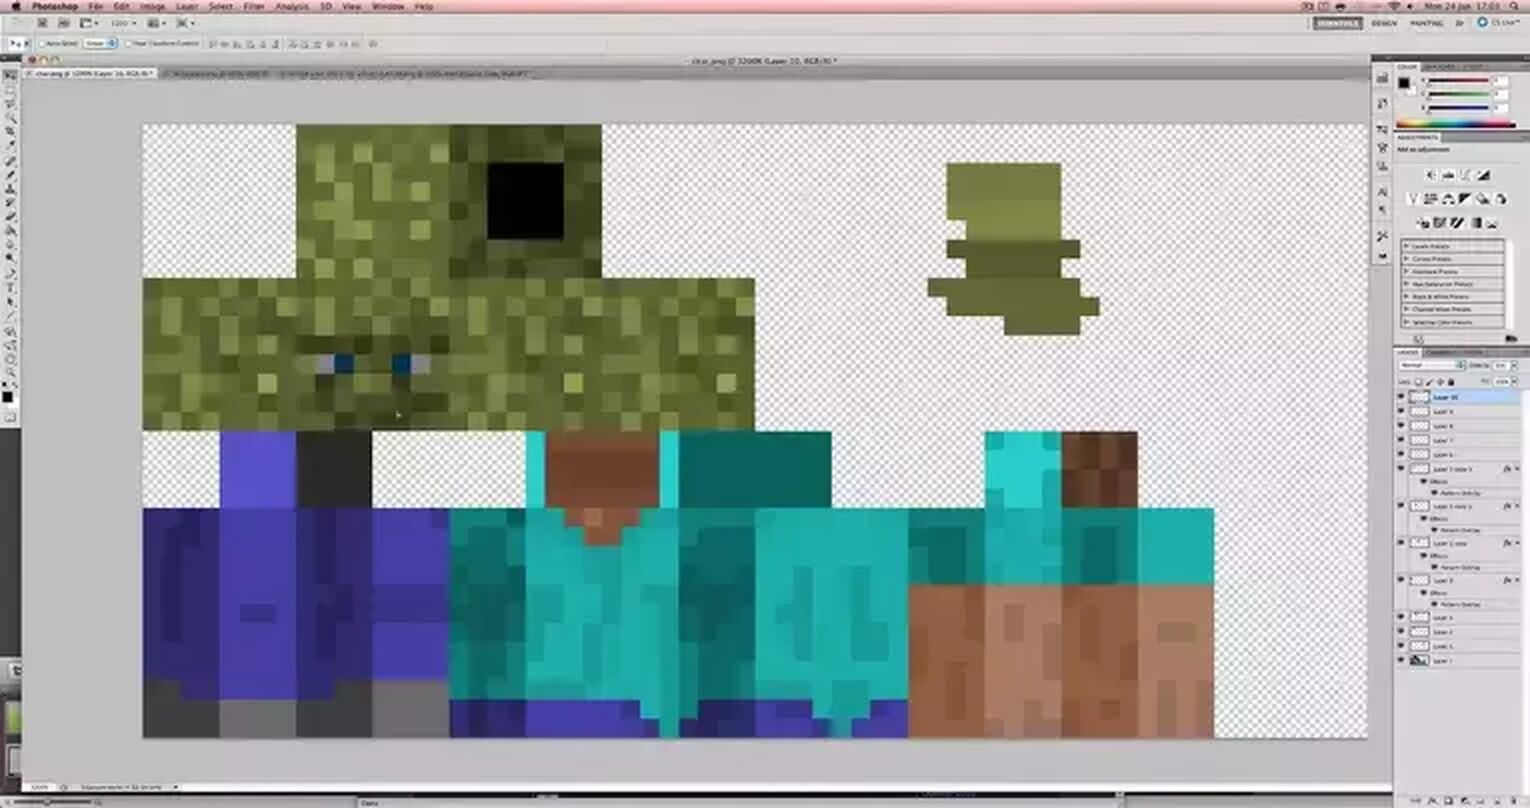
Every Minecraft skin template will have a clear indication as to which parts of the template you have to replace with your image. However, you still do have to take into consideration the placement of your image, so that parts of your custom image don't end up on the wrong body part grid. All of the empty space is part of the photo, which will not be seen in the skin at all.
Step 6: Fixing the Skin File
If your skin doesn’t look correct or doesn’t look like the image at all, then you’ll need to change where certain sections of the image are located. If you want the image to be on the front of the skin, then place it where the face, torso, arms, and legs are located on the grid. Any section that is left blank in this template will be completely transparent on the skin.
Step 7: Saving & Uploading
Saving your newly created skin file is different depending on which photo editor or editing software you choose to use.
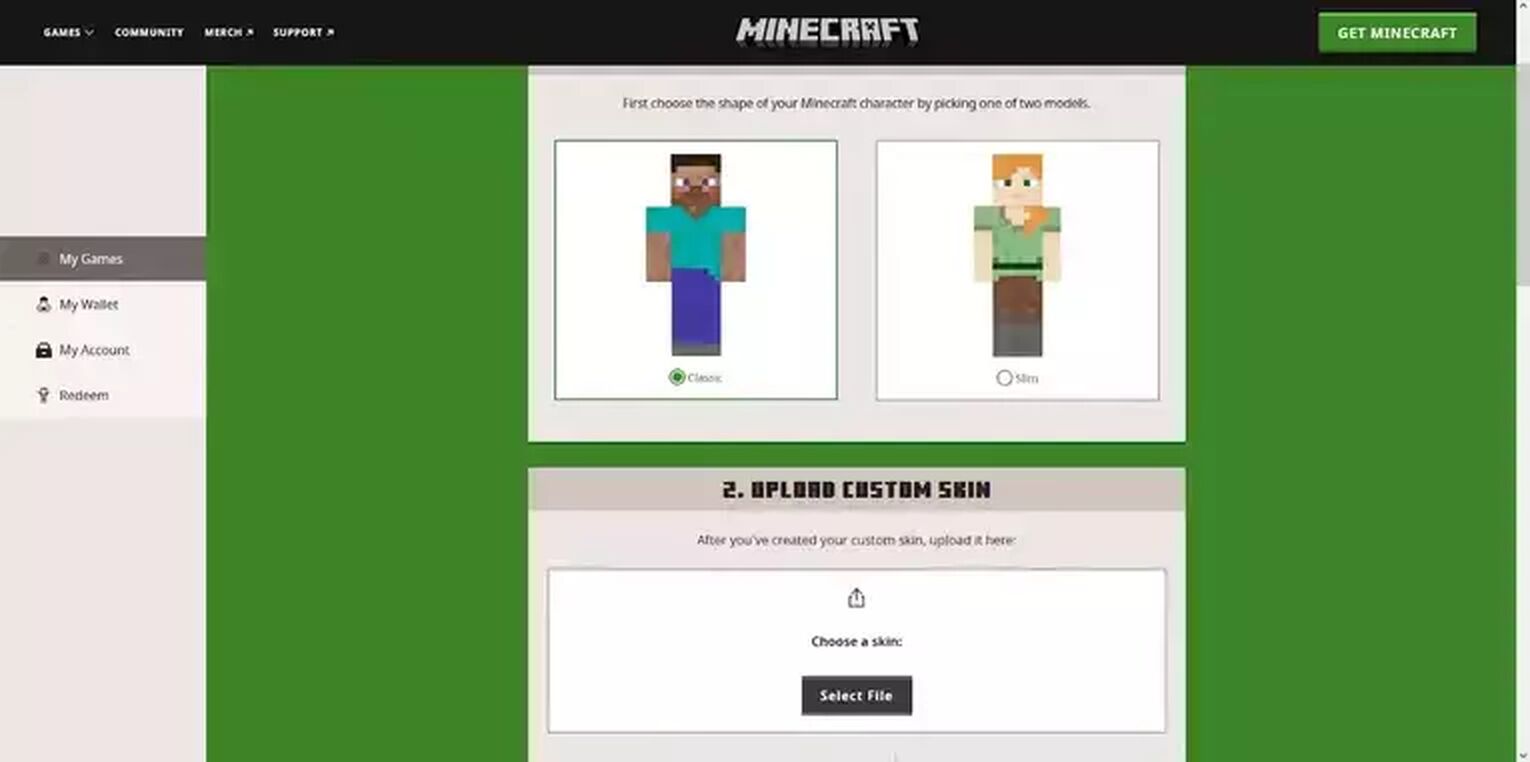
Skin Editors
The skin editor method allows you to preview how the skin will look when applied, which is why it's sometimes more helpful. The limitation of using these skin editors is that moving the image around the skin will be impossible, but it does make seeing the edits easier overall. However, in our experience, this does limit the overall customization that the previous methods can offer.
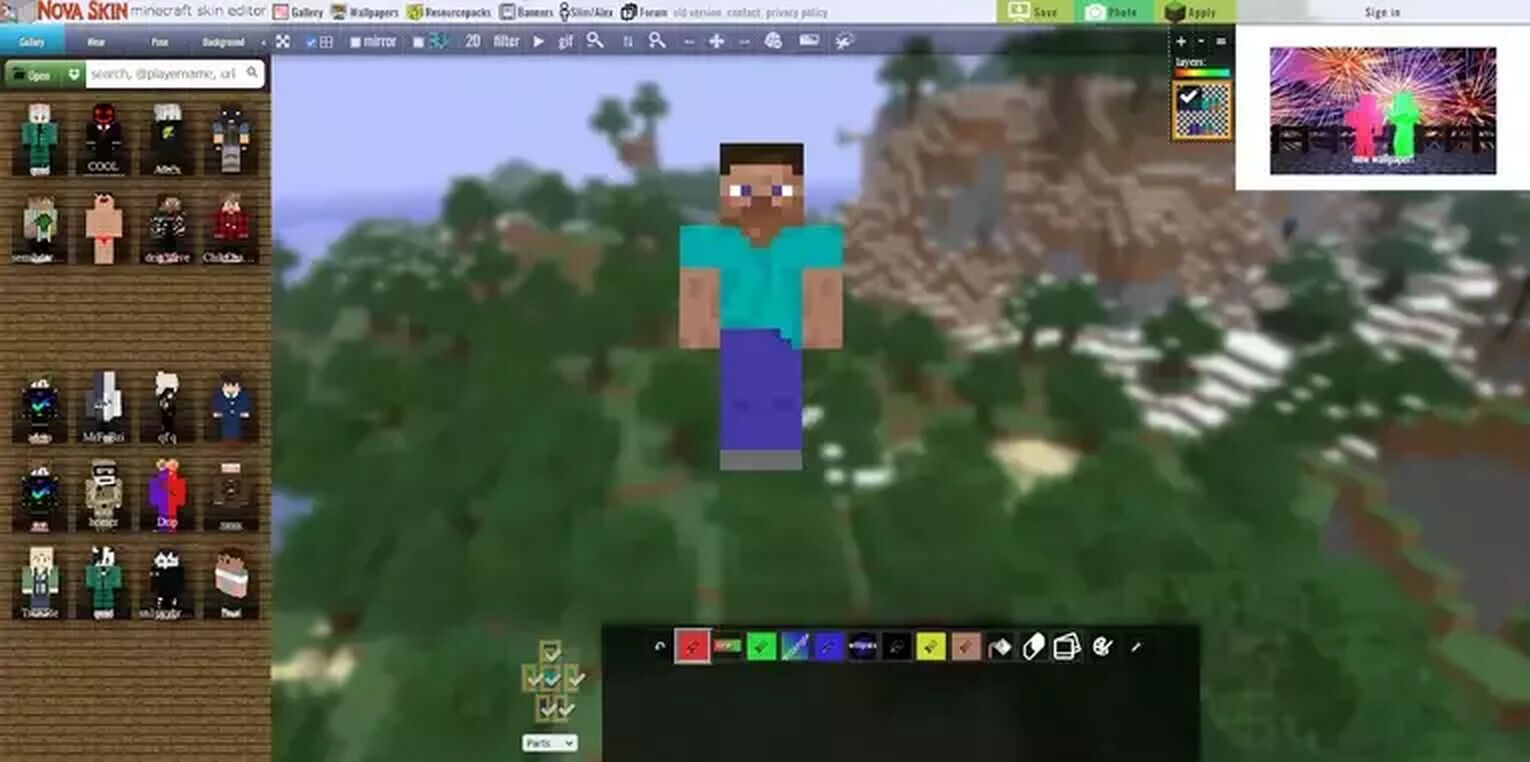
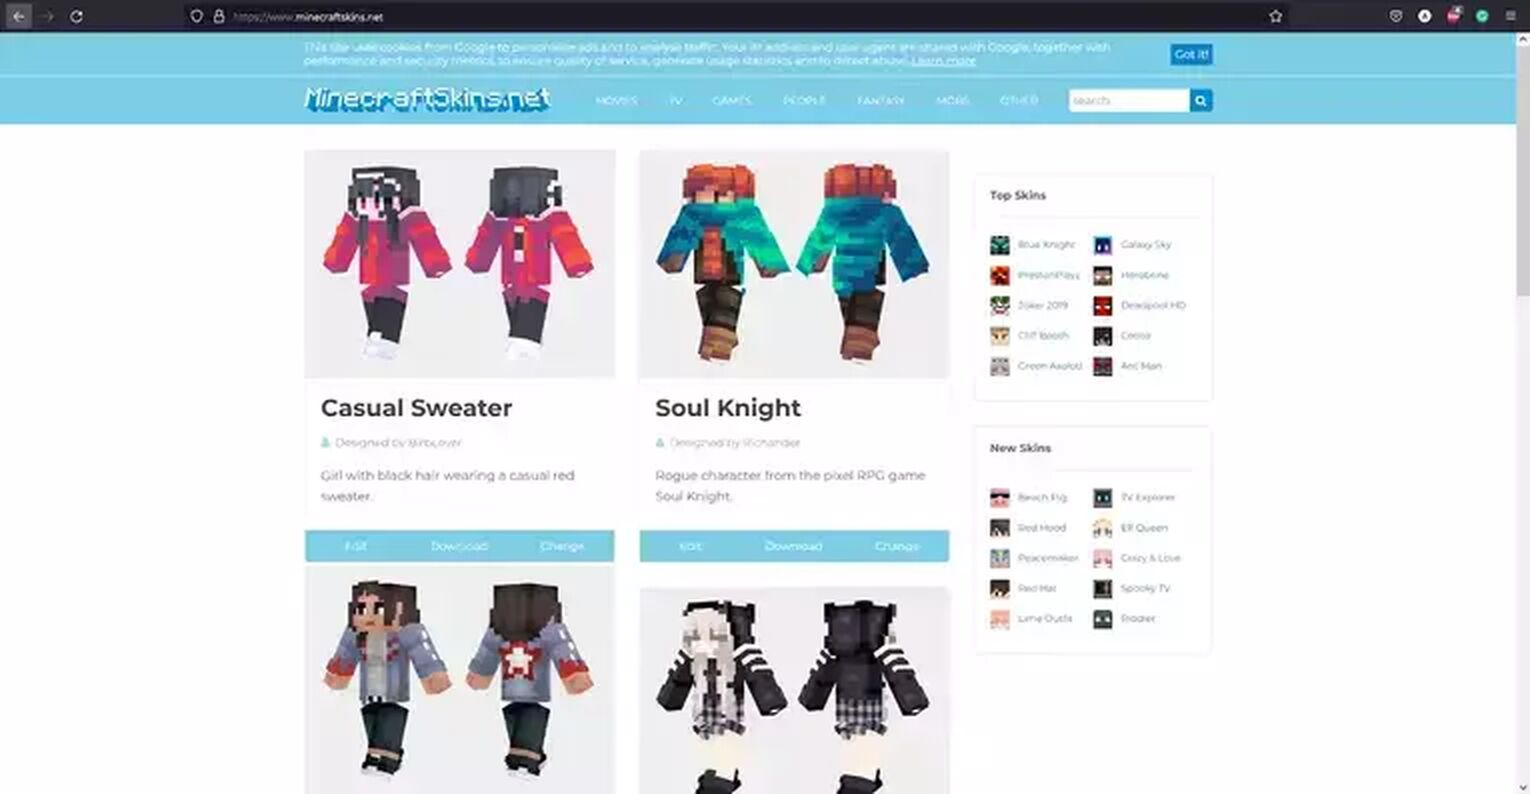
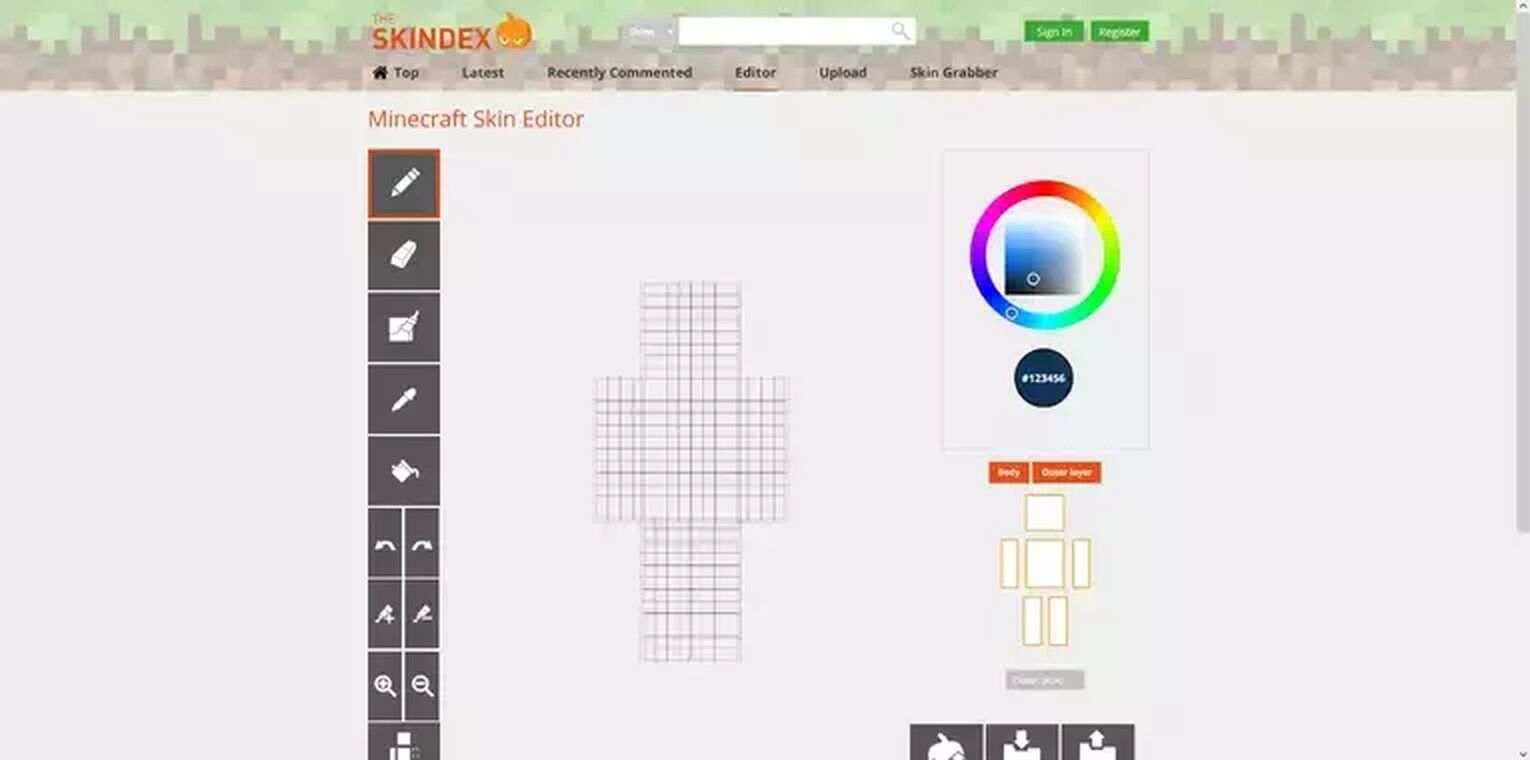
The most popular skin editors are theNova Skin editor and theMinecraftSkins skin editor. In the MinecraftSkin editor, below the color wheel and the navigator, there is a buttonthat allows you to upload files from your computer. After pressing this button , you can then upload your edited PNG skin file and take a quick peek at what your skin will look like in-game.
Hire a Professional from Fiverr
All the aforementioned methods will take a significant amount of time and effort to complete. But, there is another way. There are people on Fiverr that are more than willing to create a Minecraft skin that fits your specifications. Here are the best ones we found:
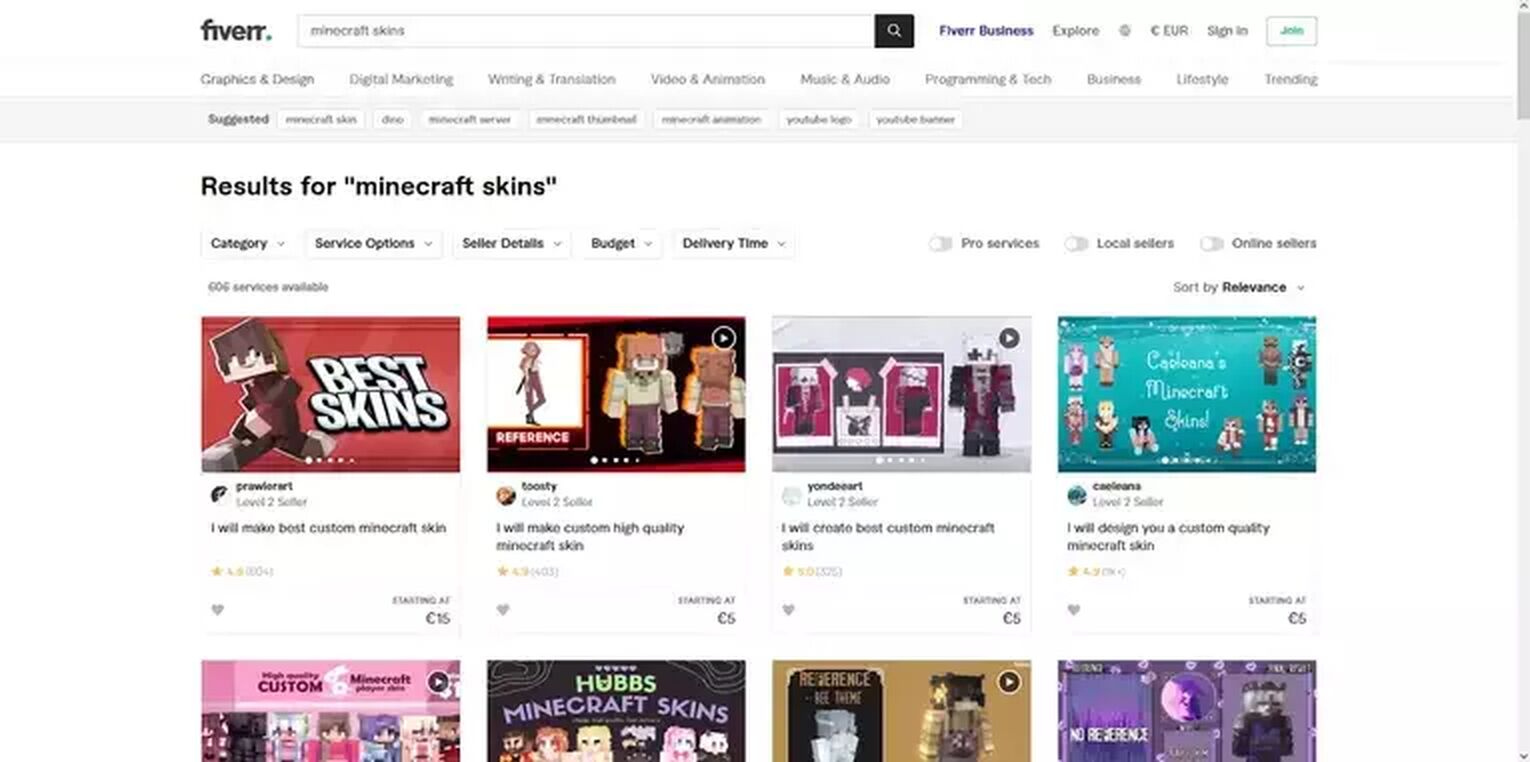
$5 Fiverr Job
This Fiverr job will create your own custom skin for just $10. This job has a one-day delivery, which is as fast as you'll get on Fiverr. In addition to the good price, you can also request 1 revision.
Why Buying a Minecraft Skin from a Fiverr listing may be easier
Buying custom skins may be easier, and this is due to the work being completed by someone else, saving you the trouble and hassle. The lower cost and quick delivery make this a perfect choice for someone that doesn’t have hours to spend creating perfect Minecraft skins.
All in all, we hope today's guide at least showed you where to start when it comes to putting a custom image on a skin. Being able to find skins and download them is one thing, but creating your own custom skin is more satisfying. If you're interested in other articles similar to this, we've also got guides on how to upload pictures into Minecraft, and where you can download skins.


.svg)


![Best HUD Mods in Minecraft [Top 10 List]](https://theglobalgaming.com/assets/images/_generated/thumbnails/4077159/best-hud-mods-minecraft_03b5a9d7fb07984fa16e839d57c21b54.jpeg)
![How to Join a LAN World in Minecraft [Java & Bedrock]](https://theglobalgaming.com/assets/images/_generated/thumbnails/4077161/how-to-join-a-lan-world-minecraft_03b5a9d7fb07984fa16e839d57c21b54.jpeg)
