Jealous of your friends, teammates, or enemies' rarest Overwatch player icons? No worries, changing your player icon is very easy. To put it simply, you need to head to the customization tab in your Career Profile, select your desired player icon, and equip it.
And if you want a detailed explanation on how to equip player icons, here you go:
How To Change Player Icon in Overwatch 2: Step-By-Step Guide
Open your Career Profile
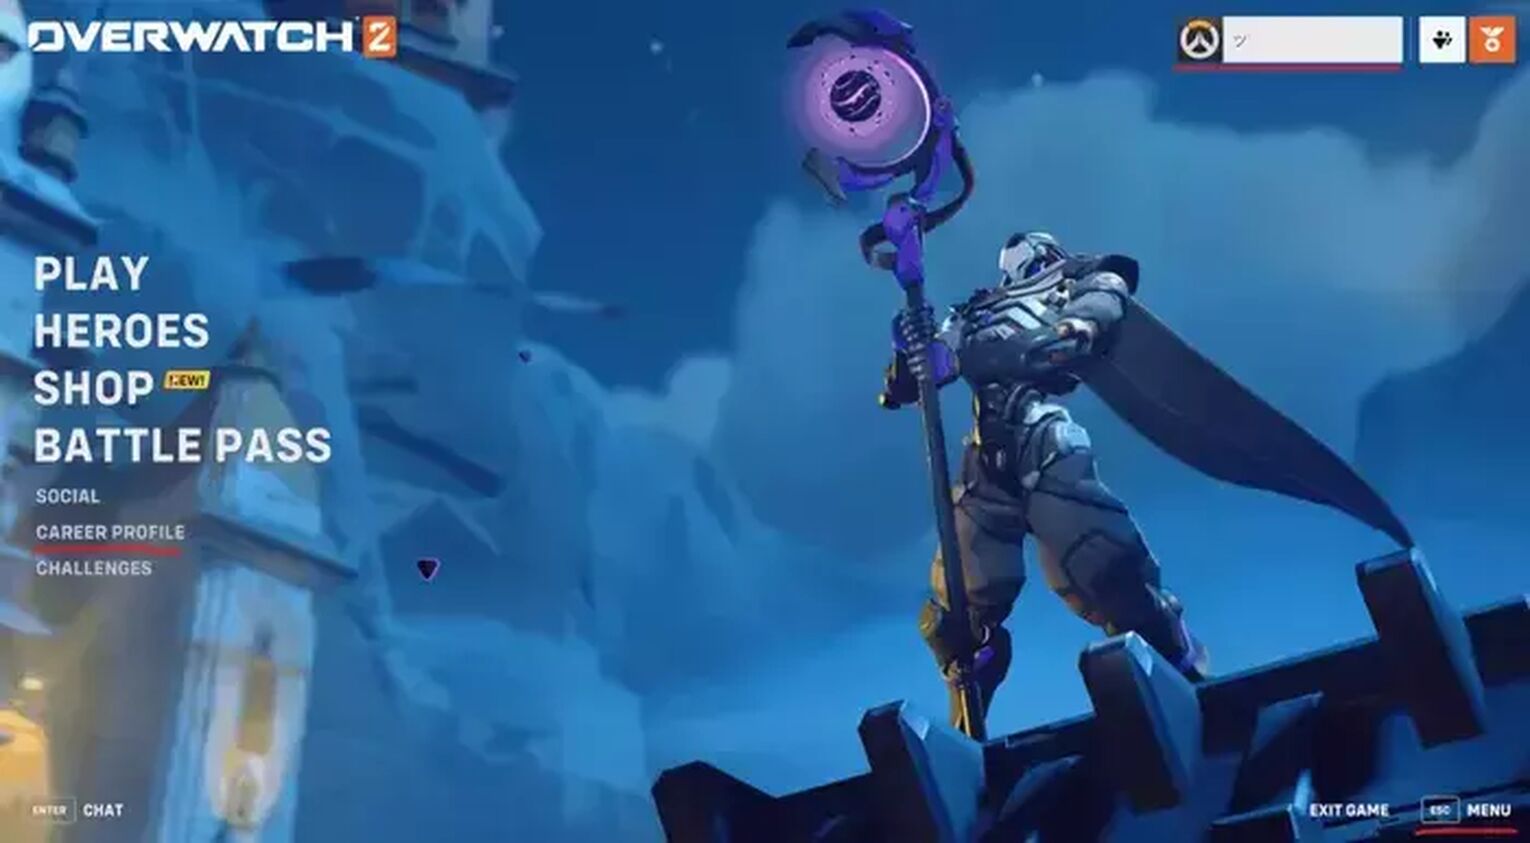
Open up your Career profile by clicking on the Career Profile button.
You can also open it by selecting your banner in the top right of the main menu and selecting Career Profile, or by pressing the menu button in the bottom right (or using your Escape Key), and then selecting the Career Profile option.
Note that Career Profile is also where you can watch replays in Overwatch, or display many interesting stats. So, if you care about climbing to Overwatch ranks like Diamond or even Grandmaster, be sure to search deeper into it.
Go to the Customization Tab

Once you have reached the Career Profile, go to the Customization tab on the right.
Choose and Equip a Player Icon of Your Choice
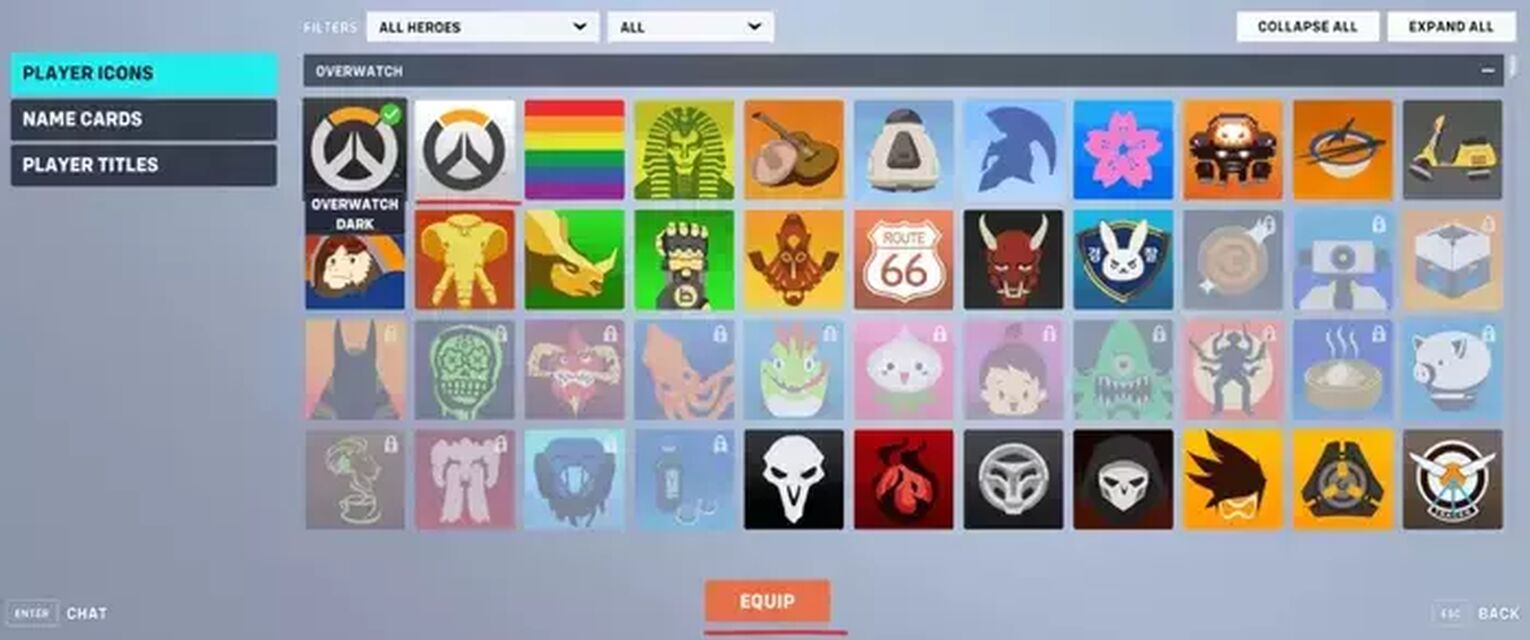
Here in the Customization tab you have all your player icons and more. You can filter by hero or by how new the player icon is. You can filter player icons by event, and you can check only all the ones you own, or don't own.
After you have found that perfect one, select player icon and then, simply equip player icon. Your player icons in the menus should change, and a green tick will appear on the top right of the chosen icon.


.svg)


![How To Earn Money Playing Overwatch [5 Legit Ways]](https://theglobalgaming.com/assets/images/_generated/thumbnails/63542/62d02e085eff8633f9f3e0e7_how20to20earn20money20playing20overwatch_03b5a9d7fb07984fa16e839d57c21b54.jpeg)
![10 Hardest Heroes to Play in Overwatch 2 [Ranked]](https://theglobalgaming.com/assets/images/_generated/thumbnails/3761564/hardest-heroes-to-play-overwatch_03b5a9d7fb07984fa16e839d57c21b54.jpeg)
