

.svg)
The complete Ascent Valorant map guide
Winning on one of the most popular Valorant maps has always been a challenge. This guide will help you understand the basics of the Valorant map Ascent.
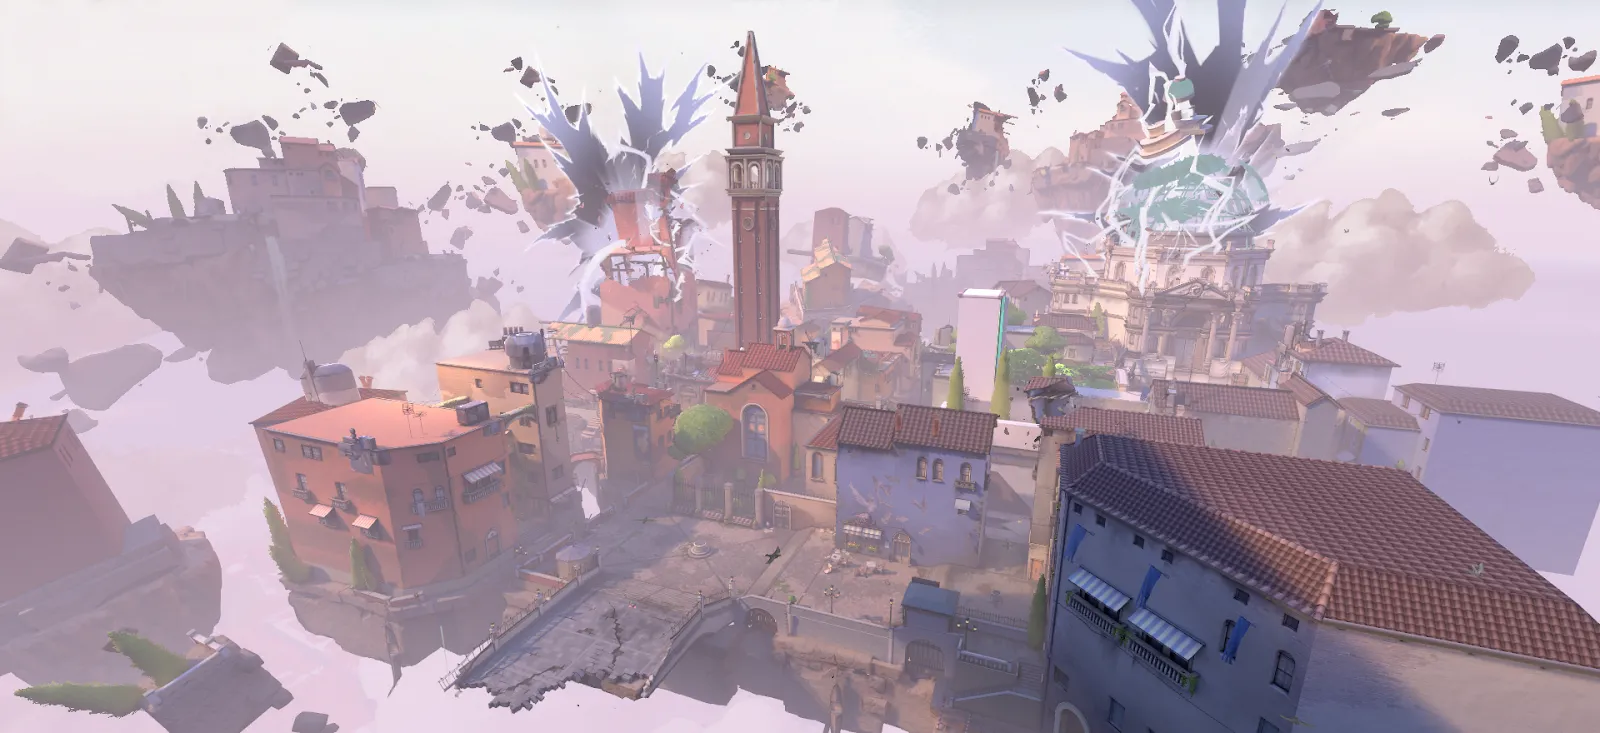
With every new map that Riot Games releases to Valorant, we get a change of scenery and a lot of excitement always arises in the community. The game has been growing rapidly ever since it was released for a variety of reasons, one of which are the map designs. Apart from being aesthetically pleasing to the eye, the reason for the Ascent map being one of the player's favorites are the gameplay patterns. In this Ascent Valorant map guide we will try to explain how you can easily become a better Valorant player and dominate on this map.
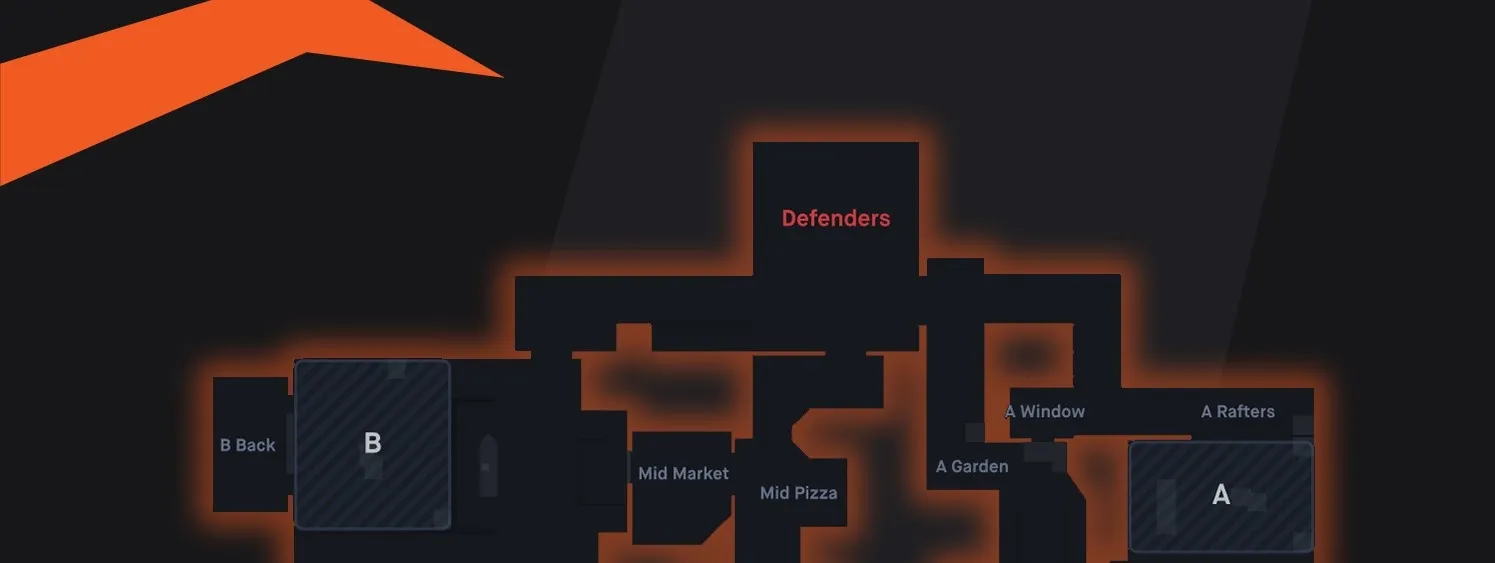
Valorant Ascent Map Callouts
As the attacking team when you are spawning in Attacker Spawn, you will have two options to proceed with in the round.
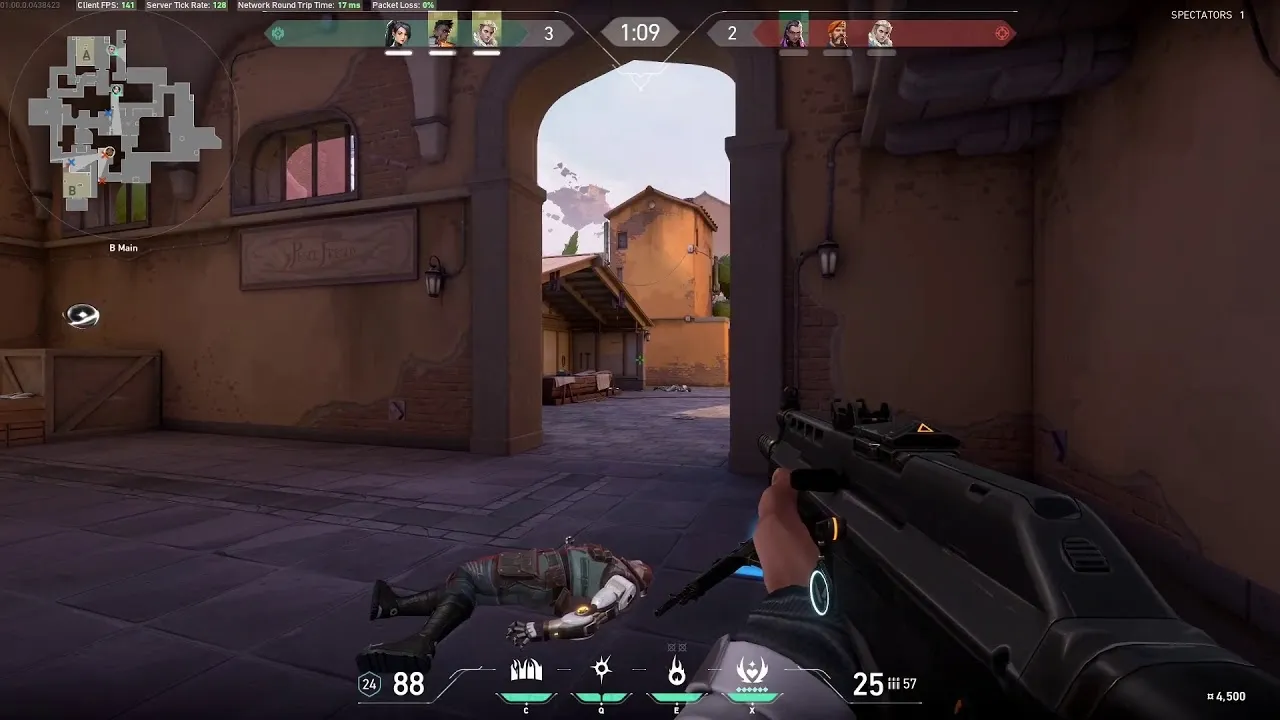
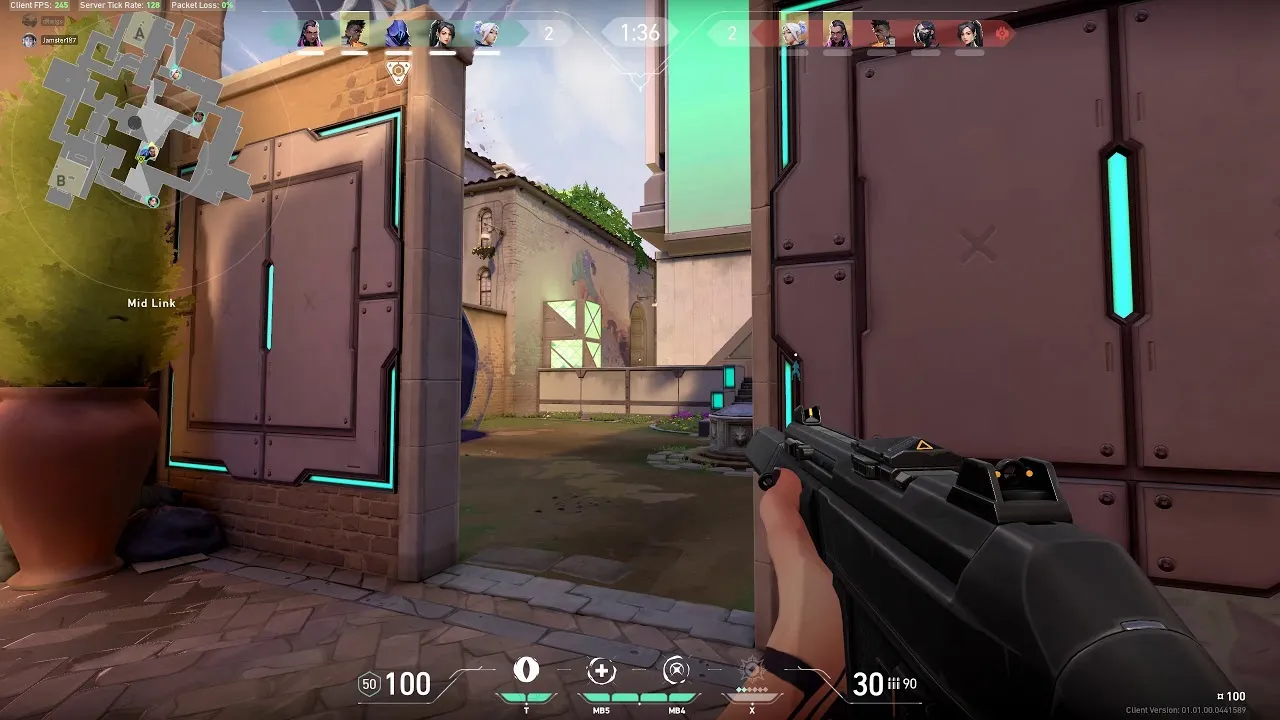
Going left means you enter B Lobby from where you can play for the B site through B Main or for Middle through Mid Link. If you are playing for the B site you will need to get control and pass through B Main, get the Ultimate Orb there, and clear the rest of the site. If you’re going Middle you will pass through Mid Link. If you get control of the B site or Mid Pizza you effectively control two entrances to the Defender Spawn.
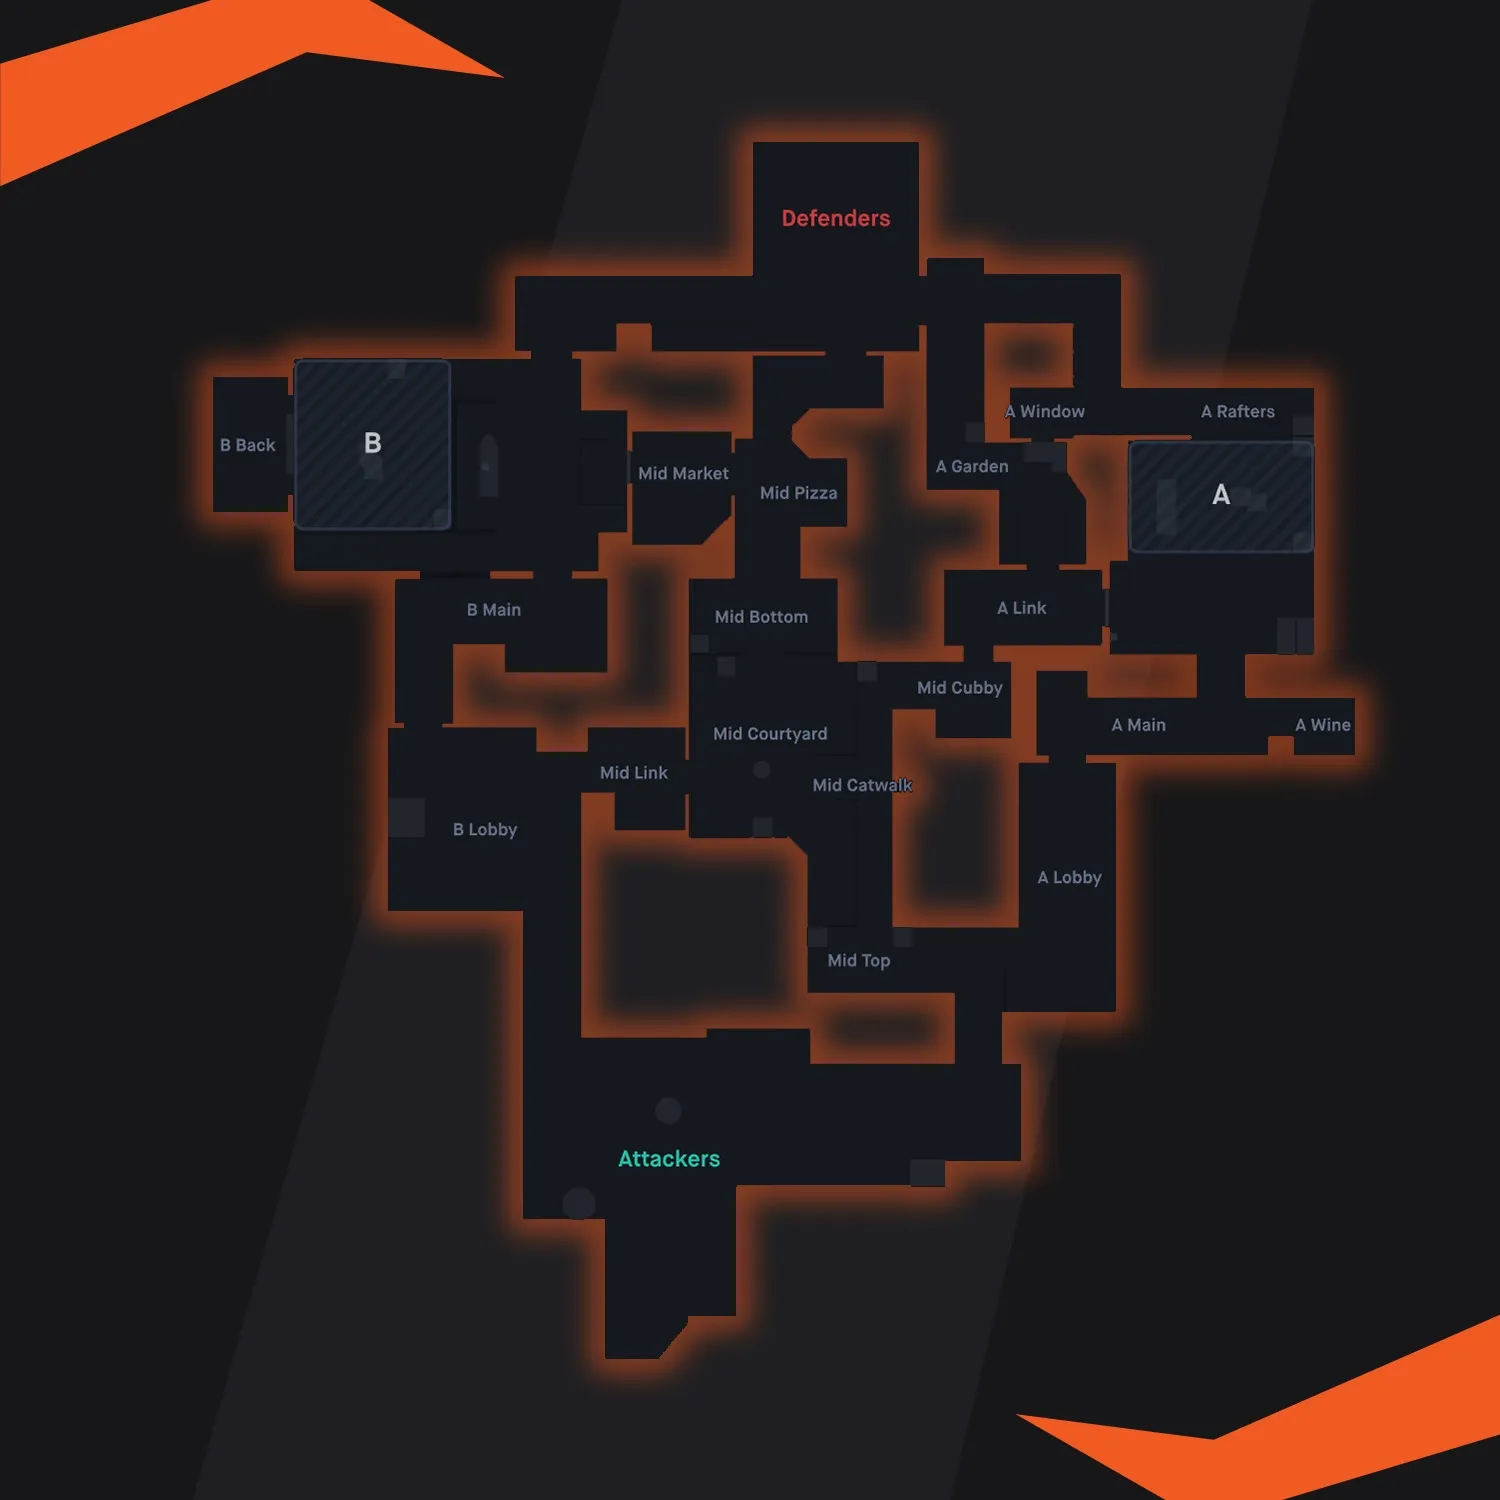
If you take the right exit from Attacker Spawn you will have two more options that can be used to take over Middle and A site. From Mid Top you can play for Middle or for A Site through A Link. If you get control of Mid Pizza you can also transition onto the B Site through Mid Market.
You can get on the A site through the Window, Defender Spawn and the door in A Link. Another path to the A site you can take is through A Lobby into A Main, where you will find the other Ultimate Orb, and enter the A site through the main entrance.
Understanding Ascent
It doesn't take a lot of effort to realize that the key to winning a round on this map is mid-control. We can say the same about every other map but it's most true here. The middle of the map is designed like a playground, a large open area over which both teams can skirmish for control.
To obtain this control you must efficiently use your abilities and have a strategy and a team comp in place to take advantage of this control. Whichever team gets control of mid, gets two more additional entrances to the sites, which is invaluable.
Bombsite A
How to attack Bombsite A
If you’re afraid of the Operator in mid and his back up, a common tactic to use is smoking mid and going to the A site with two players in A Link and three players in A Main. It's much easier to rotate to the B site through Market as a defender than it is to rotate to A. Meaning if you have control of Catwalk and A Link you can cut off the entrances to the site entirely.
Leaving the defenders on the site in a tough position, and the rotating defenders with an even harder challenge. Smoking A Rafters is a must to get safely on the site through the Window or A Main, and smoking it again after a plant is also a good idea. With the door closed off, a defender in A Wine defending A main, and a smoke on A Rafters, defenders are forced to enter through fire and give away their position.
How to defend Bombsite A
The same applies when defending the A site, with information gathering being the top priority. If there isn't a lot of pressure on A you can push to get the Ultimate Orb in A Main, but if there is you should back up on the site and wait for your Catwalk player to come help.
The design of A Lobby makes it so that it's so much easier to flank through Catwalk and skirmish there, rather than in Mid Link so be wary of rushing in that area. Also communication with your Mid players is important, because you need to act based on the intel gathered.
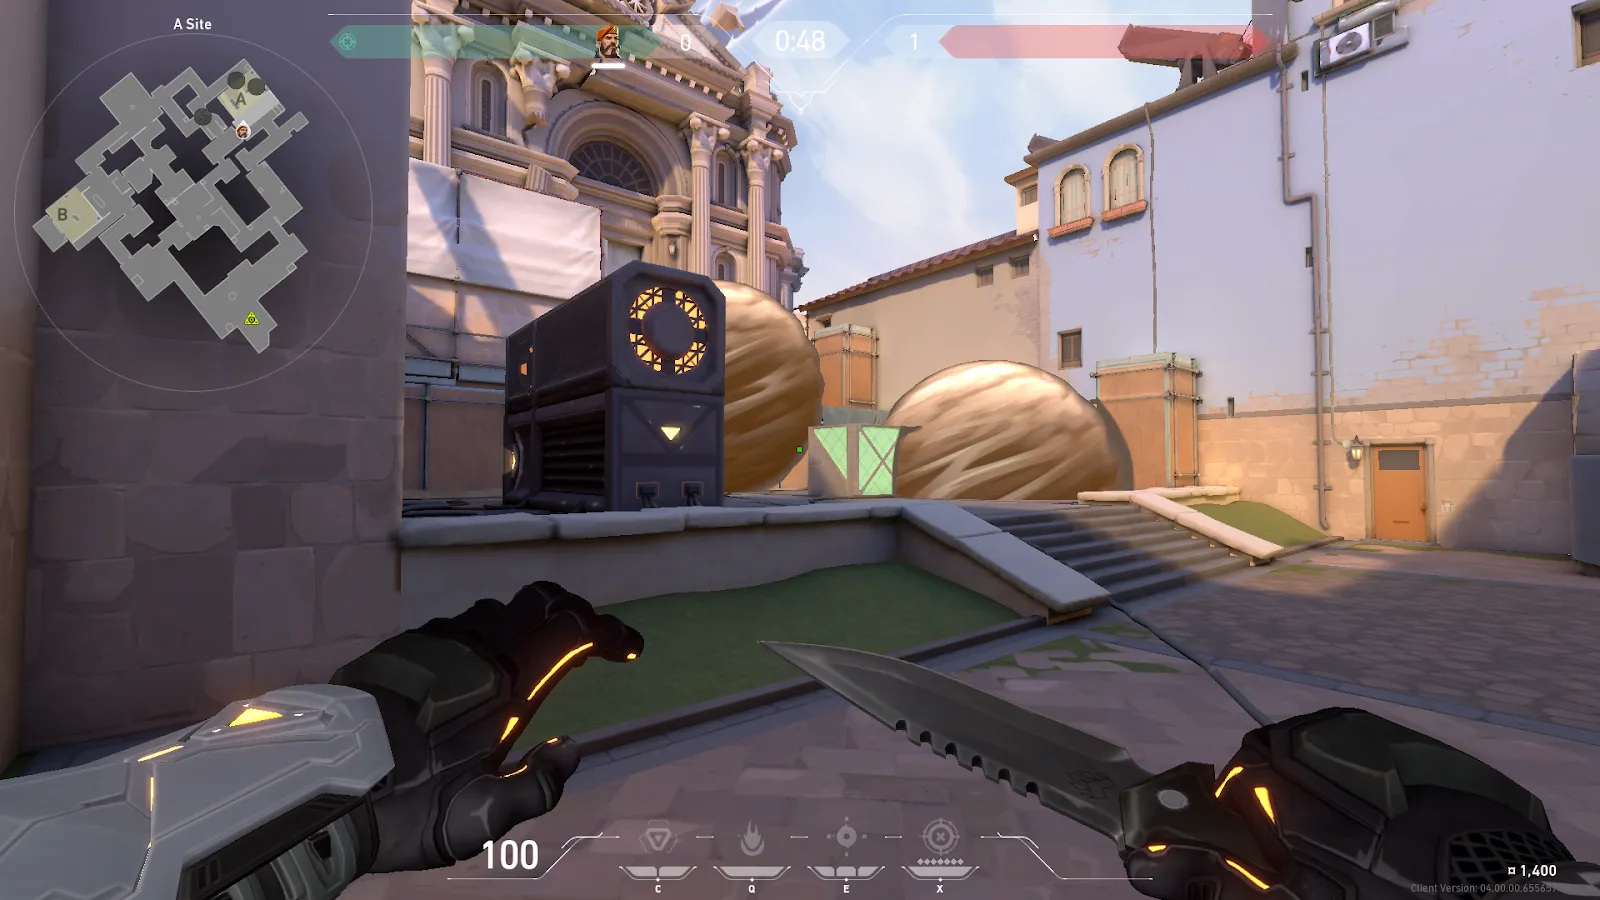
A Main
Here is where most of the action is going to happen if the A site is the target, and this narrow alley can easily decide the round. The defending side will always have the better angle and can choose to wall off the entrance to the site.
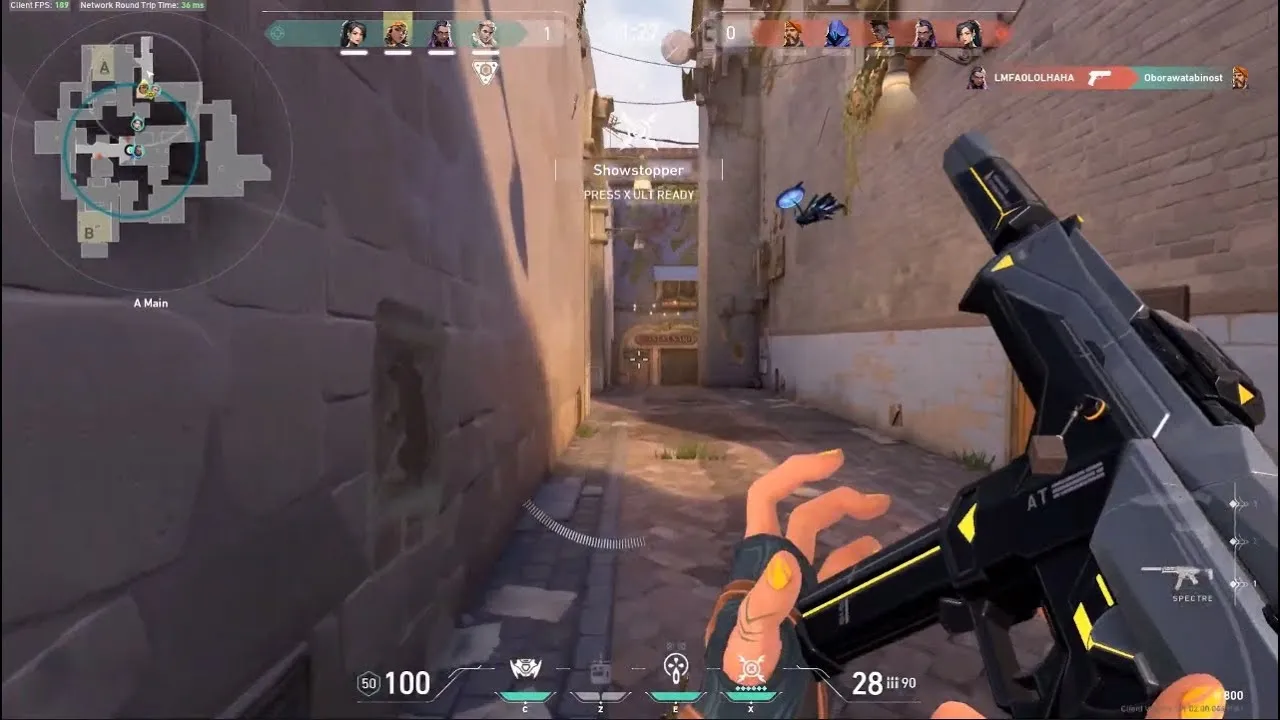
But on the flip side, the attackers can get the Ultimate Orb much easier than the defenders and a single Flash or Smoke is all it takes to get the defenders out of position. In lower skill brackets maybe you could get away with sneaking into A Wine as a defender for a few cheeky kills once they rush, but it’s not advised.
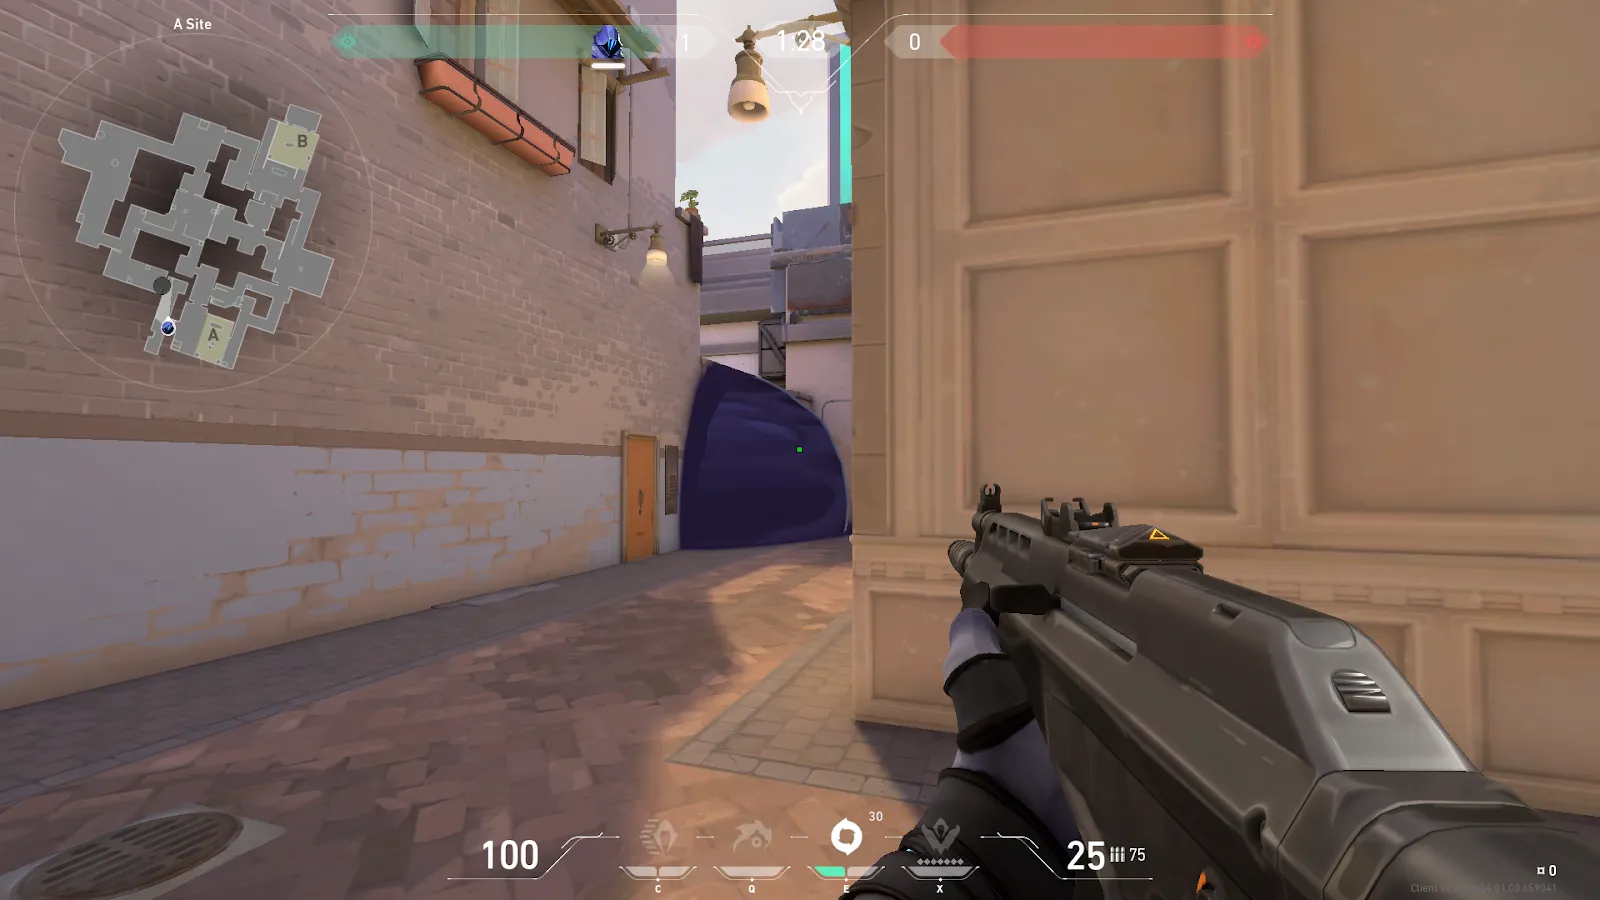
Tree
The tree room on Ascent is probably the hardest part of the map to ambush because of the corners and the door. Breaking the glass on Window alerts all A site players of your position, and if you try to get into Heaven through it, most of the time you’ll die. The other issues are the tight corridors and angles where a defender can be waiting for you on the side of the entrance to Garden, coming from Defender Spawn and in Heaven waiting for you to move forward.
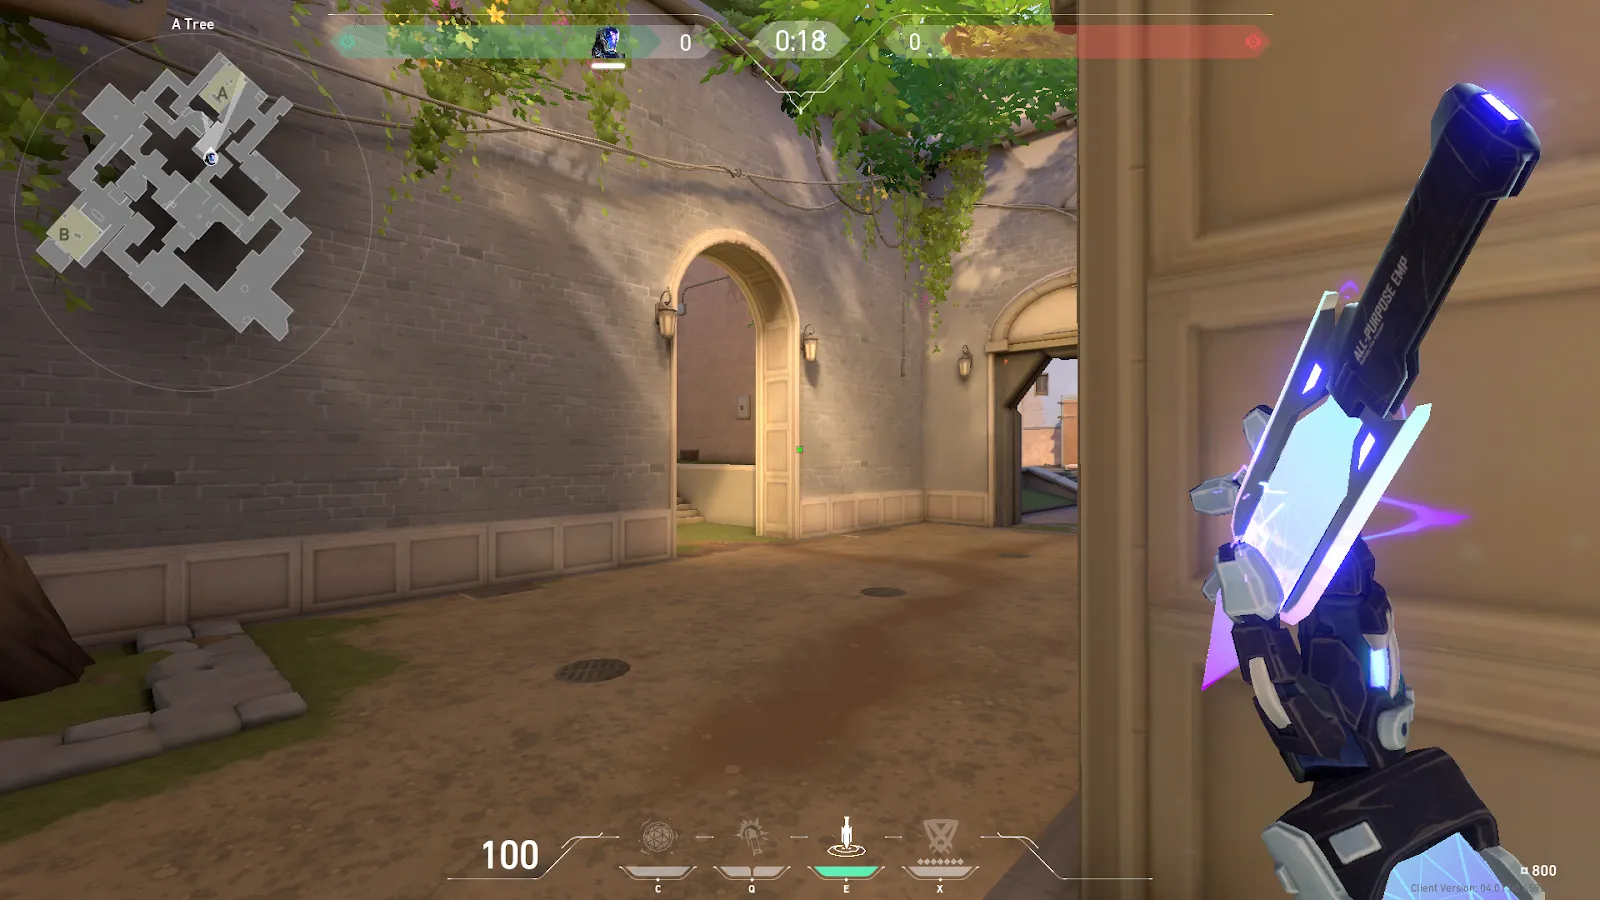
Your best bet as the attacking side is to smoke Heaven, the A Link entrance to the site and throw a flash through the window after you’ve broken it. Then continuing through Garden and Defender Spawn to walk unnoticed to Heaven. The utility usage will spook the defenders most of the time, and with so much going on nobody will expect you to come from behind. Walking directly onto the site from Tree is really bad because you open yourself to many angles.
Heaven
This is probably the most important and the hardest position to play on the A site for both sides.
Defenders love to place their Initiator or the best sniper user on the team here because of the area you can access from here. You would be open to many angles, but with proper communication and intel the Heaven player can cover both A Main and A Link entrances, is somewhat protected by the window in Tree and has the fastest route for rotating to Mid and B site.

As attackers you want to smoke Heaven so you won’t be vulnerable to crossfire, and try to wall bang through the wall and crate on Heaven because they’re so thin.
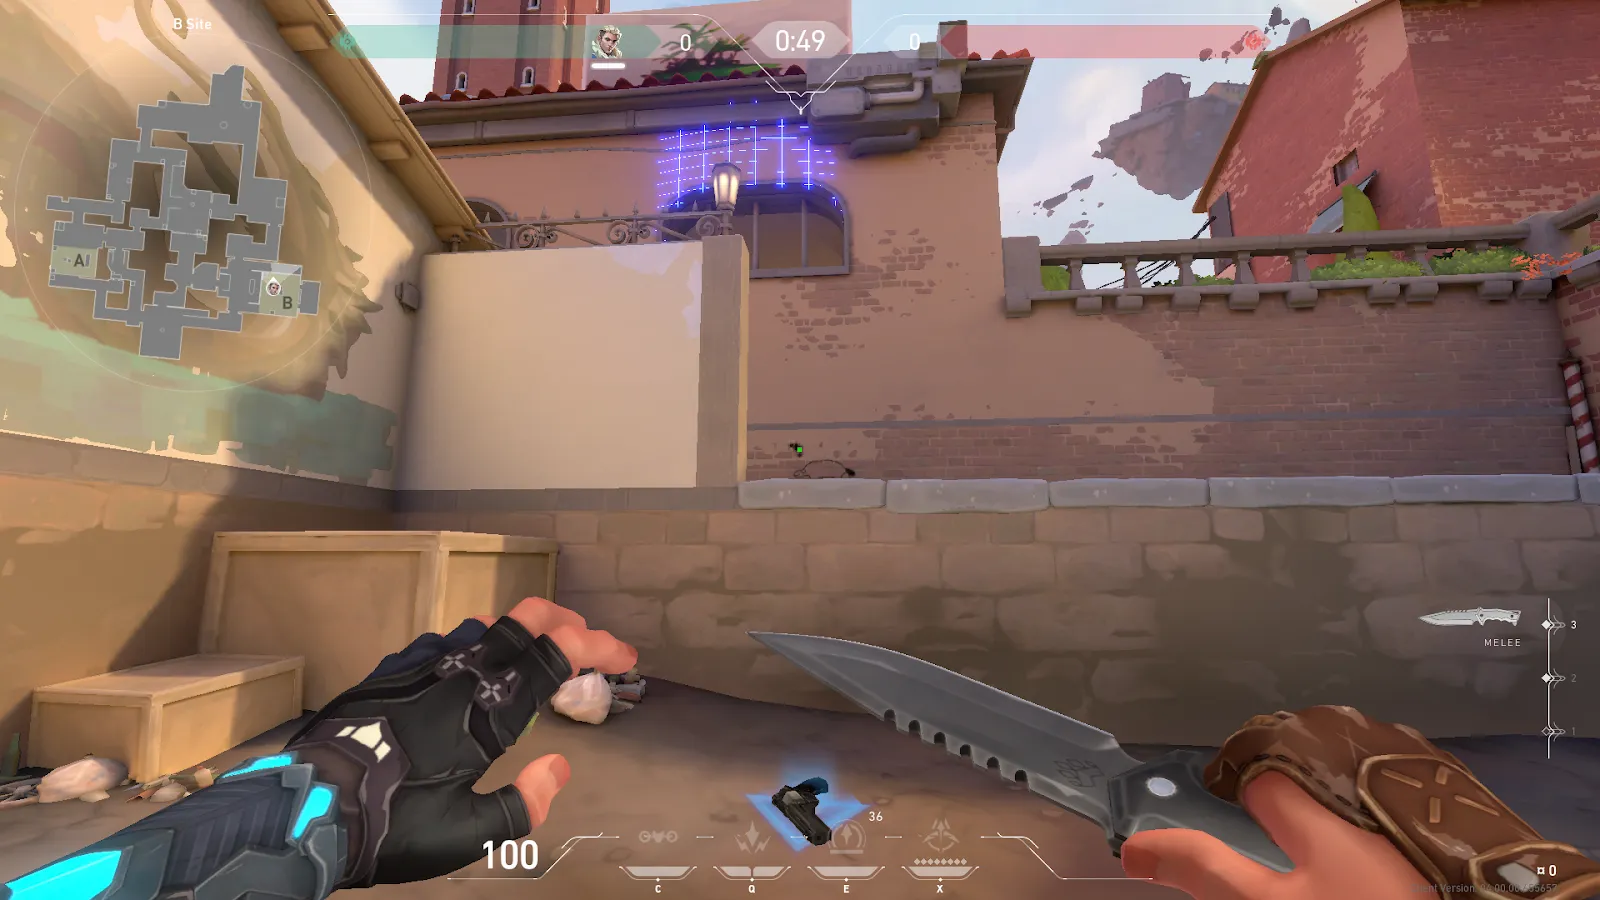
Bombsite B
How to attack Bombsite B
To be able to get on the B site, you need to establish a presence on B main. There will be a lot of utility flying around, as people try to wall bang, molly and trap the entrance. Be careful when approaching and try to use smoke to cover the defender’s positions. Smoking Mid Market, backside B and the Defender Spawn entrance to B forces the defenders to either rush in the open for unfavorable duels, retreat to the site and take outnumbered fights or completely give up the site.
If you manage to win a duel push on the site immediately because the two mid players will always want to recover it through Mid Market and Defender Spawn. If you manage to make a pick in mid, don't be afraid to push B as a team, just make sure to shoot down the elevator door as soon as possible.
How to defend Bombsite B
While defending the B site you will always want to have control of B Main. That's why here you need a Sova, to Arrow and wall bang, maybe a Sage Wall and Slow Orbs or any kind of utility. The player holding this site will most likely be alone so he needs to play it as smart and as slow as they can.
Using your utility after you know they're committing to the site is a great way to be more effective on any Valorant map. If you're unable to defend the push, closing the elevated doors on Mid Market and falling back on the site are the best things you can do. Your goal will be to stall out and survive for as long as you can while your rotations arrive, even if it means taking some duels before your team comes.
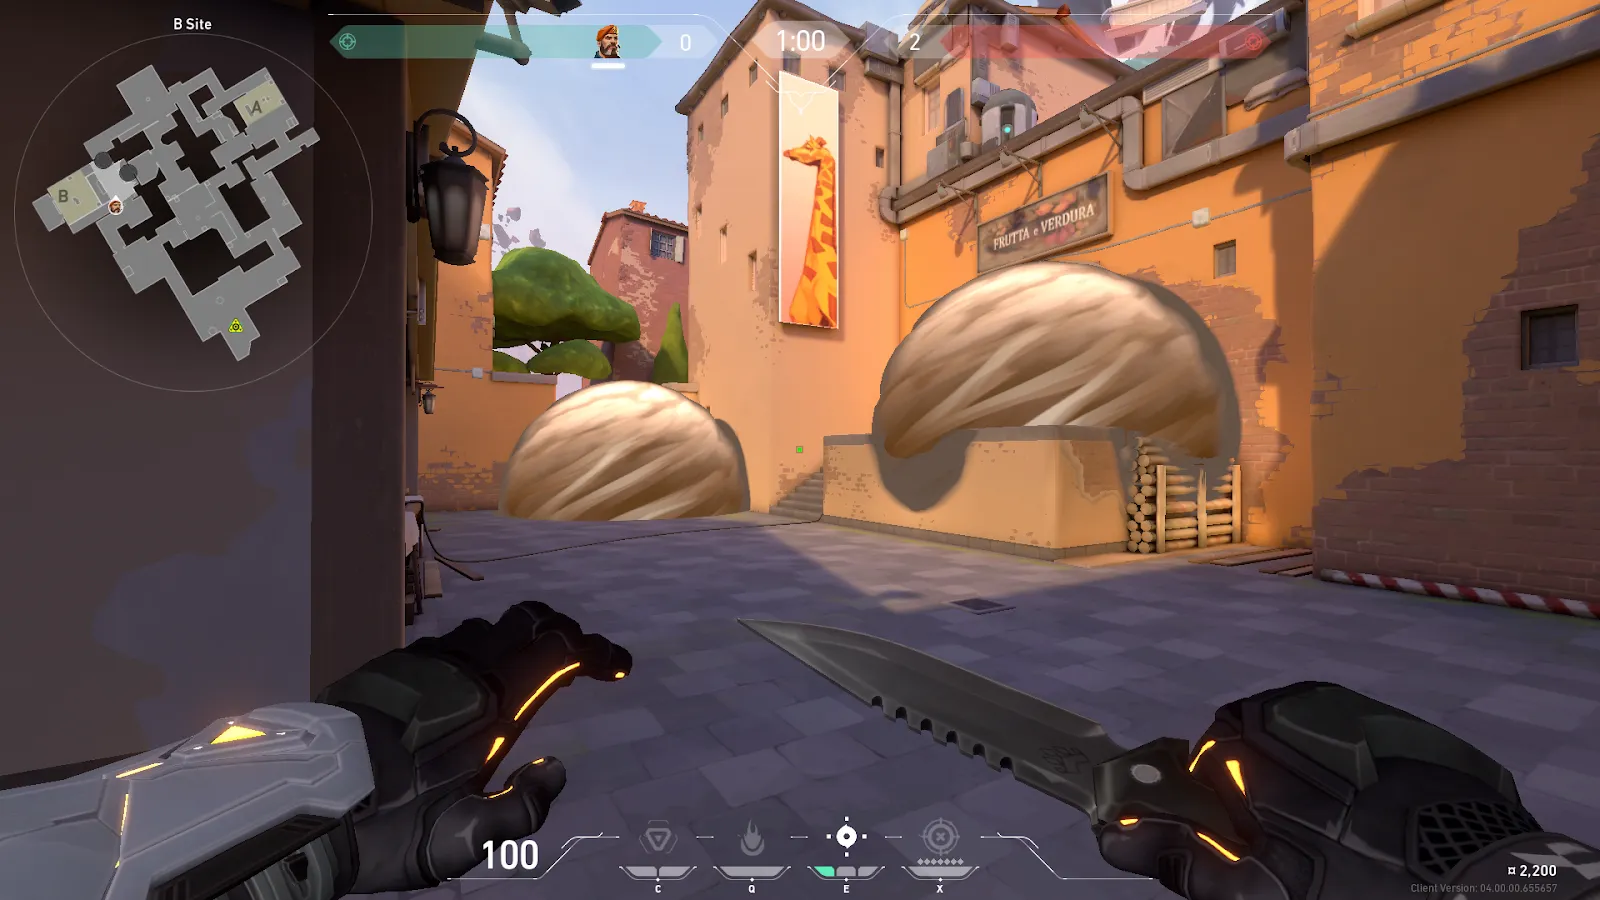
B Main
Getting control of B Main is the most important task if you want to attack the B site. This is the narrowest entrance to a site, with thin walls that can be pierced and an Ultimate Orb. Attackers are generally favored to get the Orb but not without the fear of retaliation from the defenders.
Any kind of utility or AOE spells can stop the advance of the attackers through B Main and the entire wall can be pierced except the box. If you do manage to get out of B Main unscathed as the attackers, you will almost always want to use Smokes and Flashes to enter the site.
Market
Most of the time, the defending team will have at least one player playing Market, and his duty will be to assist the B site players if they are getting rushed through B Main, or cover Middle if the designated Middle player rotates to either side for a flank.
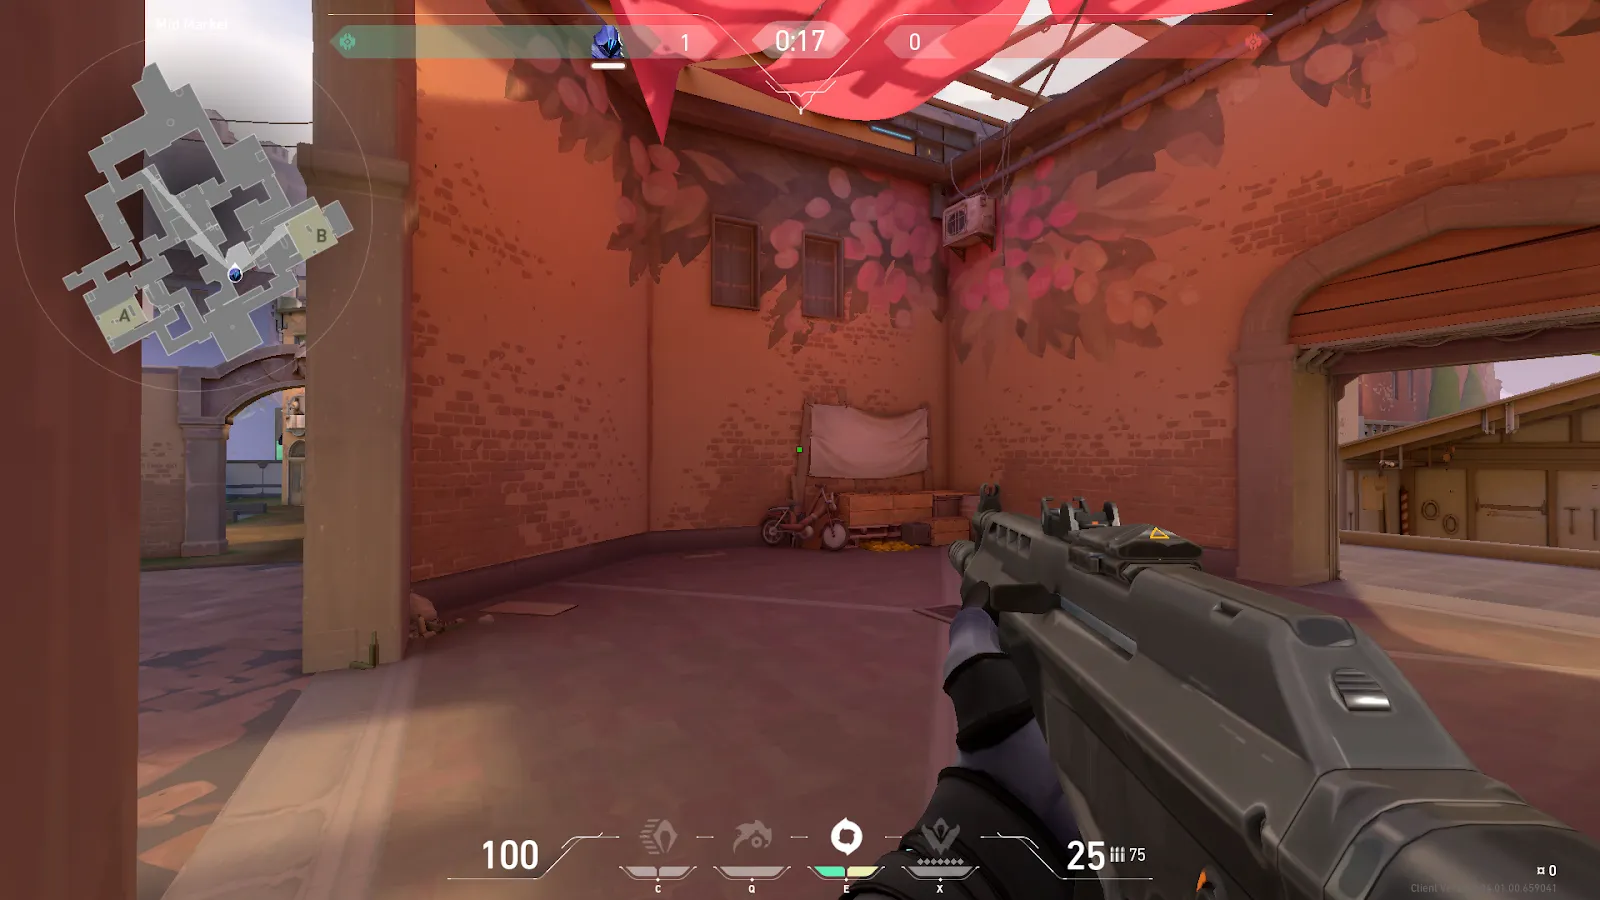
This area is very susceptible to smokes and having control over it means easy access to any point of the map. Attackers want to rush into Market with smokes to get the Operator out of position and gain access to every entry point to both sites through Defender Spawn.
Attacking Spawn
The Attacking Spawn is a great place to do flanks through as a Defender but apart from that it’s also really beneficial for the attacking team because it gives them easy access to the most important spot for Attackers on this map which is Mid Top.
Defending Spawn
The reason this map is so Defender favored is probably because of the design of Defender Spawn.
Being able to access both the A and B sites through two entrances makes this the most important area of the map. Apart from that, getting to it as an attacker means you have to pass through a couple layers of defense in multiple sections, making it even more valuable from a resource standpoint.
Middle
When playing as attackers, a common and easy to execute setup is the 1-3-1. Both site players will be alone most likely but will have a better position for the Ultimate Orbs, than the defenders on the same site. The three mid-players decide how they want to play out the round, depending on their economy, strategy and callouts.
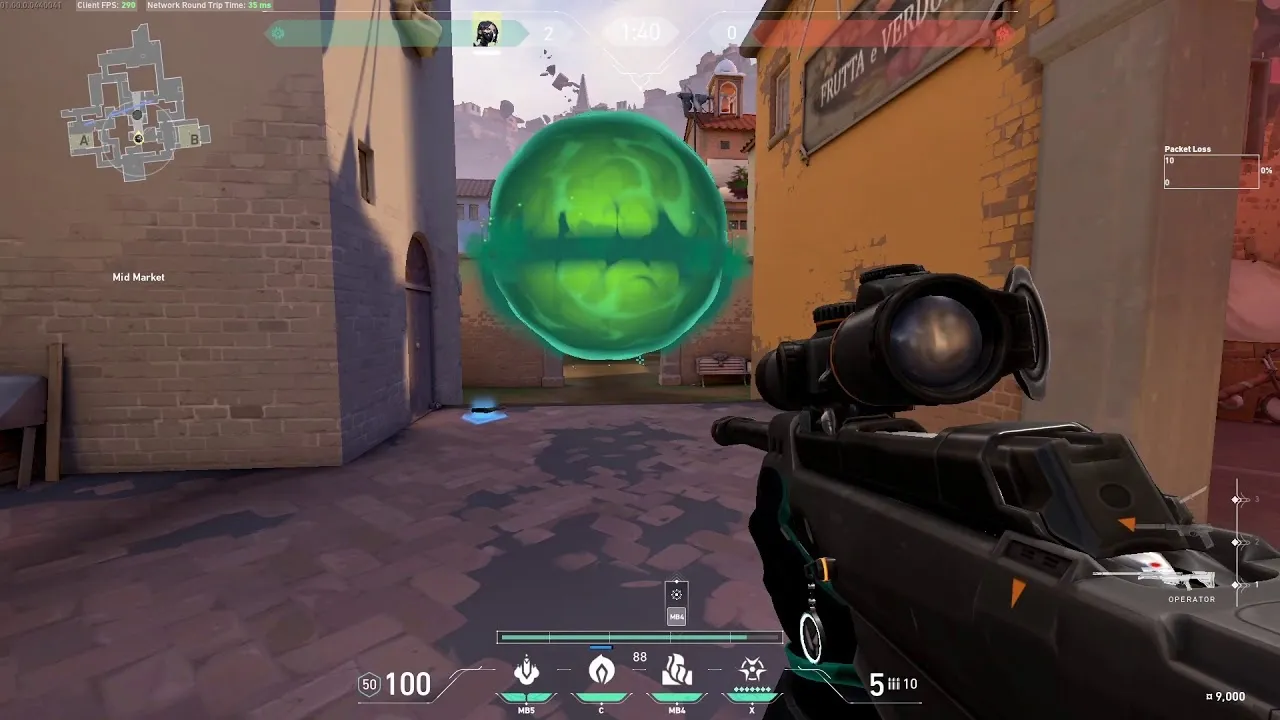
If they're playing from Mid Link and Mid Top, someone will have to smoke Catwalk to prevent you from running into the crossfire. If you think they'll have an Operator on Mid, it's better off smoking mid and trying to go in with some Flashes. This kind of aggression should push the Operator backwards, because nobody wants to lose a weapon as valuable as the Operator because he didn’t respect the flash.
Catwalk
This area of the map is probably the main reason why most losses for Defenders happen on this map. The defending player positioned here often makes the crucial mistake of overly aggressive peaks, resulting in crossfire from Mid Top and Mid Link.
If not, getting excited for a juicy flank on the Attackers pushing A Main, often will get you killed by their flank watcher in A Lobby. As the Attacking side you’ll always want Catwalk control to transition into Mid Cubby, or a better angle for clearing angles in Mid Bottom.
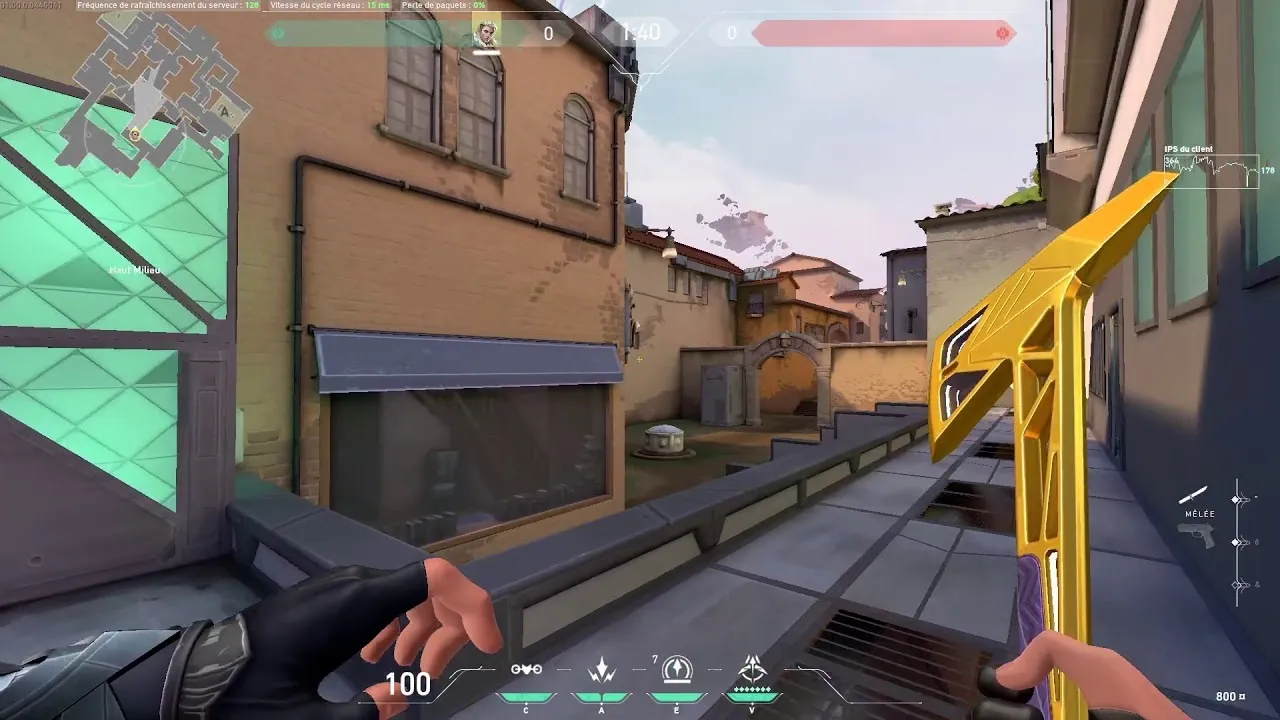
Top mid
This is probably the most important spot for the Attackers on each round and you will always want your best Sniper player positioned here. The long sightline allows for game deciding long range duels, being able to hit enemies entering Market, fighting for Catwalk and Mid Bottom. If you manage to crack the defense at any of these positions the rest of the round should be very easy to execute.
Tips and tricks for Ascent
One of the main things that will impact your performance on this map is your agent. Sure in Competitive it’s always better to play your best agent, but don’t try to play this map without a Controller. It’s incredibly hard to play around all of these angles without a smoke and the rest of their utility. Astra is the hottest thing on the block in terms of Controller viability but I think Omen and Brimstone also do a fine job. The two agents you will always want on this map are Sova and Jett, for a variety of reasons.
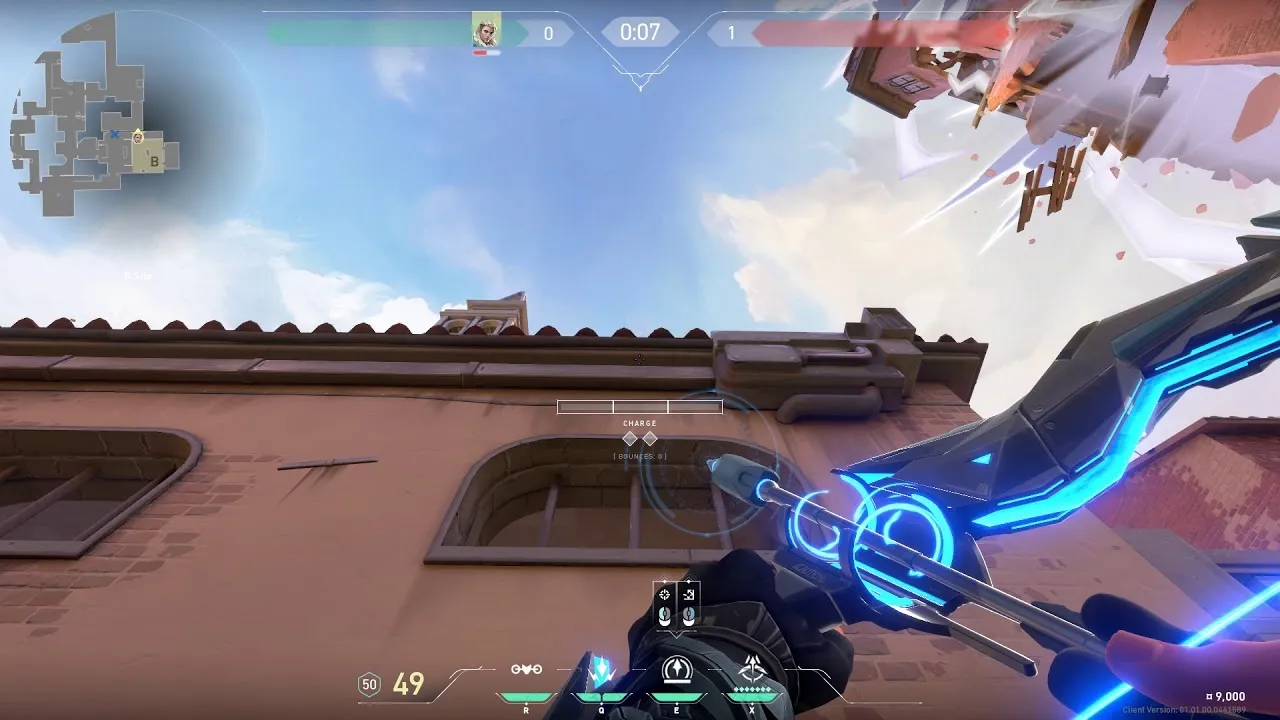
Wall bang for the win
Another key to winning on Ascent have to be the wall bang spots. This map is filled with paper thin walls that you can easily burst through and get a lot of damage down before the duels start. Agent selection again plays a major role here, but you also need to know the spots and the weapons. High caliber weapons like the Sheriff, Operator, Odin, Ares and the Vandal among the others fit the bill. If your weapon can pierce through a wall the bullet marks on the wall will be black, if not they’ll be grey. Use this to your advantage, don’t waste your ammunition or give up your location for no reason.